I am always competing with my neighbor for the best front door display, I don’t know why but I just feel the need to beat them and be the better looking house! My mom and I were shopping at Gardner Village and saw this really cute heart at Upon the Shelf that would look great on my front door…. the only problem was it was $47 which I am not about to drop on something like this, when I can easily make it. The only difference between mine and the one at Upon the Shelf, is that they had wood on the back (which made it heavy) and then at the top of the heart instead of ribbon to hang it, it had a metal decorative piece to hang it (again that was heavy). Overall, I think they look very similar (sorry I don’t have a picture of the original) and mine cost a fraction of the price and took maybe an hour!
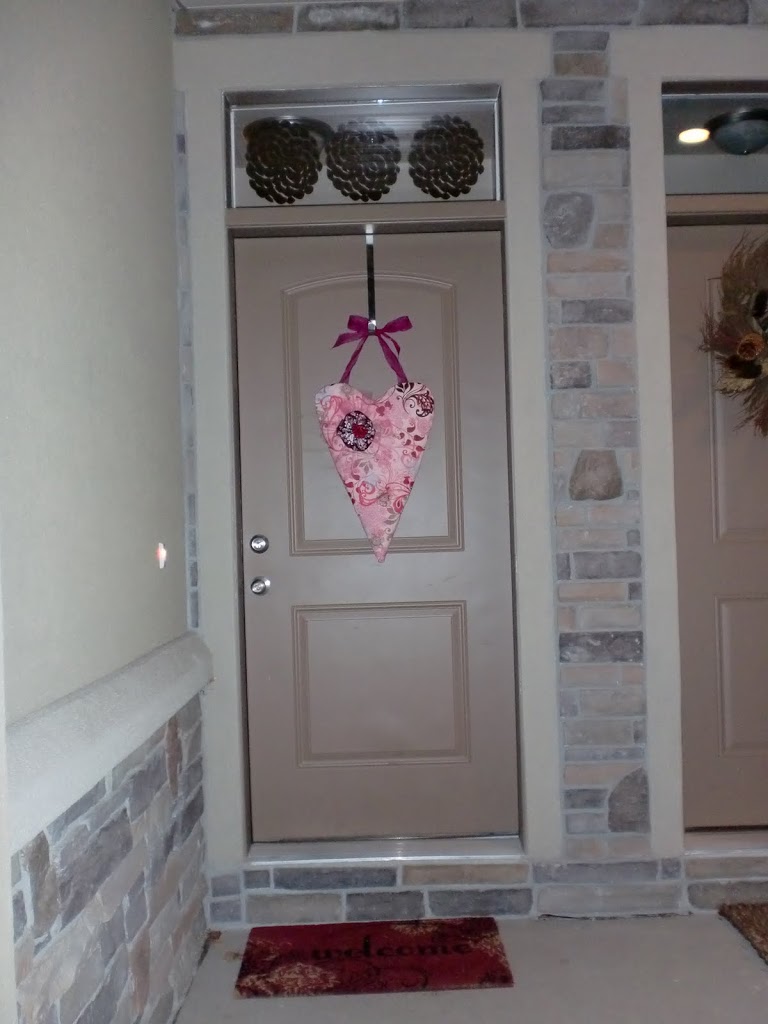
This is the final product
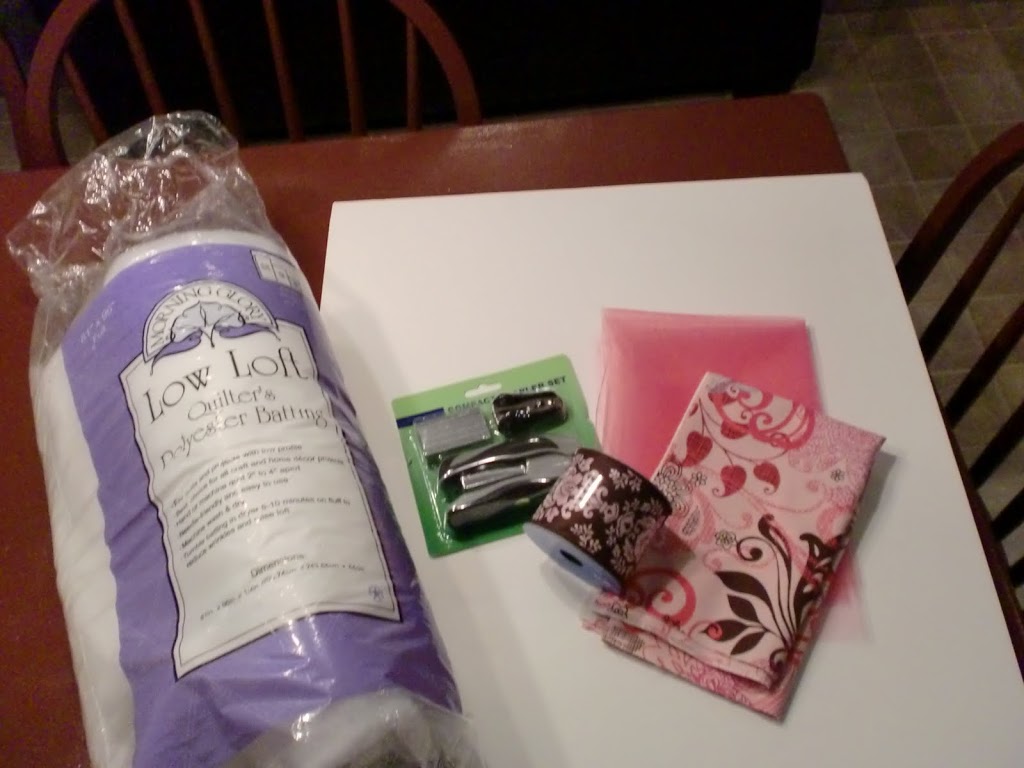
 You will need
1/2 yard of fabric
Assorted Ribbon or fabric scraps (I used 2 varieties – 1 was about a yard and a half long and was 5 inches wide and the other was about a yard long and 2 inches wide)
1 – stapler that opens and of course staples
1/2 yard of batting
1 foam board (I used 3/4 thick but there are thinner options that are a little cheaper
A needle and some thread
Large bread knife
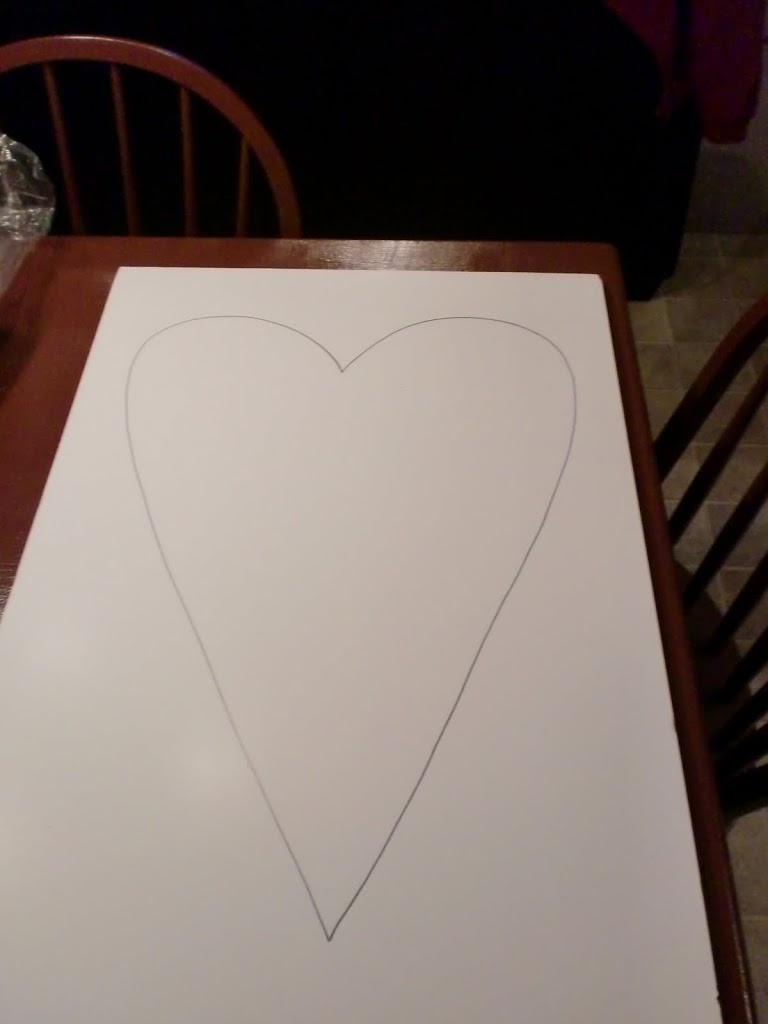
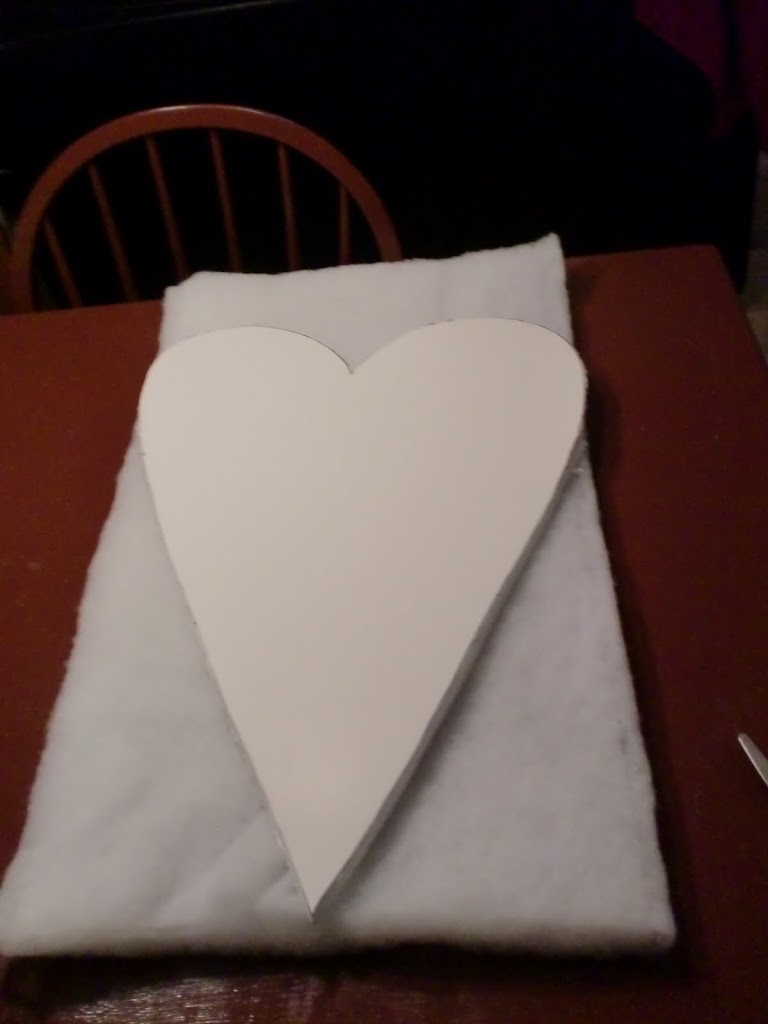
Draw a heart on your foam board, make sure that it can be completely covered with batting and the fabric can wrap around to the back edge.

Then place your cut out heart on top of the batting and either trace the heart and cut the batting or just cut the batting around the foam heart.
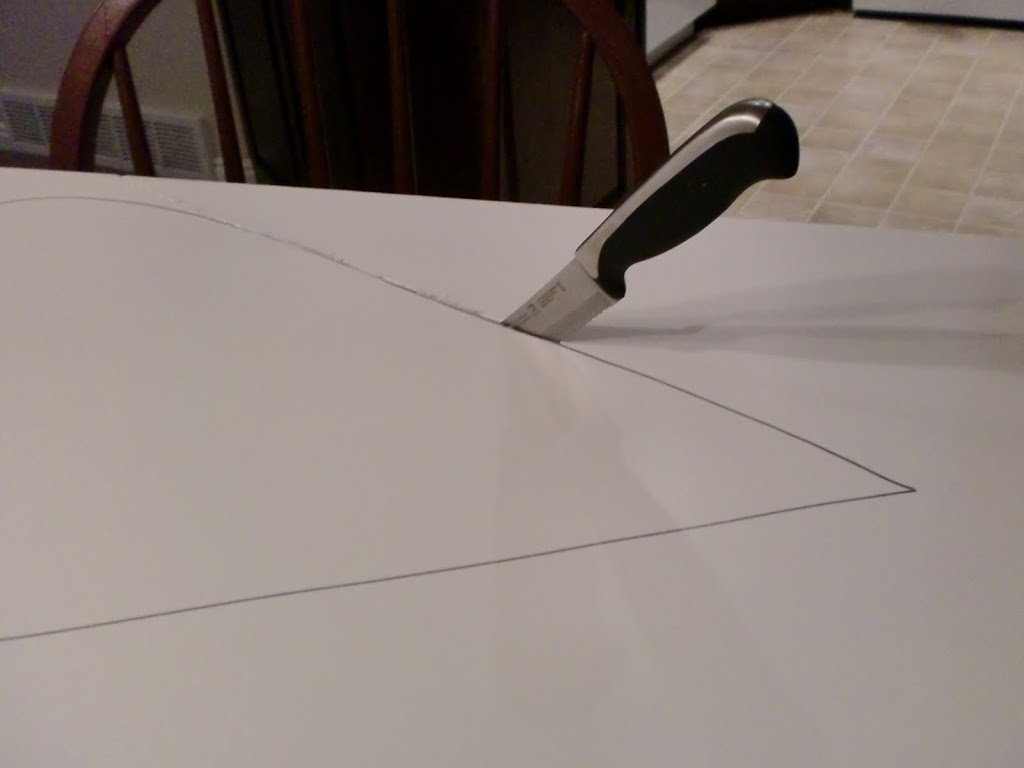
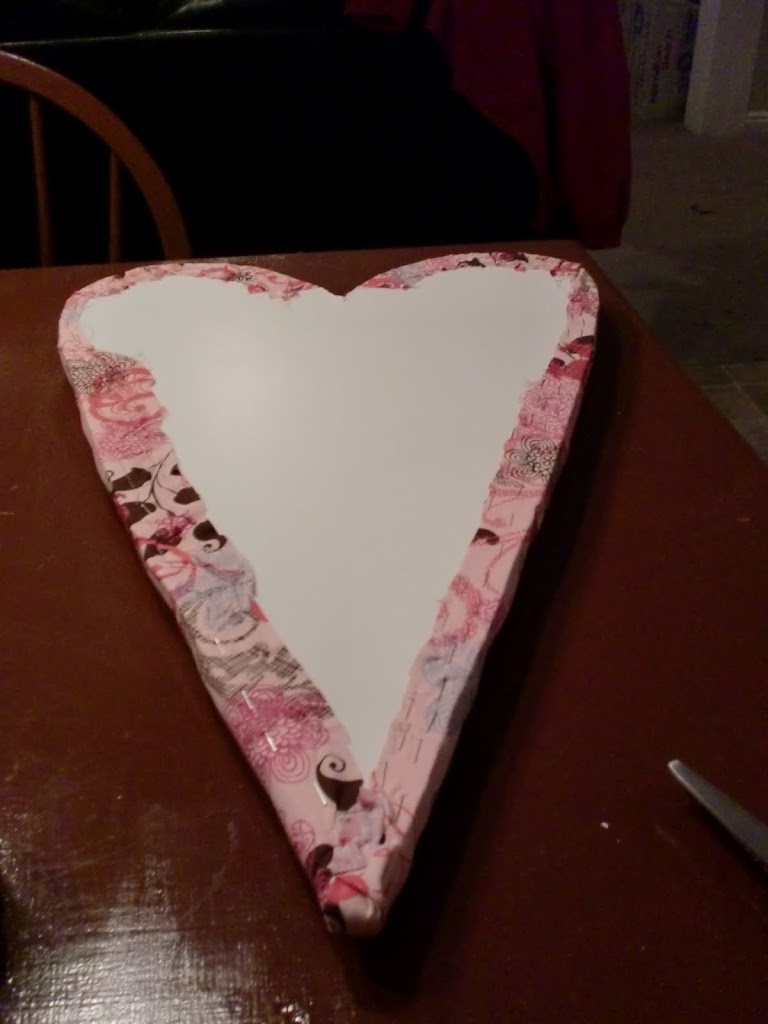
Look at those straight lines! HA!

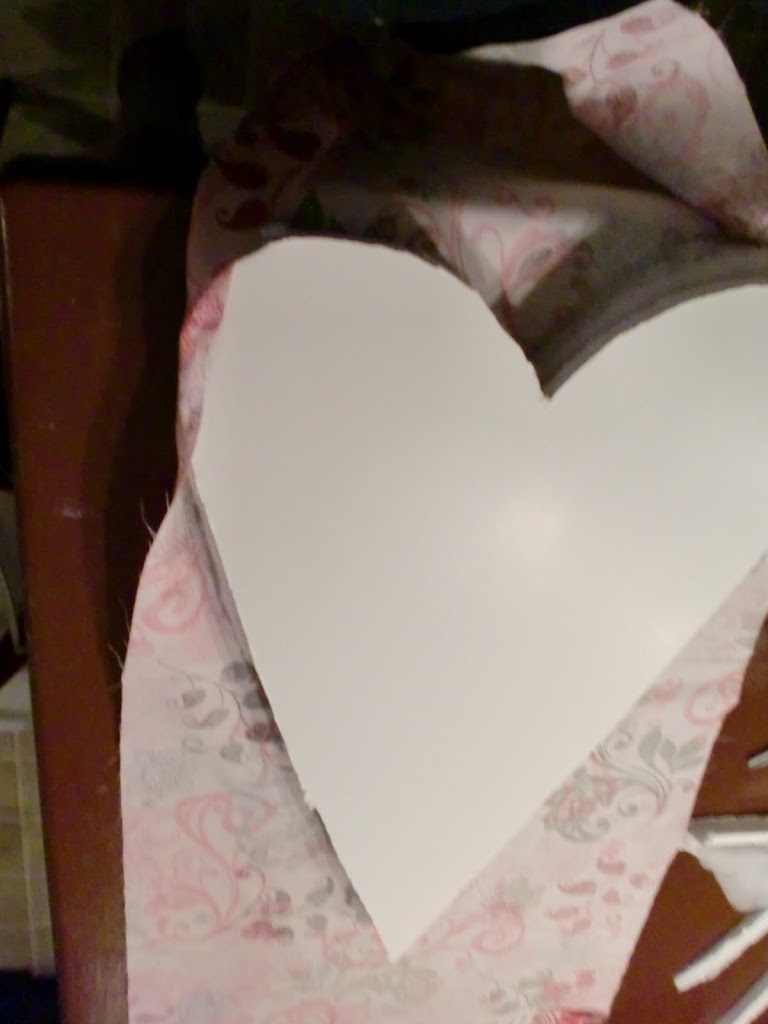
Place the fabric right side up over the batting and foam board. Flip it over and start stapling the edges. I did a few staples on one side and then switch to the other, keeping the fabric pulled tight so it had a nice even look on the fabric.
 I put lots of staples in, just to be sure it was really secure but it probably didn’t need that many.
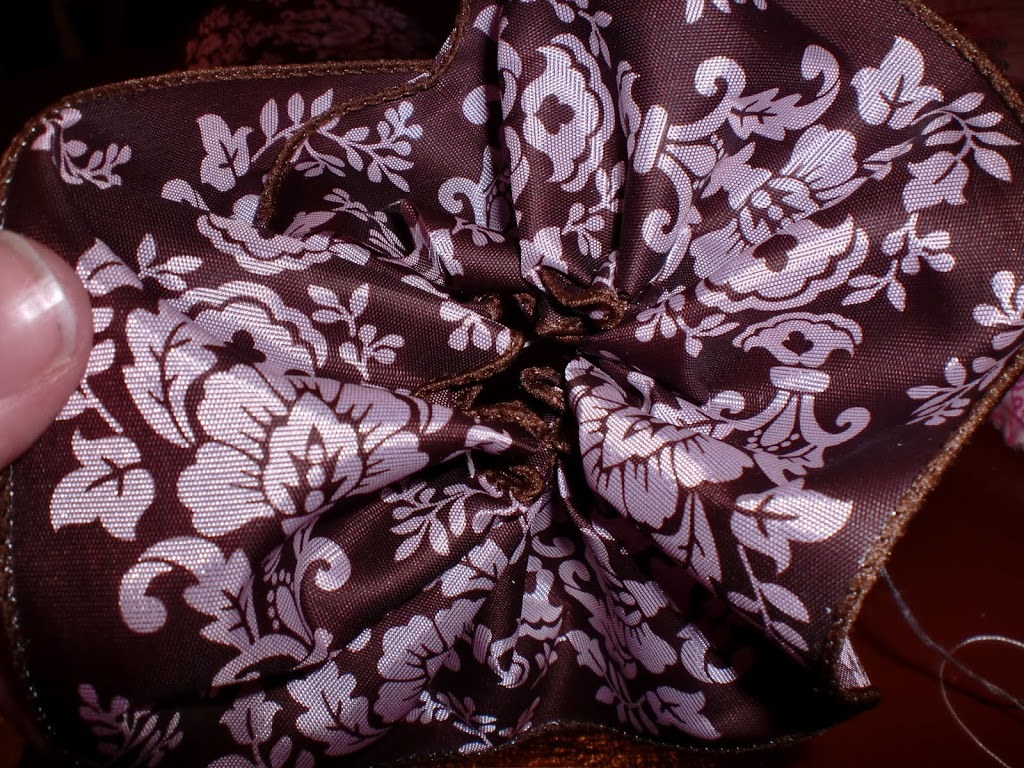
 Then to make your fabric flowers, take your ribbon or strip of fabric and loosely stitch up one edge of the ribbon.
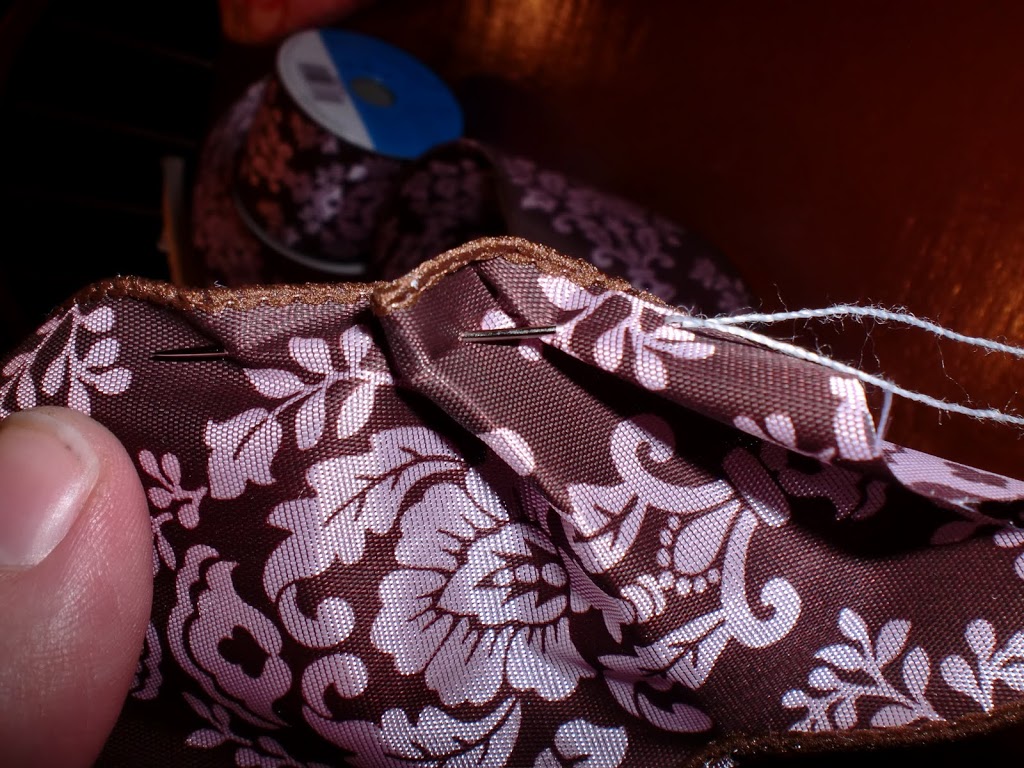 Once you get to the end of the ribbon, pull the thread tight and sew both ends together. It will make a nice circle that bunches up and looks great. This should be super easy. Repeat this as many times as you want but make sure that the different flowers are different widths so they show up when they are layered together.
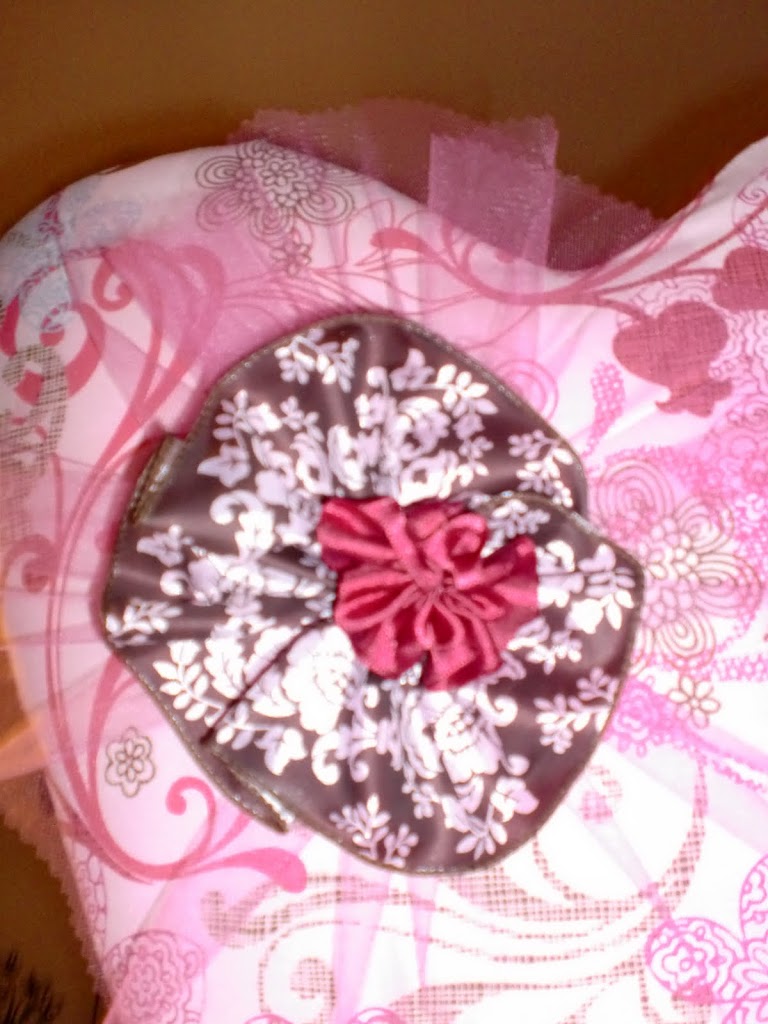
Then sew the flowers to the fabric on the board starting with the biggest flower first and make a layering effect.
 Then take some ribbon, staple it to the both sides of the top of the heart, on the back. Tie a bow at the top and voila, you are all set!
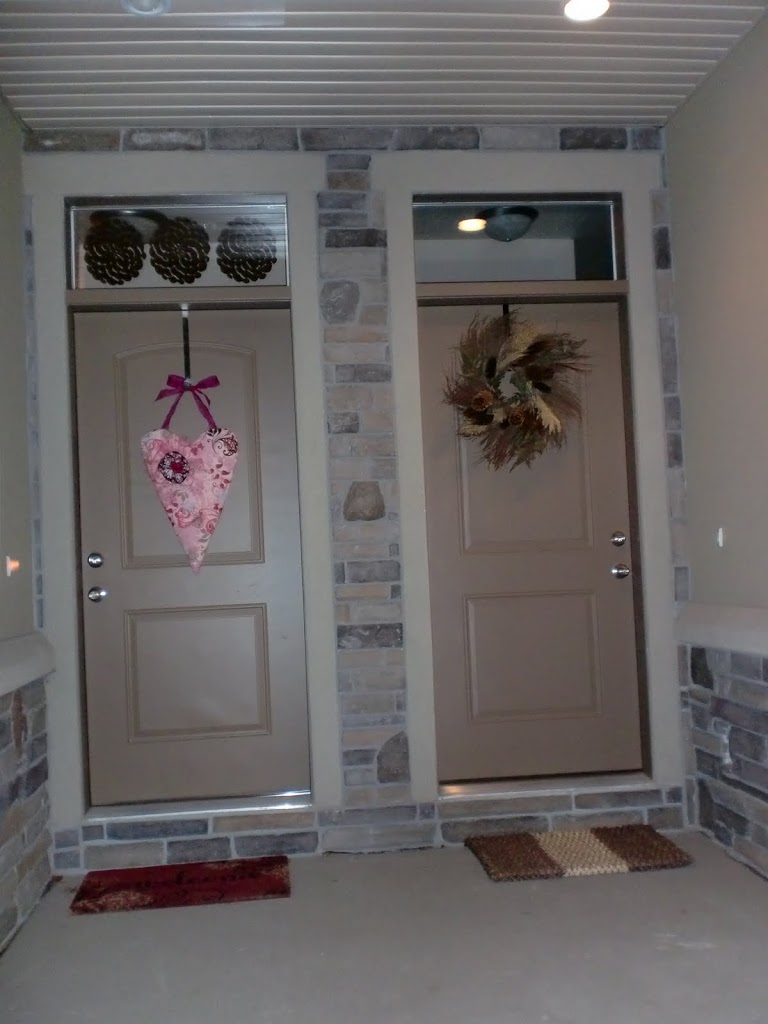
 This is the new look of our front door!!


Cute heart door decoration! Cute blog!
Jessika! That is SO dang cute. Don’t you love getting an idea from somewhere and then making it yourself with your own little twist to it? Plus saving the money is nice too. I do that alot. I am glad you put all the step by steps on there. I want to make one!