This 5 minute no sew headband is seriously my new favorite thing.

***UPDATE! Thanks for visiting! I have a VIDEO TUTORIAL FOR THESE HEADBANDS NOW! It seems a lot of people are finding this from pinterest. My daughter wears one of these almost everyday since I made them in November 2014! They hold up well in the wash and look adorable. I get compliments on them all the time! It’s funny how simple they are, so much so that I almost didn’t post this but I’m glad other people like it! If you have any questions, please feel free to comment and I’ll get back to you. Also, feel free to take a look around the rest of my site. I have other fun kid ideas, yummy recipes, free printables, etc. Thanks again for stopping by! Now for the 5 minute headband ***


6 – Create a bunny ear.
7 – Loop the other side over the front, under the back and pull through like tying a shoe. This way always feels wrong to me but this way gives me a better looking bow.
8 – Pull together and shape like a bow.
9 – Hold the center knot and pull each side of the bow carefully to be sure things are secure, tight and neat.
10 – Take one of the loose ends and
11 – stuff it into the side of the bow.
12 – Fan out the bow and use the end to make it look more full and hold the shape of the bow. Repeat for the other side.
13 – Adjust the headband and spread out the fabric around your baby/child’s head to cover ears and make everything even since the fabric rolls so much. Then rotate until the bow is where you want it.
Once you have it how you like it, you can just slip it off and slip it back on easily. Adjust as needed and when your baby/child’s head grows you can tie it again to better fit!
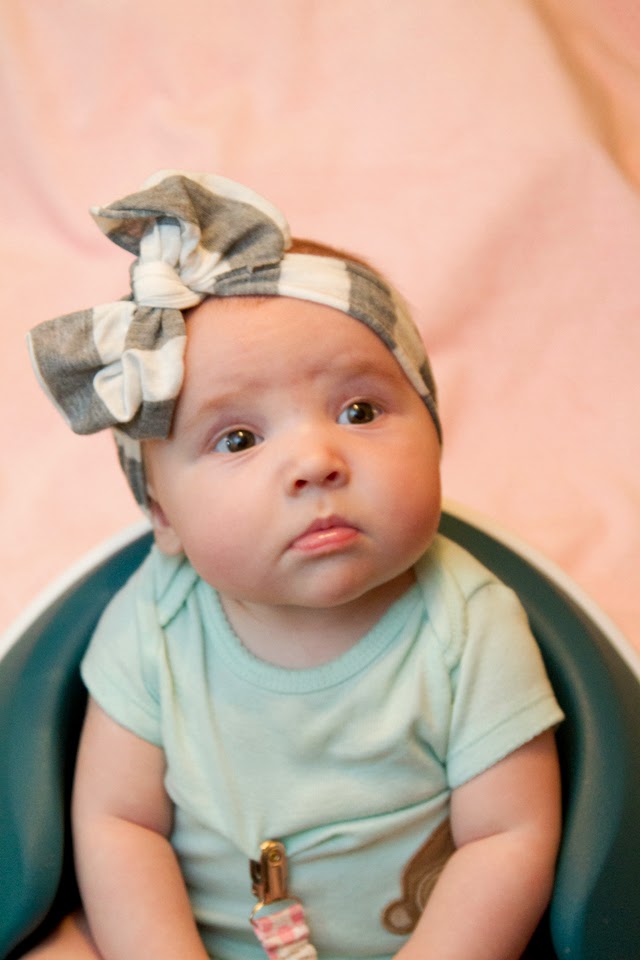
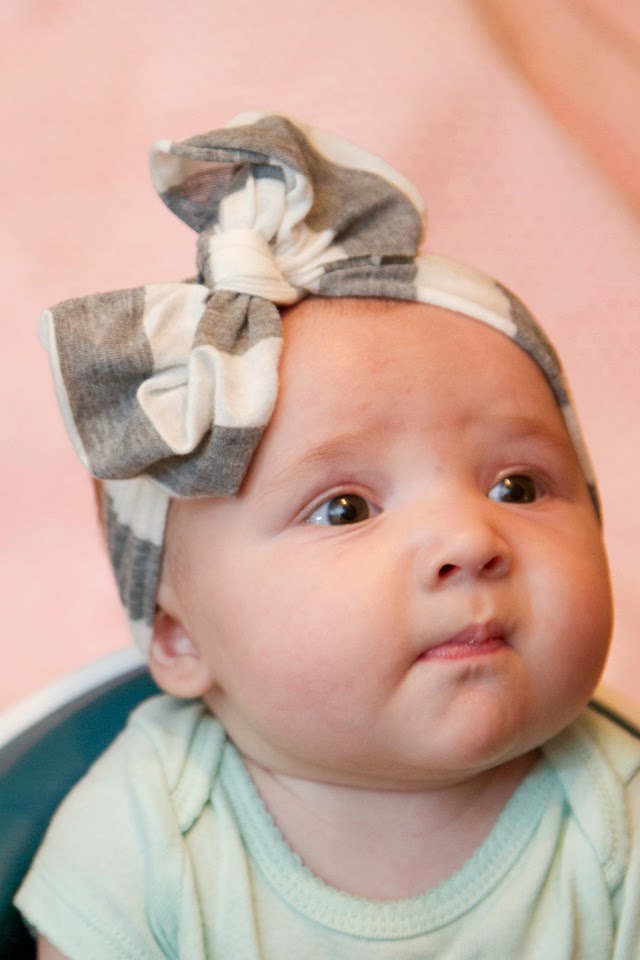
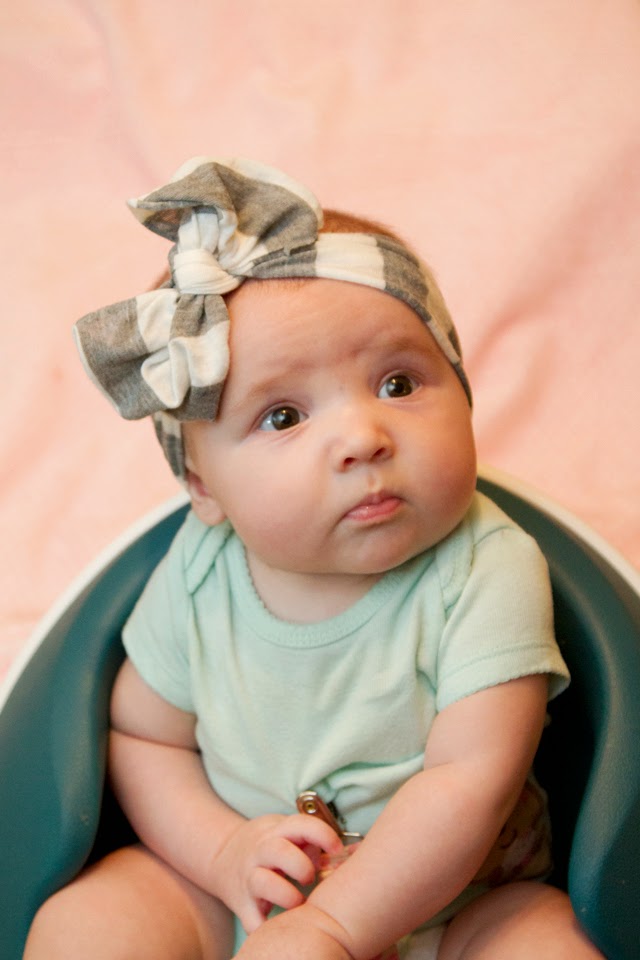
I love that this covers her ears. It was one of the things I really wanted in a headband and this worked out much better than I envisioned. It is a thin fabric but it keeps her from being completely exposed in our short time outside when it is a little chilly out and not quite cold enough to need a hat.
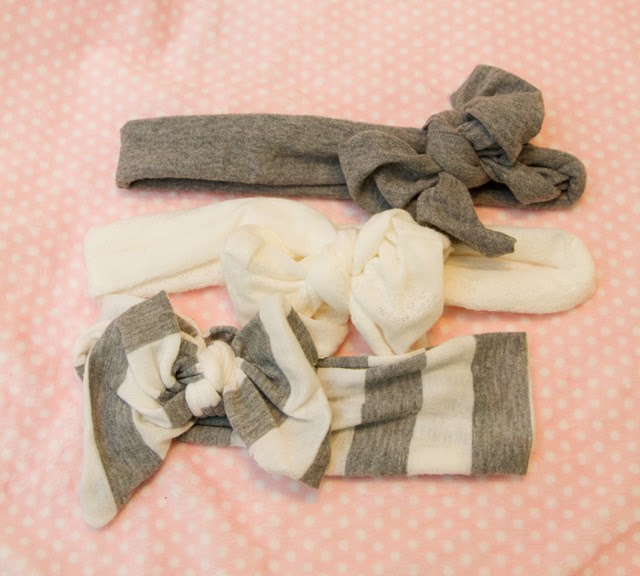
These were so simple I whipped out quite a few in the different patterned fabric that I had scraps of.
I seriously love the way they look on my sweet baby girl!
Here are some other things I’ve done with/for my kids that you might enjoy:

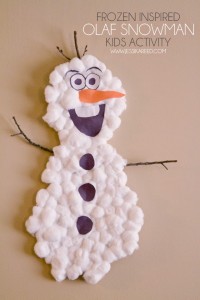
Frozen Inspired Olaf Snowman Kids Activity
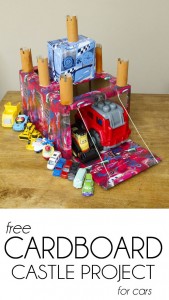 Free Cardboard Castle Project, for cars


could I use old t-shirts?
Absolutely! I used jersey knit fabric and it’s essentially soft t-shirt material. If you try it, do let me know how it turns out!
Cutest head bands! I hope one day I have a girl! I’m expecting boy #3! So I’ll be making some of these for gifts! So fun and easy!
Thanks Chelsie! I love them and seriously use them all the time! Boys are so fun too!
I’m trying so hard to figure out the loop around part and I can’t seem to get it. Can you offer any further help for me? 😁
I’m sorry you are having an issue with it. Basically, I do it like I tie a shoelace. Which means, I wrap the fabric around my babies head and tie a knot and then make a bunny ear with the left tie. I then take the right tie and wrap it around the BACK of the bunny ear and finish tying the bow that way. When I do like this, it goes a little crooked. So to fix that, I go the opposite way. What I mean by that is I make one bunny ear on the left and then the right side tie that hangs down, I wrap it around the FRONT of the bunny ear and then finish tying it. You could also try tying it with two bunny ears, again like a shoelace bow. I would just tie a bow however you have done it in the past and play with it from there. I hope my wording didn’t confuse you and if so, hopefully this helps clear it up! Let me know if you run into any other issues. Thanks for reading!
Me too. Will you be able to post a video on how to do this?😬
YEP! Here you go! http://www.hipandsimple.com/2017/12/diy-5-minute-no-sew-headband.html
I’ve created a video tutorial that might help as well: http://www.hipandsimple.com/2017/12/diy-5-minute-no-sew-headband.html
I love her cheeks and expressions.
Thanks! I’m a bit partial but I love hearing that people agree!
your baby is so adorable! thanks for the tutorial.
Awe, thanks! I am pretty partial!
I am not real crafty but these turned out adorable! Made grey and white so they will match anything. Thanks for the great instructions. So excited to send them to my new little niece. 💕
Emily, that warms my heart to hear! Thanks for letting me know and I’m so happy this worked for you. My little one is still wearing them at almost 2 years old – best things I almost didn’t post!
Hi! These baby headbands are adorable! I am wondering what you meant by step #11.. It said “stuff it into the side of the bow”? I did that, but it tends to pop back out. I also tried to stuff it into the knot, but it is too tight too fit and when I loosen it, it all seems to fall apart! Can you give me any advice?
Thanks so much! 🙂
Hi Kylie! I’m sorry you are having trouble. When you got to steps 3 & 4, did the edges roll? I’m wondering if maybe the fabric was cut in the opposite direction and the short ends are rolling and not the long ends like it needs. I think the rolling fabric helps hold the stuffed ends in a little bit. You could see if that helps. They do occasionally fall out but only after wearing it for a while. The stuffed ends really help give the bow a more full shape. I basically just take the ends of the bow that stick out and ball them up to stuff them into the loop of that side of the bow and repeat on the other side. You could try tucking the left over ends under the headband so it lays flat on the head under the fabric. I hope that helps. Let me know if you find a solution.
I’ve created a video tutorial that might help as well: http://www.hipandsimple.com/2017/12/diy-5-minute-no-sew-headband.html
I am a bit at lost. I understand your baby’s head circumference. But why an additional 10″ to the fabric? Is it for the bow part?
Hi Karina,
Yes the additional inches is for the bow loops as well as for a little extra to “stuff” the loops so they stand up better. They also make it so it can grow with the child’s head and be adjustable. I hope that helps. Let me know if you have any other questions.
I’m not understanding how you hide the ends. I see you tuck it in the bow but then I’m confused. Do you have a video?
Here is a video post I made to go with this tutorial: http://www.hipandsimple.com/2017/12/diy-5-minute-no-sew-headband.html
After measuring my daughter’s hgppp?
L a. ead, adding 10 inches and cutting, I was not able to make the bow. I found that I needed an extra 20 inches rather than the extra 10 in order to make the bow. Had to use another piece of fabric And even with the extra inches the bow was very small. Cute but small
*daughters head
Hello,
These are very cute and comfortable but do slip off my head if my hair isn’t in pigtails or two braids… I like to workout with my hair up in a top knot and still have yet to find the right combination of fabric and elasticity to keep a headband from slipping…
Thanks a lot
this is so pretty. You can also print your own fabric according to your design and choice to make beautiful headband. thank you for sharing ideas. keep going good.
These are amazing !!!
I tried them on my daughter she is right now 14 days n they look awesome on her !!!
Many many thanks to you and ur baby is adorable!!! Lots of love to her !!!
That’s so great to hear! I’m glad it worked out!