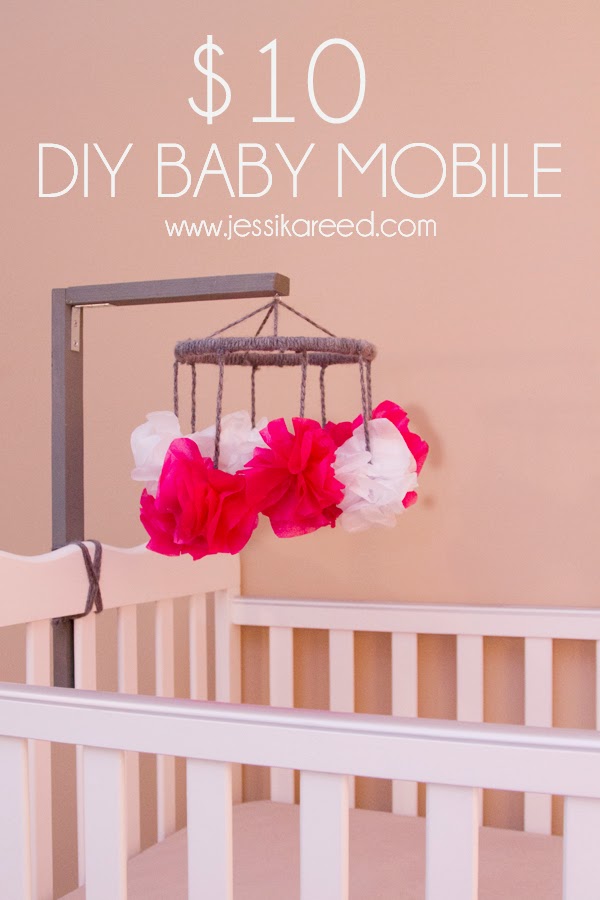
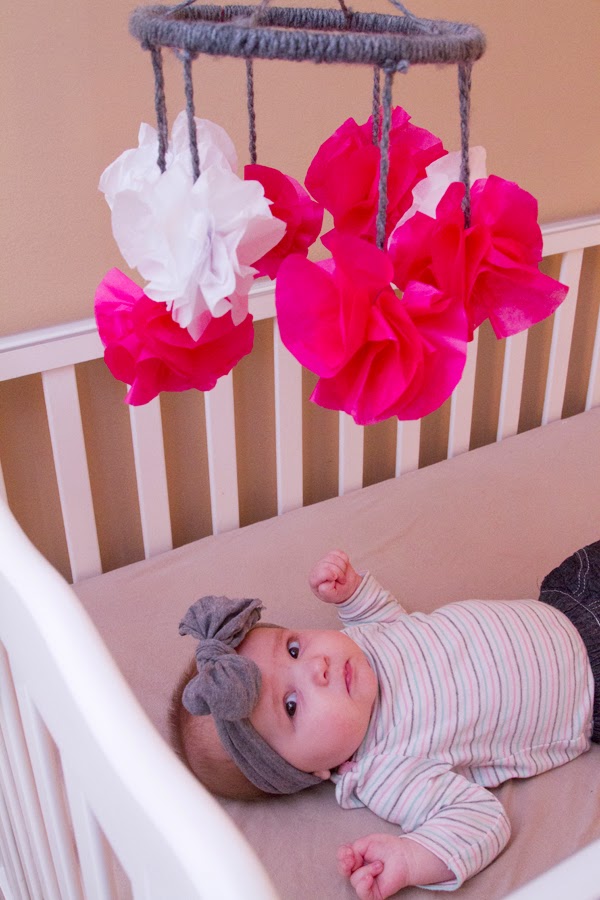
I am super excited to share with you a $10 DIY Baby Mobile that I created! And no power tools are needed!
It was a quick move and we got into a small apartment, site unseen! The baby is in our room and I feel so bad that I didn’t get to prepare a nursery for her like her brother got. But that’s okay, you do what’s best for your family at the time and she won’t remember anyway.
Her brother just moved into a big boy bed so we moved the crib into our room and got her set up. I wanted to finally do something girly with the decor for her and something functional that she could enjoy looking at as she soothes herself to sleep. We rent so I didn’t want to put any holes in the wall for this and our ceilings are popcorn (YUCK!) and didn’t want to deal with that. Also, I believe in selling furniture after it’s been used so it needed to not ruin the crib so I can do that later on. I scoured the internet thinking that for sure there would be a DIY Baby Mobile that would be pretty inexpensive and quick, because let’s face it that’s all that fits our little family right now. I couldn’t find anything in the price range I wanted that would attach to the crib.
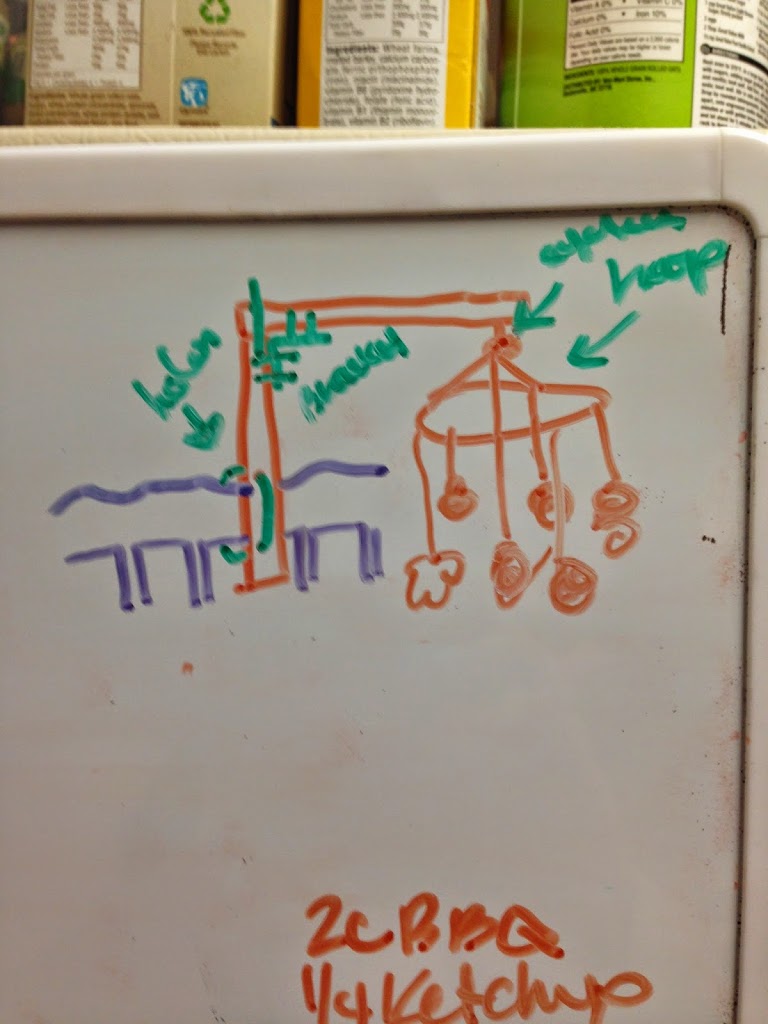
I was disappointed. Life is crazy and I was looking for someone else to figure this one out for me so I just decided to do nothing. But my brain kept working in the background I guess and I roughed out an idea while meal planning and checking our food inventory in the fridge and started with something like this. (The ingredients are for some testing I did to come up with my Sweet Crockpot Ribs)
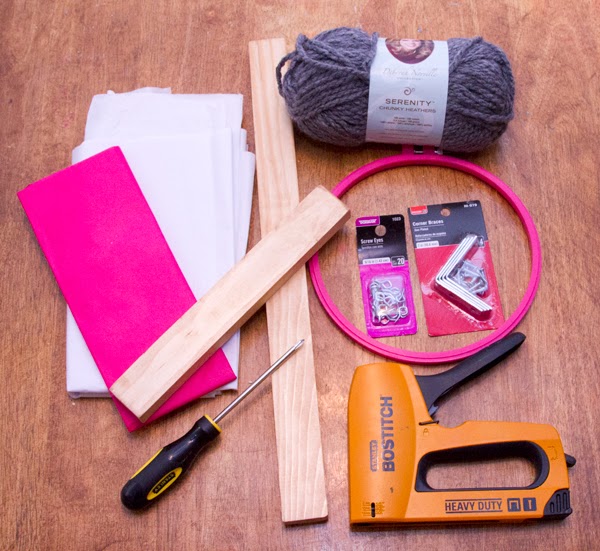
As I mentioned before, when we moved we sold about 1/2 our belongings, this included any tools we had besides my hand sander. So this needed to be done with no power tools and I really wanted to make this with things I already had around the house and besides a couple minor things, I was successful and only spent $3. If you did this project it would cost you about $10 for all of the supplies. Here’s what you need and how you do it! (Affiliate links for your convenience – see my full disclosure policy here)
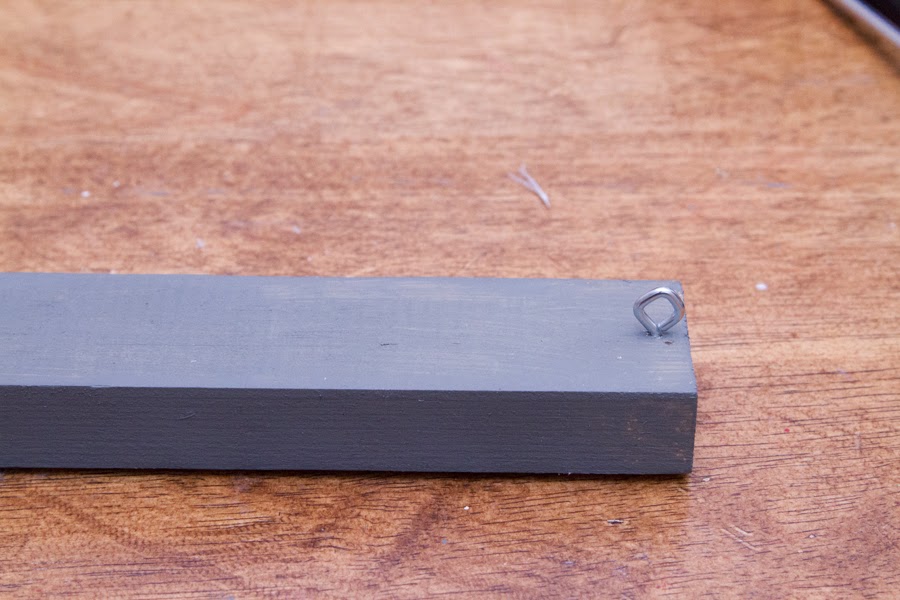
Two pieces of 1×2 wood (mine were 18″ and 10″)
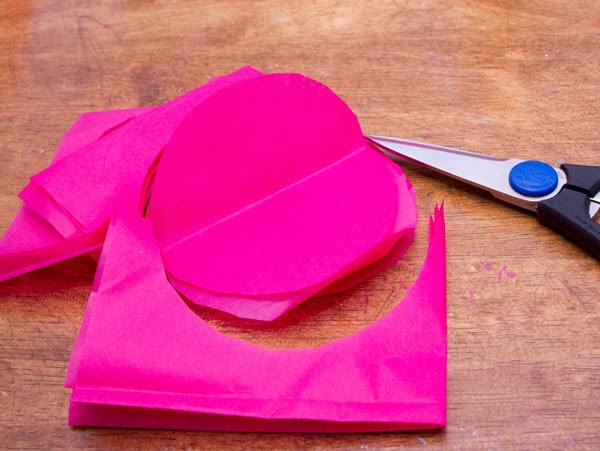
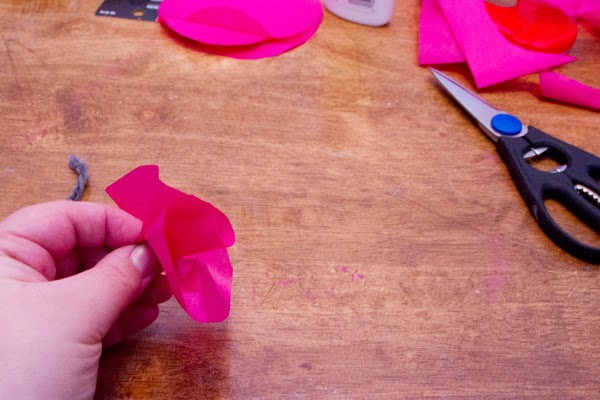
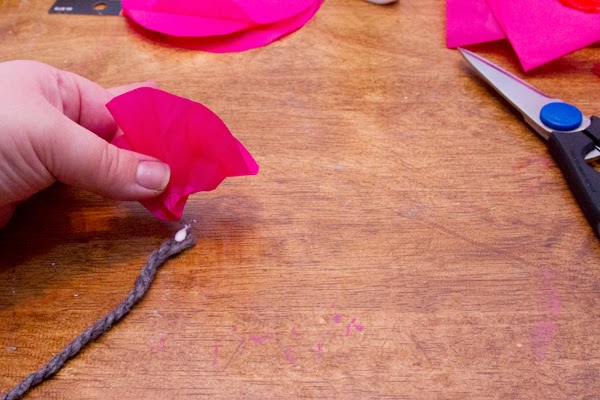
Tissue paper
Embroidery hoop (8″ – only need the inside hoop)
Yarn or string
Screw eye
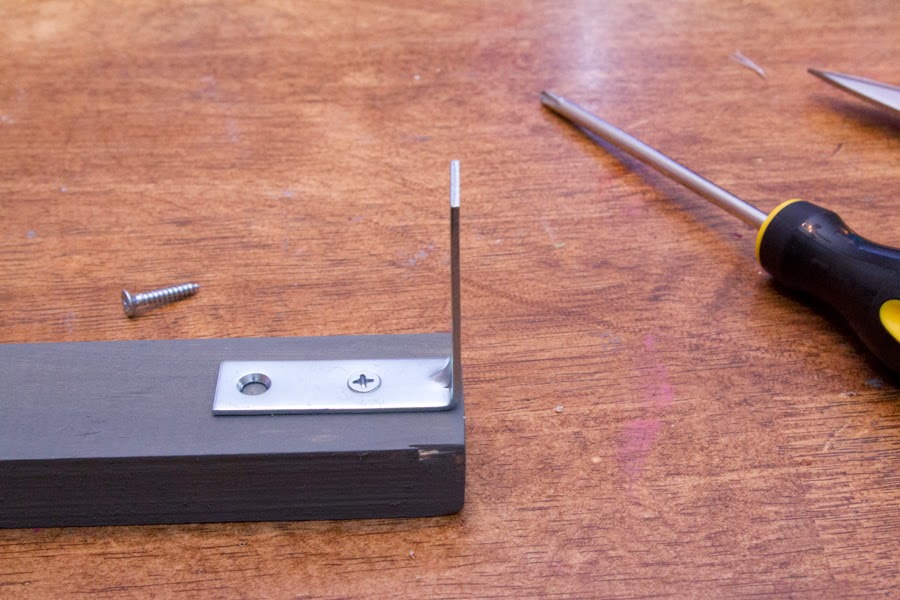
L shaped bracket (4″)
Screw driver
Nail/Staple gun or hammer and small finishing nails
Elmer’s glue or other clear glue

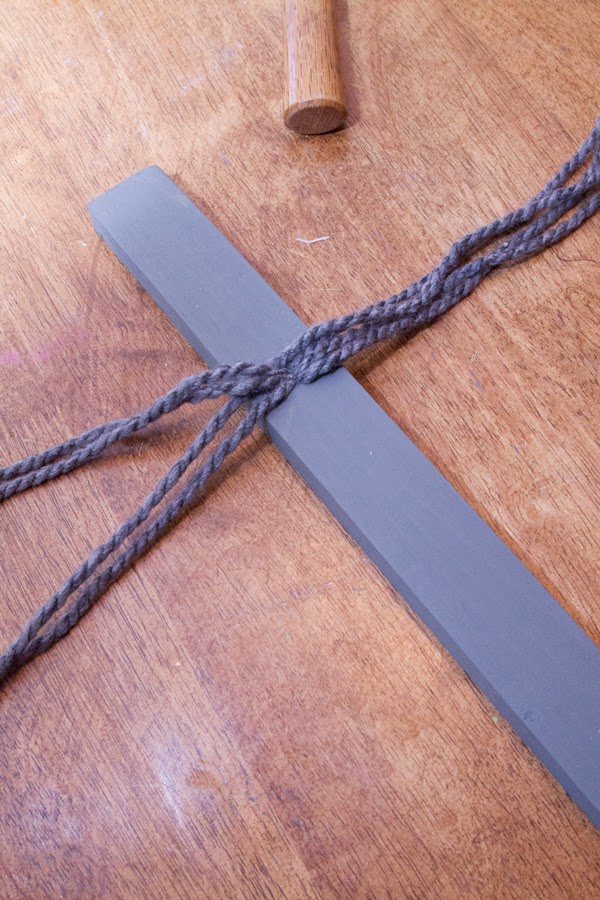


I mentioned earlier that you want the yarn nailed on the back to be long. Well I did mine way too short and could not tie it very aesthetically pleasing in the back. I’ll fix that later but it’s secure and no one will see it but I thought I’d share so you know to keep them long so you have more to work with.
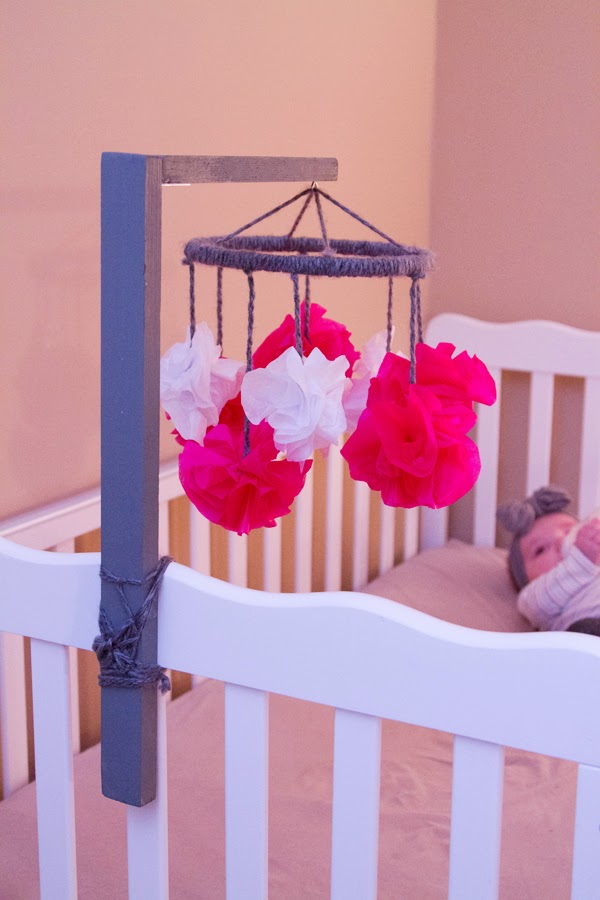
I love this because I had almost all of the supplies at home already. It’s cheap and fast. Took about an hour. It meets all of my criteria. It’s very secure. After tying, I pushed and pulled on the wood to make sure it couldn’t fall into the crib and it stayed put. The hoop spins slightly so it has nice movement for baby’s interest. And it’s cute!
I hope you enjoy this idea.


They way you attached it to her crip is to me ingenious, I would have never thought of it,it’s an adorable mobile,,,but your baby girl is breathtaking, she’s a doll! 🙂
Thanks Joan – I’m a bit partial to her but I totally agree!