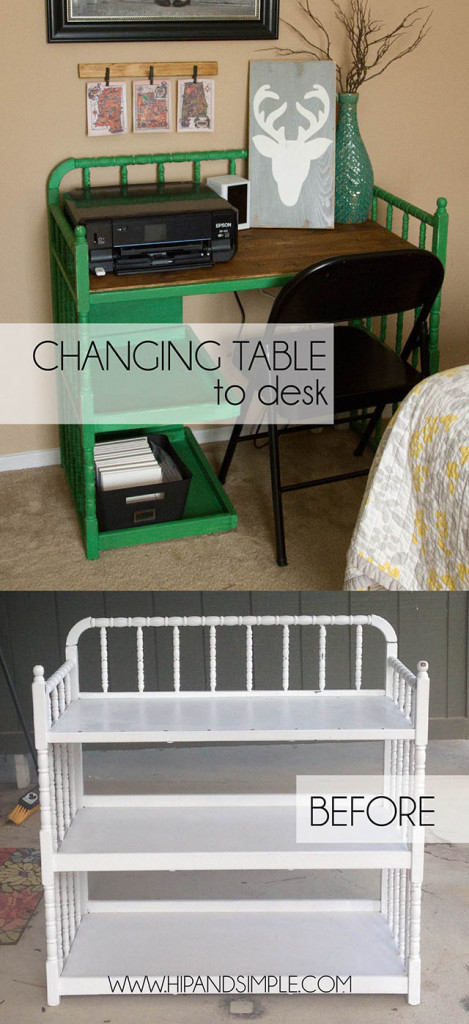
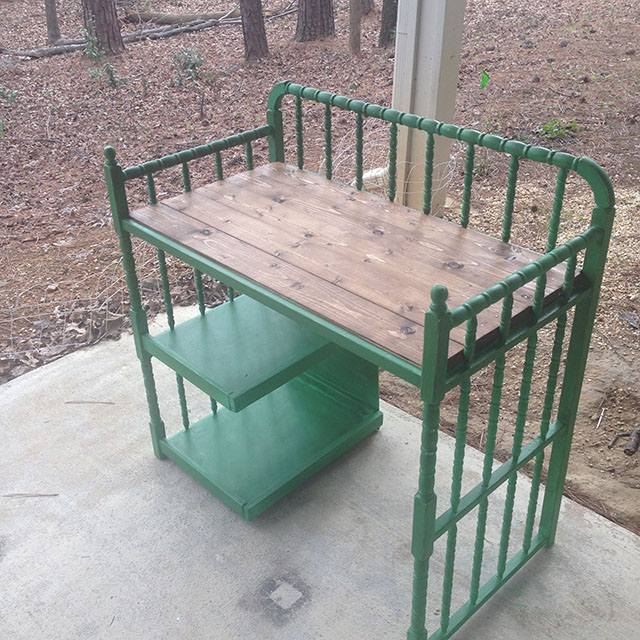
The sad time has come for us to retire our changing table. I couldn’t bear to get rid of it, it holds such a special place in my heart as we have used it for both of my babies, now toddlers too big for it. I decided to make it a project and now have a changing table converted to desk, and can keep this sentimental piece going strong with us.
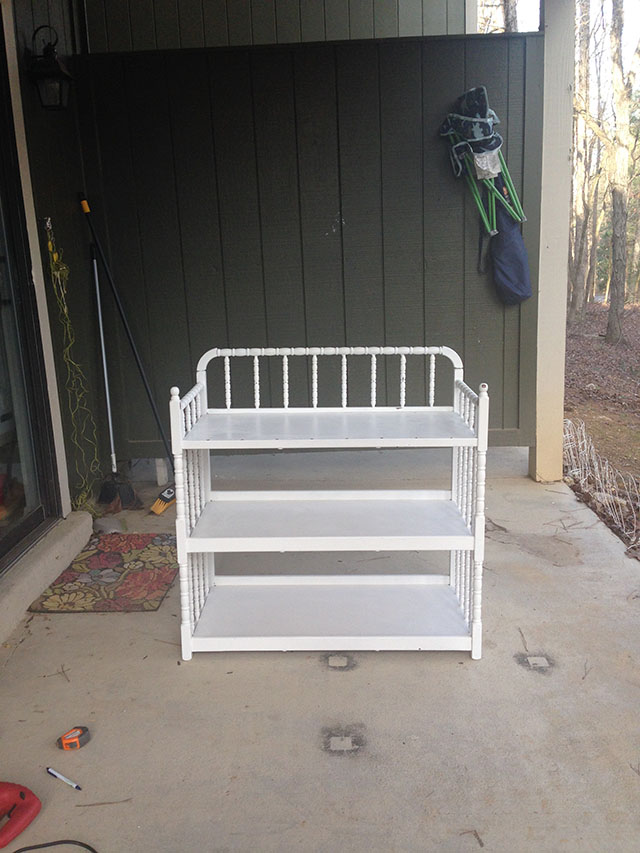
This started out as a plain changing table. We found it on a facebook yard sale site back in Utah when we were preparing for our first baby. It was $20 and beaten up. I sanded it a little bit and put a coat of white paint on to liven it up. With a nice changing pad on the top, it was a perfect fit for our neutral nursery for him. It then moved across the country with us when we were expecting our daughter. It has served us well and been a great piece for such a low cost. I tend to hold on to things we don’t need a lot so I really push myself to donate or sell things so we aren’t hoarding things of no value but this was something I was having a hard time parting with. So I decided to convert it from a changing table to a desk so we could keep it and be reminded of our special and quickly fleeting time with our babies.
Here is the before:
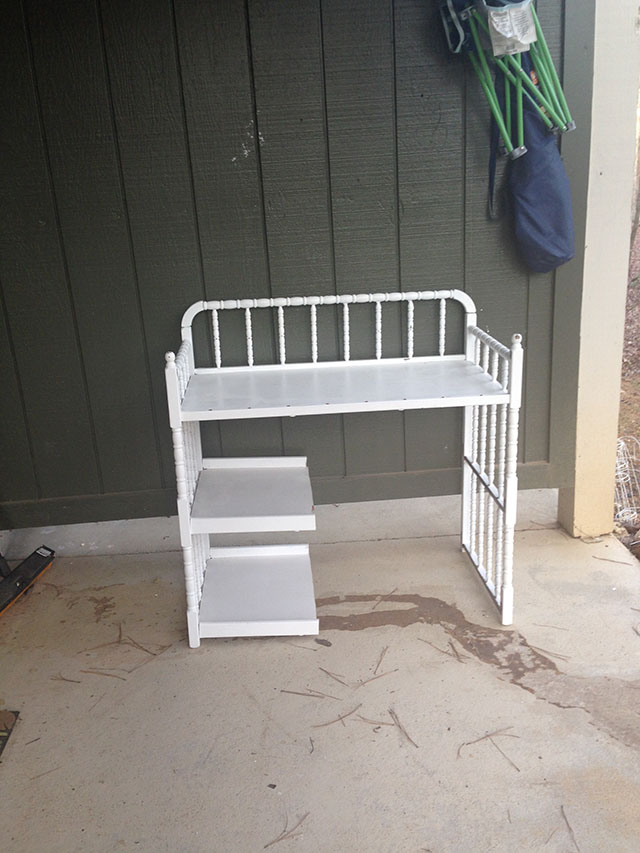
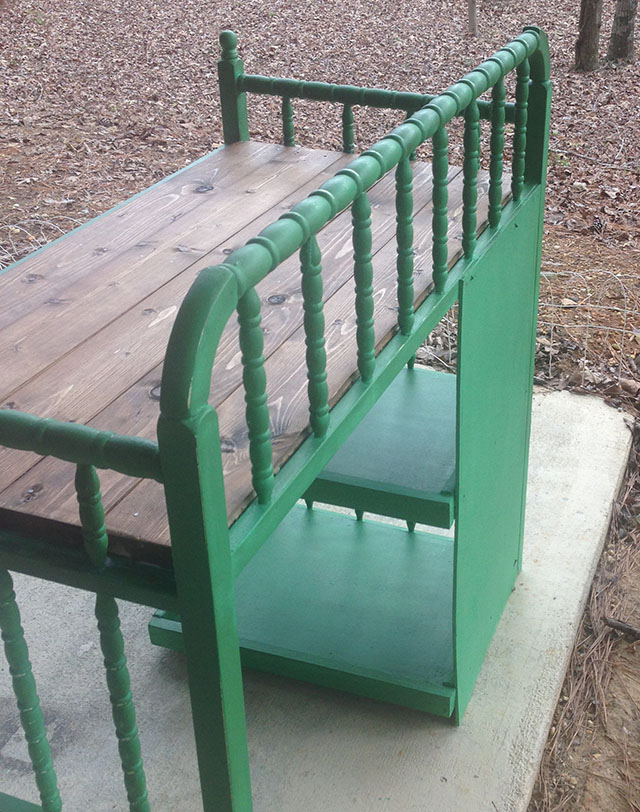
I debated on making it a drink cart or table with baskets but thought we’d get more use out of a desk. I decided I wanted some storage and initially planned to put our printer on one of the shelves. I took my saw and cut the shelves to the length I wanted.
The shelves were flimsy so I cut a 1/4″ birch plywood sheet to the same height as back of the desk and the same length as the shelves. I attached that to the back and then attached some small 1×2 scraps I had to the edges of the shelves and the plywood for more stability. I added chaulking to everything and sanded it smooth.
I removed the front spindle section so the desk top would be smooth. I filled all of the holes with wood filler and sanded smooth. I also tightened all of the screws on the sides and then filled in the holes with wood filler.
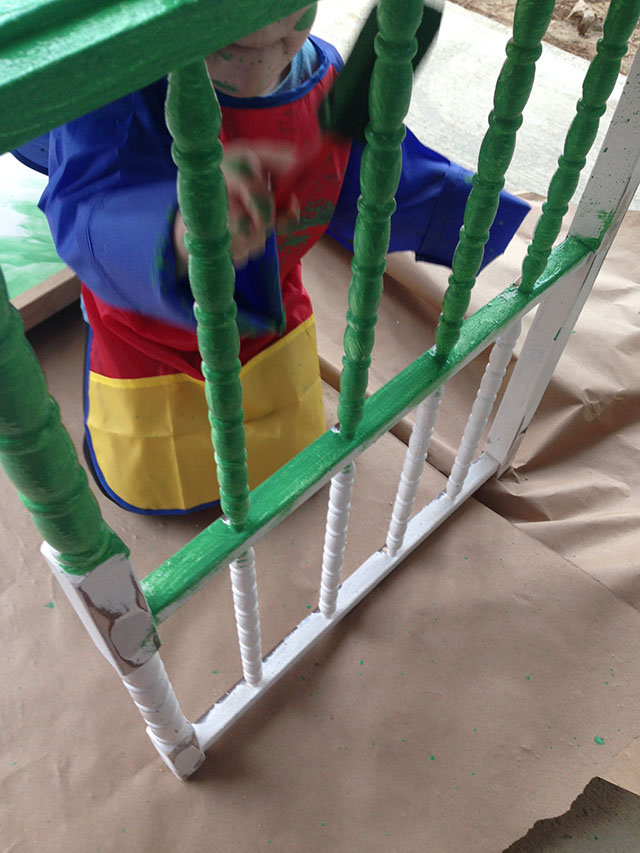
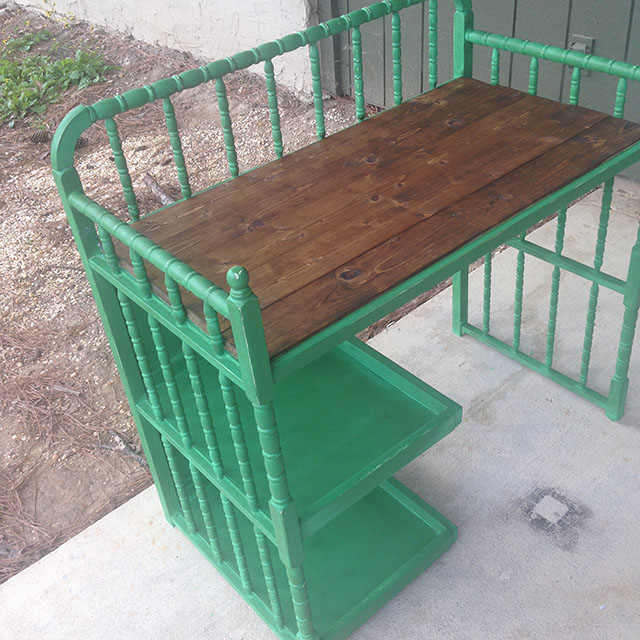
As I considered how to refinish it, I kept envisioning green. Which is very odd for me. I like to keep things neuteral and mix up the fun with pops of color in pillows or blankets and decors but I couldn’t shake the green feeling. So I went with it. I made my own chalk paint (1/3C plaster of paris, 1/3C water – mixed until dissolved and then mix in 1C paint) which made the painting as easy as possible but the spindles were honestly a little bit of a pain.
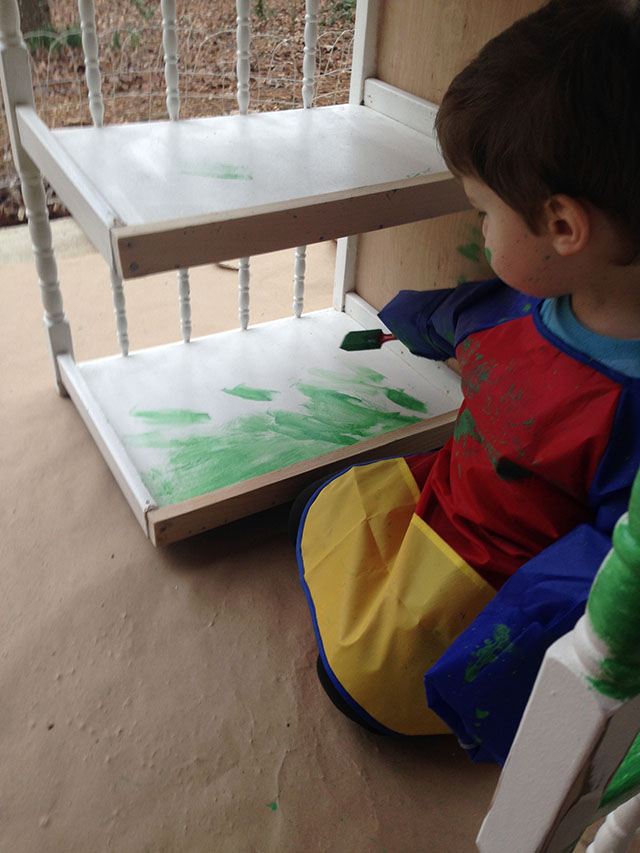
I had my helper paint along with me. He loves being involved in projects like this. We got these awesome art smocks (affil link) that have saved many a pair of clothes. I run it through the washer with his clothes and most of the paint comes right off. As much fun as we had painting, I was really not set on this color. It felt too “primary” and kidish feeling and I planned on having it in our bedroom. I struggled with it and just let it sit out on our patio for over a week while I thought on what to do. Ultimately, I decided I didn’t want to deal with those spindles again and needed it out of the way for other projects so I scuffed it up a bunch and heavily stained it and that helped.
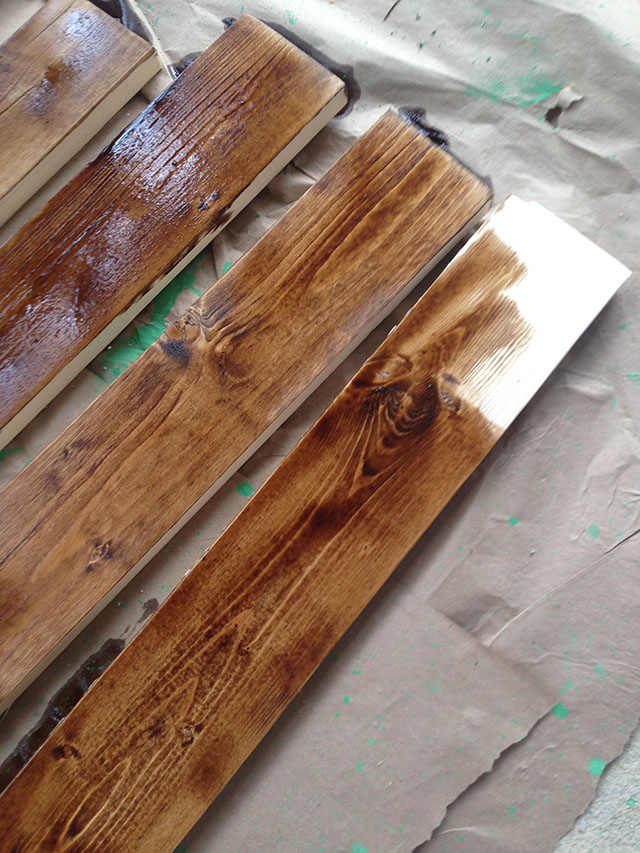
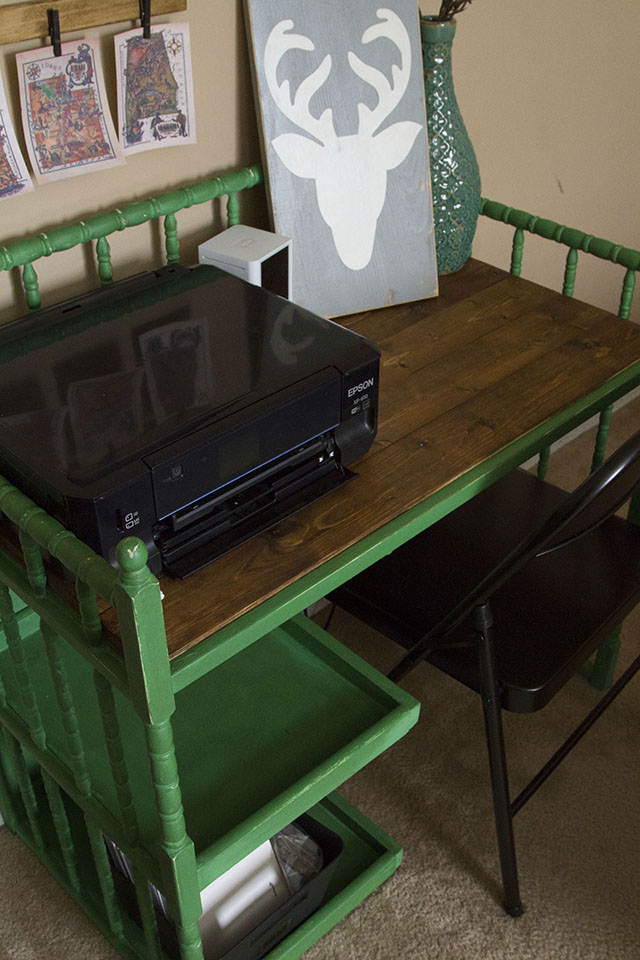
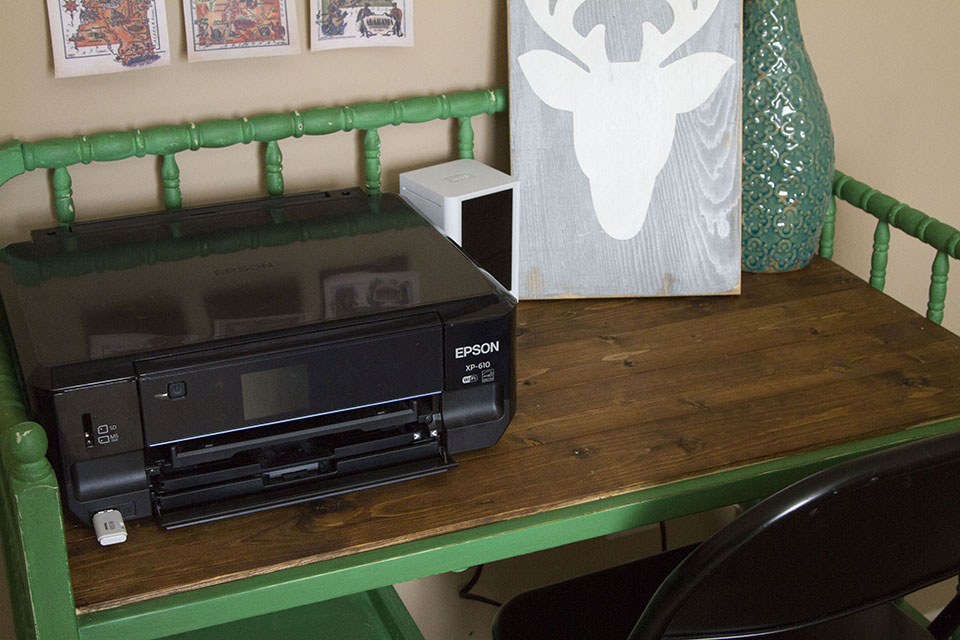
I took 1×3 boards and had them cut to the length of the top. I stained those dark. When I set them on the top with the green, it all started to come together better than I could see in my head and I was starting to get really excited. I had large head nails that I used to attach the 1×3 to the top of the desk and keep with the rustic feel.
One of my problems with the green is that I didn’t think it would go well with our bedspread. I wanted to have navy with it and almost bought a new bedspread just to go with the green desk that may or may not be a permanent feature in our room or future bedrooms. I am super cheap and I would have felt guilty about a new bedspread we didn’t need. I’m glad I didn’t get one because I think that it fits well with our current décor.
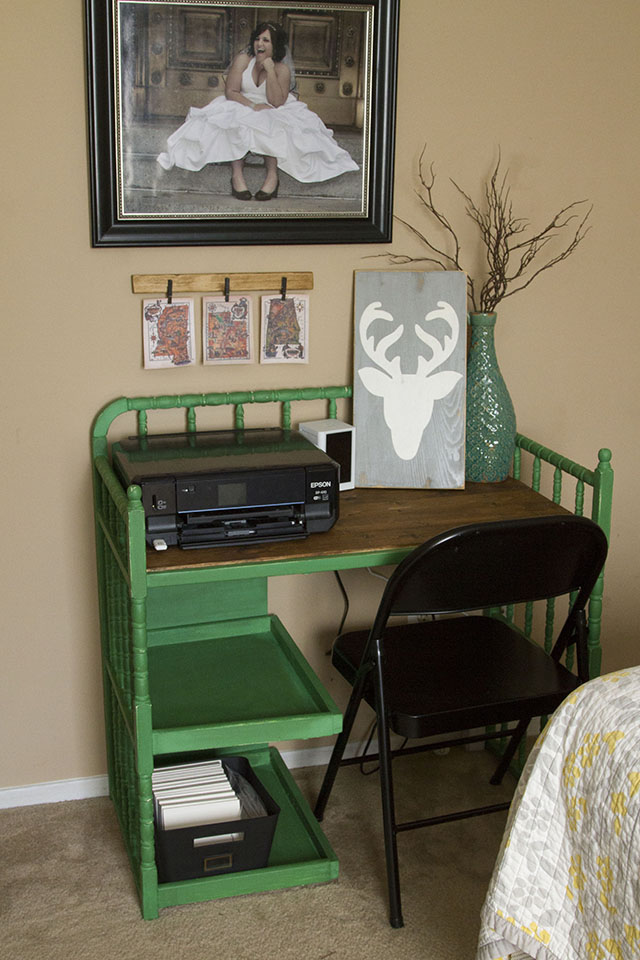
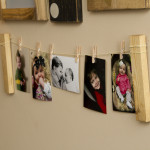
I grabbed a few decorations I had around the house, threw together a spur of the moment clipboard project that I’ll share soon, and made this nice little vignette around the printer and the desktop perfectly fits my laptop. Because I had to add the supports on the on the shelves, it barely didn’t fit the printer but I think this works better. I am keeping our chatbooks on the bottom shelf and will get a paper sorter for the middle.
I love how it warms up our room and gives me a functional alternate workspace in our home. It is also fun to keep something that has some sentimental attachments.


Leave a Reply