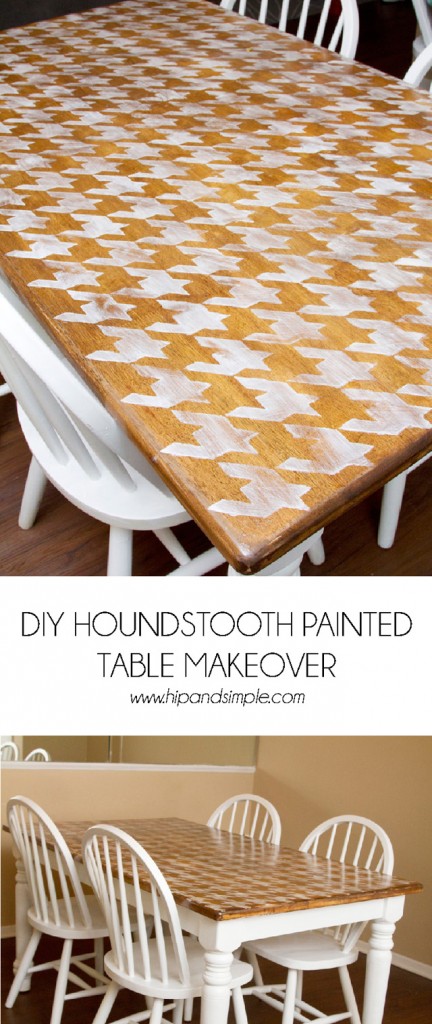
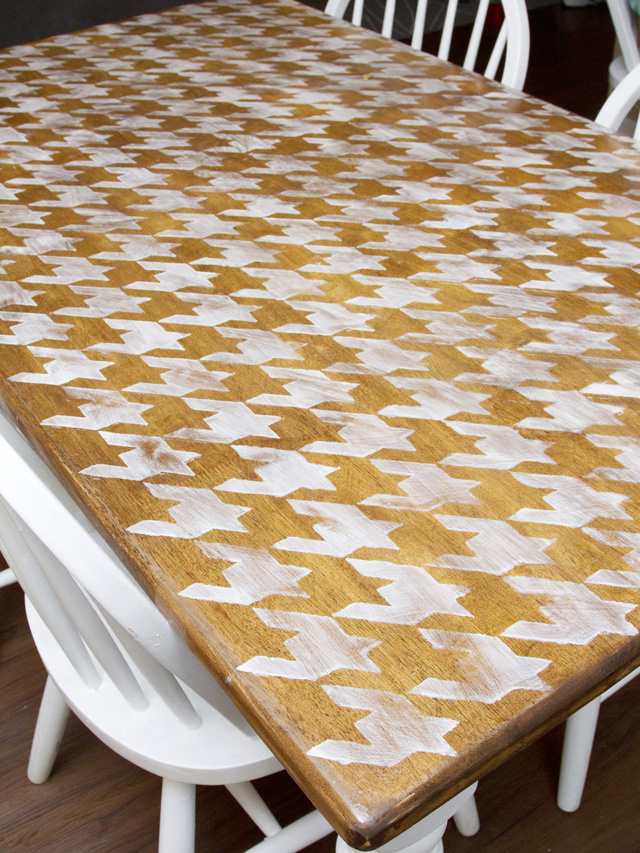
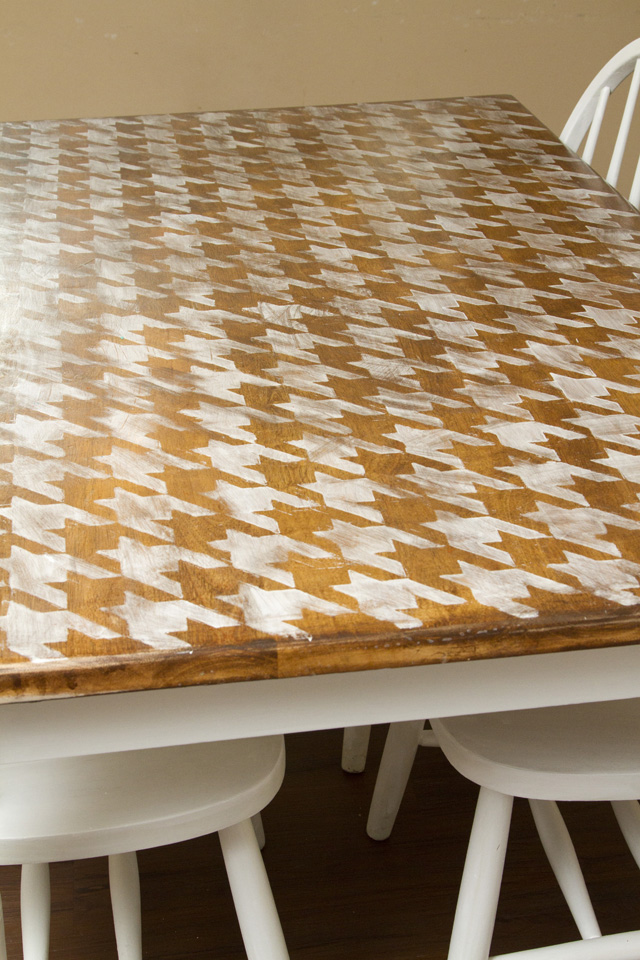
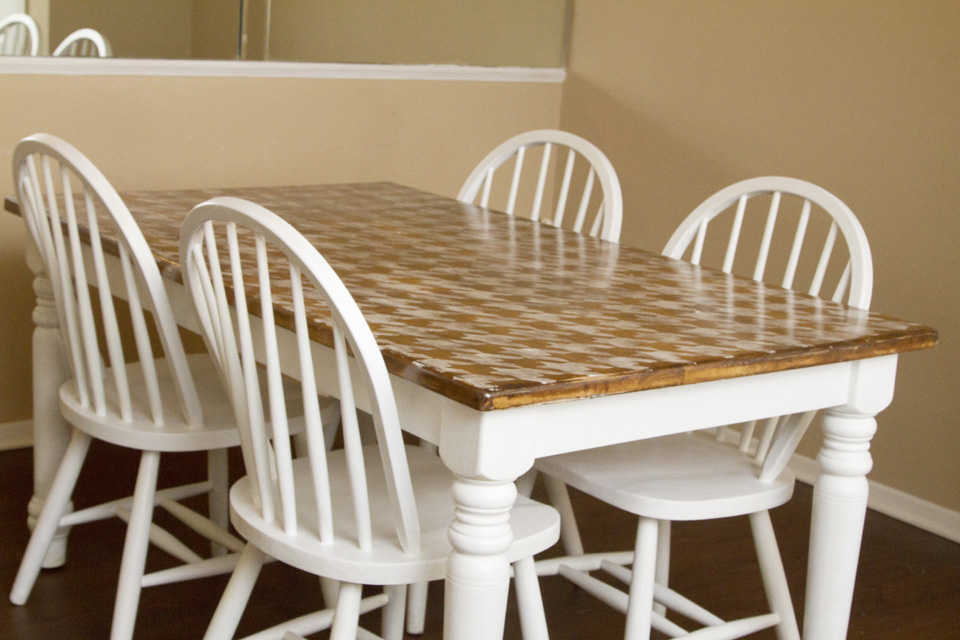
I did something bold and fun and I am so excited to share with you today, my DIY Houndstooth Painted Table Makeover!
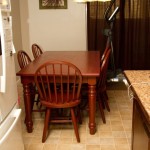
I’ve had this kitchen table for many years and before that my mom had it for many years. My grandfather got it for her shortly after my parents got divorced to ensure we had a good kitchen table and I’ll say it has been good since it’s lasted so long. It’s in great shape but, like my mother, I want to revamp things and update them all the time. I remember my mom painting it with a green top and white bottom, I believe with white chairs. I’ve painted it all black and then all red and then a few years back for my anniversary, my husband said we could do a project together. I picked to redo the table again. We stripped the top down to the wood, stained and sealed it and put a fresh coat of white paint on the legs and chairs. It’s been that way for probably about 4 years. It’s been in need of a new coat of sealer and has had small paint marks all over from my various projects and art making with my kids.
I knew I wanted something different but not too different. I tossed around a bunch of ideas, thinking of bold colors on the chairs, a different colored top but had a hard time deciding for sure. I saw this beautiful herringbone table from Heather at Twin Dragonfly Designs and I haven’t been able to get it out of my mind. I didn’t want to do the same thing but loved her bold choice and how beautiful it turned out. I played with some different designs but nothing felt right.
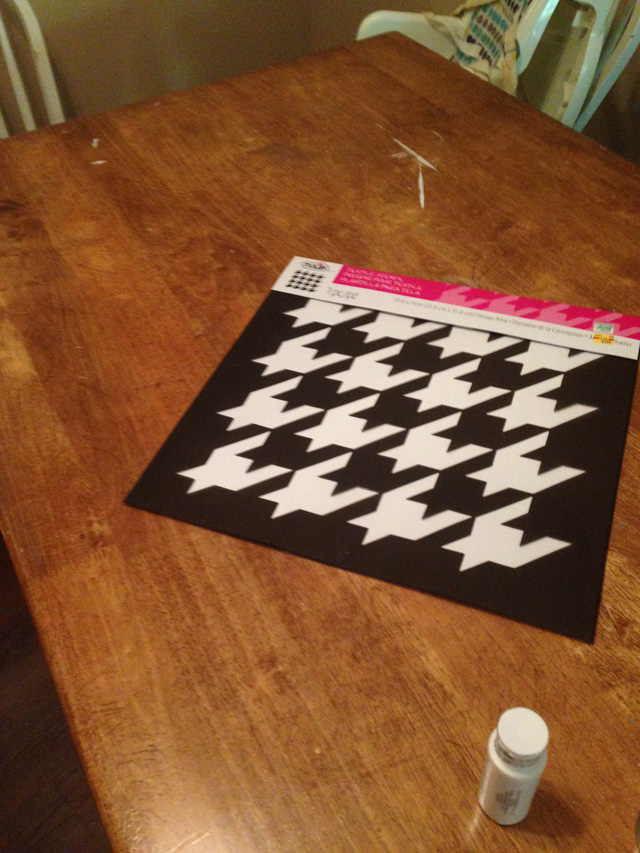
I was at Hobby Lobby a few weeks ago picking up something or other and saw this houndstooth stencil and the lights started going off. DING DING DING!!! It was on clearance for $5 so it was a sign that I HAD to have it! We are big University of Alabama fans which the houndstooth design has ties to so it is perfect. (I found the stencil online if you want get one yourself – affiliate link for convenience)
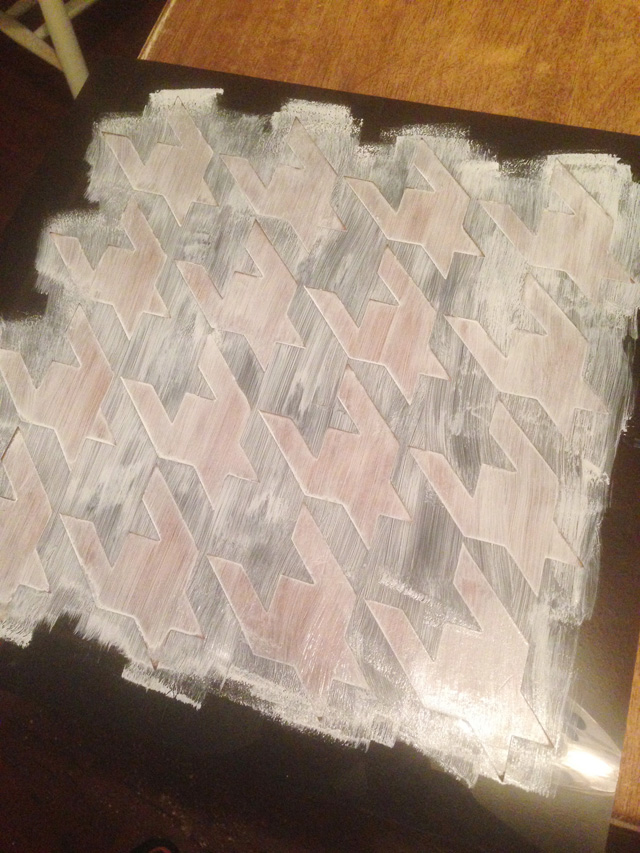
I had a million other things to do but when inspiration strikes it eats at me and I have to get at it. During nap time I got started. I sanded down the table a little and then just moved right along. I did a light coat of white paint and knew I wanted it rough incase I got some paint on the table with projects later on so I didn’t worry about being too perfect.
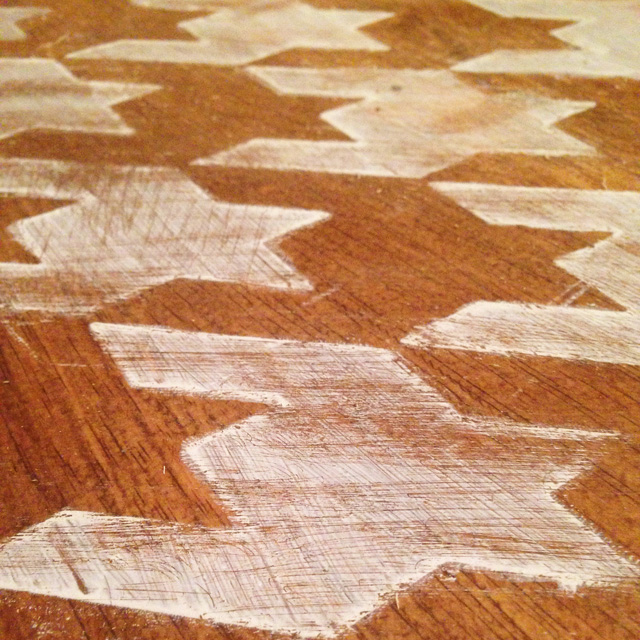
It went pretty fast and in the middle of it, I was thinking, “what in the world am I doing?”. I roughed it up with some sandpaper at then end and then I topped it off with a few coats of polyurethane and a little sanding between each one.
But I totally love it!! It’s been about a month now and every time I see it, it makes me smile!
If you’re looking for something new and bold, I say go for it. It can always be changed later on and knowing myself, it will. I love it now! What design would you choose for yourself?
Want more DIY fun ideas?
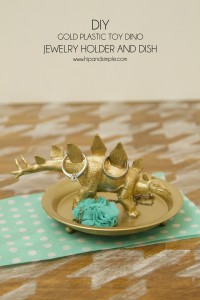 DIY Gold Plastic Toy Dino Jewelry Holder and Dish
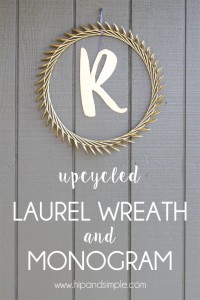 Upcycled Laurel Wreath and Monogram
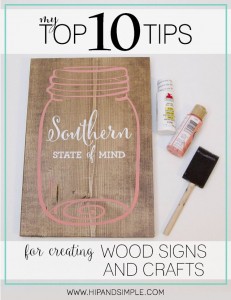 My Top 10 Tips for Creating Wood Signs and Crafts
[…] Lime Fizzy Salt Scrub | DIY Houndstooth Kitchen Table Makeover | DIY Dino Jewelry […]