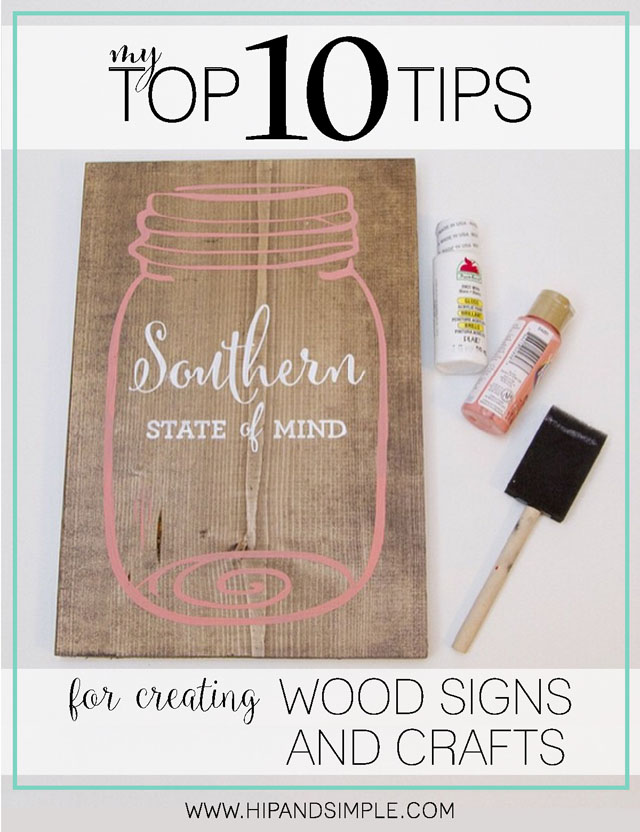
I’ve been crafting for as long as I can remember. I’ve got my top 10 tips for creating wood signs and crafts that are tried and true and am excited to share them with you today.
I come from a very creative family. My mom has been designing and teaching wood craft classes for many years. Her father and mother are both creative with wood and sewing, respectively. My dad builds things. I’ve got it in my blood, I tell ya! I worked at a craft store, that my mom managed, from age 14 – 18 and helped my mom teach most of her craft classes before, during and well after that time. Even though it’s been a couple of years since I’ve done a class, I could probably teach a class in my sleep to this day! I’m not so much into the class part, it’s a lot of work! Teaching is fine, it’s all the prep work that’s killer. I’ve played with furniture refinishing, building and making my own crafts. I sell some wood crafts in my Etsy shop. My degree is in photography and graphic design. As you can tell, lots of experience. I’ve picked up a lot of things that work for different projects and some that don’t so I’ve compiled my top 10 tips for creating wood signs and crafts.
1 – Check warp
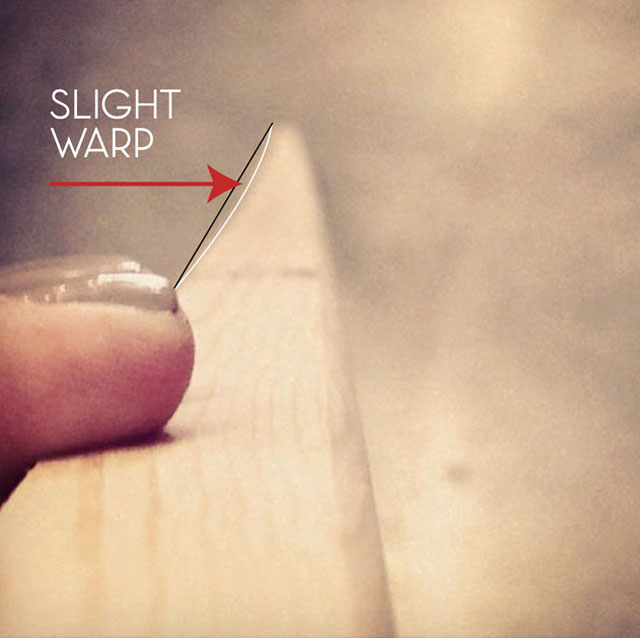
When you pick out wood for any project, be sure to check for warp. You want to get a piece with the least warp as possible. To do this, place the wood on the floor and stare down the top. You want to get your eye right on the top and look down. If you see any bend or curve in the wood, move on to the next piece. I’ve done this so much that I can usually tell if a piece is warped when it is up on the shelf but I still double check. A little warp is okay but if you get a piece that is too warped it isn’t going to lay flat.
2 – Paint your edges first
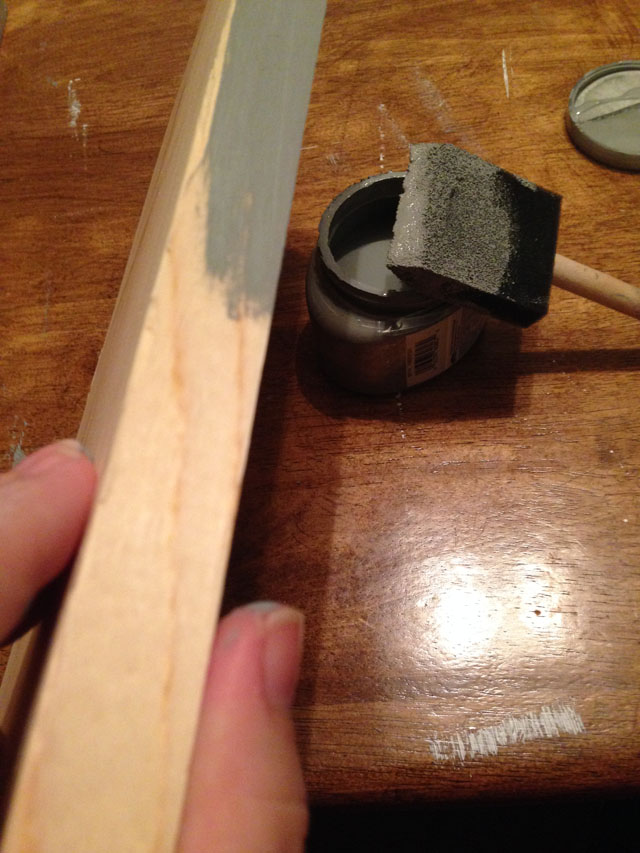
I always paint the edges of my wood first. It makes it so you can lay the wood down on a table, paint the top and move on. I don’t always paint the back and the edges usually only need one coat so this way it’s out of the way. You can also hold onto the wood with your fingers on the top of the wood and your thumb on the bottom while you paint the edges and you won’t get paint everywhere. If you start painting the top first, you can’t paint the edges until the top is done. It’s about efficiency really.
3 – Paint with the grain
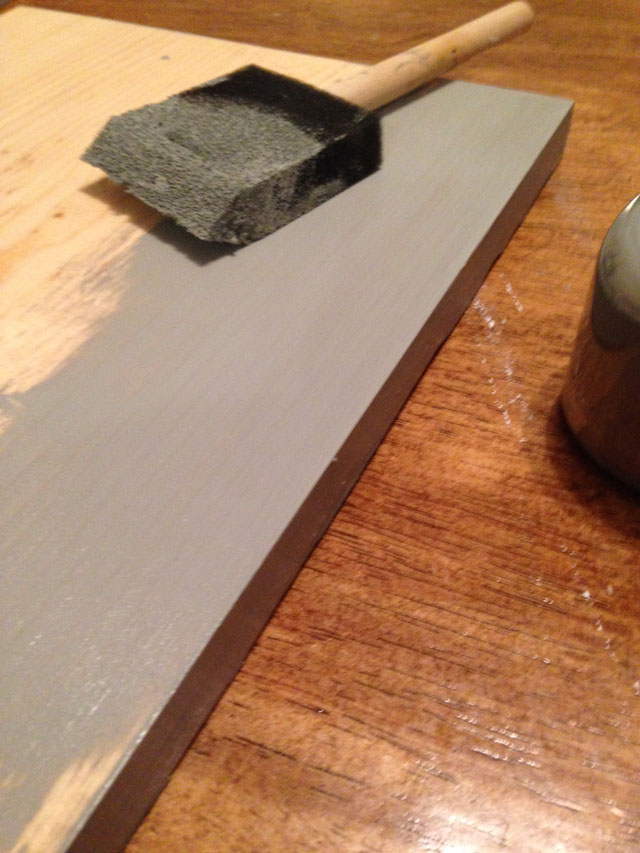
If you don’t you can see lines of your brushes more easily. Also, when possible I do one stroke across the whole piece, then I don’t end up with short brush strokes in the middle of the wood.
4 – Windex
If you get craft paint on your clothes, it won’t wash out. BUT if you do catch it when the paint is still wet, wipe off what paint you can and then spray the spot on your clothes with windex and wipe off with a cloth. I think my mom tried this after watching My Big Fat Greek Wedding but it really works!! You have to get it right away though, once it dries it is pretty well set.
5 – Nail file for sanding
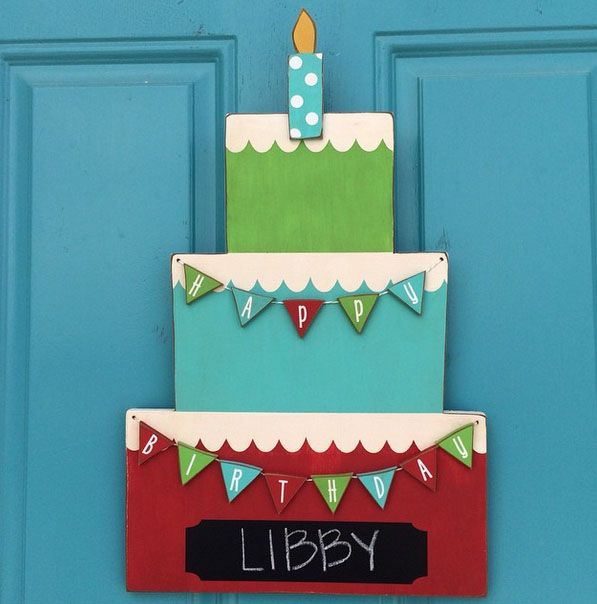
I almost always sand my edges after painting. I like an antiqued finish / worn look so as long as the edges aren’t too rough, I don’t usually waste my time sanding beforehand. After the paint is dry, I sand away, giving it the worn look I like (like the picture above – courtesy of my mom @theorangesofa). The more you take off, the older and more rustic it looks. The harder you press, the more will come off. If you use a nail sanding stick, it is super easy and allows you great control over sanding. There are sanding blocks and other options but these are my personal favorite.
6 – Staining
I personally prefer to stain to get the antiqued look. I’ve tried glazing and it gives you a different affect for sure but I like the stain. I use Rust-Oleum stain mostly. There are tons of different colors but I prefer Kona
and use it the most. Kona is pretty dark so if I need a lighter stain, I just don’t mix it first and the dark stuff usually settles on the bottom. I used to do this with bare hands but don’t anymore because my skin is a little more sensitive. I always wear gloves so I don’t get the sticky, gross feeling after. I don’t even use a brush when I stain, I just dip a paper towel in and wipe it on, having a second clean paper towel ready to wipe off the excess. If my paint is light colored, I will work in very small sections so I can better control the color and ensure it doesn’t get too dark. The longer you leave it on and the more you use, the darker it will get.
7 – Baby Wipes
When staining, it is easier to apply a little at a time and add more if you want to go darker instead of lightening the stain color if you’ve gone too dark. If you do happen to apply too much stain or leave it on to long and the color is too dark, you can keep baby wipes handy and wipe over your wood to hopefully remove some of the stain. It doesn’t always save it but it’s worth a shot before you have to resort to sanding it down to lighten it up.
8 – Permanent Vinyl
I create my designs on my computer and use my Silhouette cutter to cut them out. You can print your own design or even a free printable on paper, trace it onto your vinyl and cut it by hand with a razor blade knife. I’ve never done it with vinyl that way but it is possible. I have used a lot of different kind of vinyls. I prefer this permanent vinyl. You don’t want to leave it on your wood for too long but it is super sticky and makes it less likely to have your paint seep through under the vinyl. You want your design to be as crisp as possible when you remove the vinyl and this really helps. I have a problem with never keeping enough on hand so sometimes I run to the craft store to pick up vinyl. My thoughts on those are, the silhouette brand works well, Hobby Lobby brand is pretty good too, Circuit brand is terrible for painting wood. Circuit’s vinyl is thin and it bubbles up and just does not work for using as a stencil on wood so I do not recommend it for these type of projects. Any brand of transfer tape works for me though.
9 – Paint Bottom Color on Stencil First
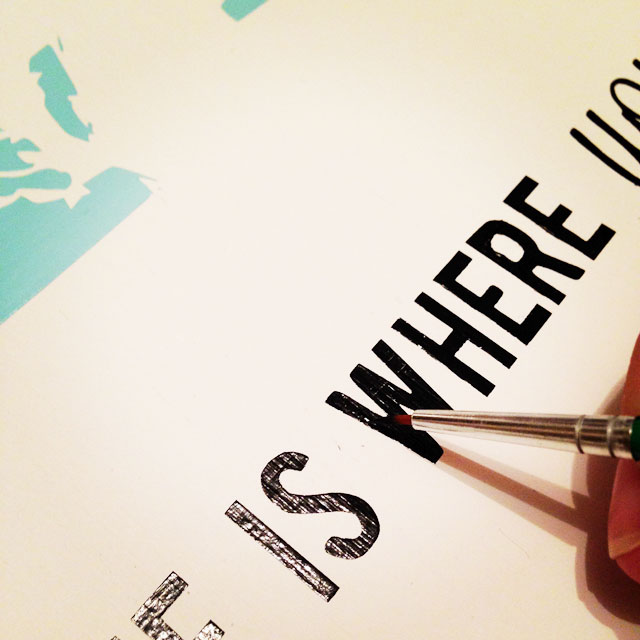
Another way to get more crisp lines is to paint the bottom color on top of your stencil first. On the picture example above, over the top of the vinyl stencil, I painted white, let it dry and then painted the black and blue in their respective spots. This helps because, if a color does seep under the vinyl, it will be the same color as the board below and it also forms a little bit of a seal to prevent further seep. They talk about this tip on HGTV when painting lines on walls using painters tape, it works that way as well as it does on wood boards. Even with this and the permanent vinyl tip, occasionally you will have small sections that need to be touched up, that’s what I am doing on the “W” above. Believe me though, it’s so much easier to avoid this as much as possible.
10 – Sawtooth without nails
My final tip is the final thing I do with any project. Most crafts and boards I make, hang on the wall or I like them to have the option to hang. I use sawtooth hangers to do that. There are two types, one with two small nail holes and the other that just nails straight into the board. Trust me, please, when I say just avoid the ones with nails. I have a much easier time finding those in the store and from time to time, I think it will be no big deal and I don’t want to go to another store. Then I get home and try to nail in the hanger and it is the most frustrating thing ever! The nails are tiny and it’s just not worth it! End your project on a happy note so after you nail in the hanger, you can quickly turn it over and do a little happy dance because you just made something awesome!!!
I hope my top 10 tips for crafting wood signs and crafts helps you with your projects. Even if you’ve been crafting with wood for a while or are brand new, I hope you’ve learned something new and helpful today.
Most of these tips have come through working with my mom and her craft classes. She is so talented and does some great things with wood. You should check out her Instagram for projects like these. She takes custom orders and does classes in Salt Lake City, Utah and Wendover, Nevada. Aren’t these adorable???
*This post contains affiliate links for convenience.

Really great article.Thank you
I really love the look of that America sign. That does seem like a great thing to have in a home. Also, I love how the wood is offset.