We recently bought a house! YAY! That, along with a promotion at work to be doing graphic design all day (my heart is happy!) has been keeping me super busy. We had to give a 60 day notice at our apartment to get out of our lease so with that, we had 15 days between closing and when we had to be out of our apartment. I decided I was going to fix up the house before we moved in. It was in good shape, bones and most finishes-wise but the previous owner decorated very heavily so there were a lot of holes in the walls and it was in need of fresh paint, things like that. I also do not have the same style as she did. Anyway, long story long, I did some really awesome stuff and then we moved just before the new year. AND THEN I started school. So it’s craziness but all good. I have some great ideas to share, it’s just a matter of getting it into a pretty format to share! But be on the look out.One of the easier things I did was installing a stair runner on our wood floors.
Our dogs and daughter have all slipped and fallen down the stairs already. Everyone was fine but we wanted something safer and to help with a little of the squeakiness. So I decided to put in a runner. Have you ever shopped for traditional carpet runners? There are not a lot of options as far as patterns go and they are expensive.
I searched the interwebs and found a bunch of ideas and combined some ways of doing things for this and it worked really well! I got 3 standard runner rugs and had my carpet pads cut for me. That was the biggest part of the cost a but still a fraction of what it could have been. Here is what you need:
Rug runner (This is the exact one I used in the 2′ 6″ x 8′ size but any rug runner that will fit on the width of your stairs with a couple inches on each side will work)
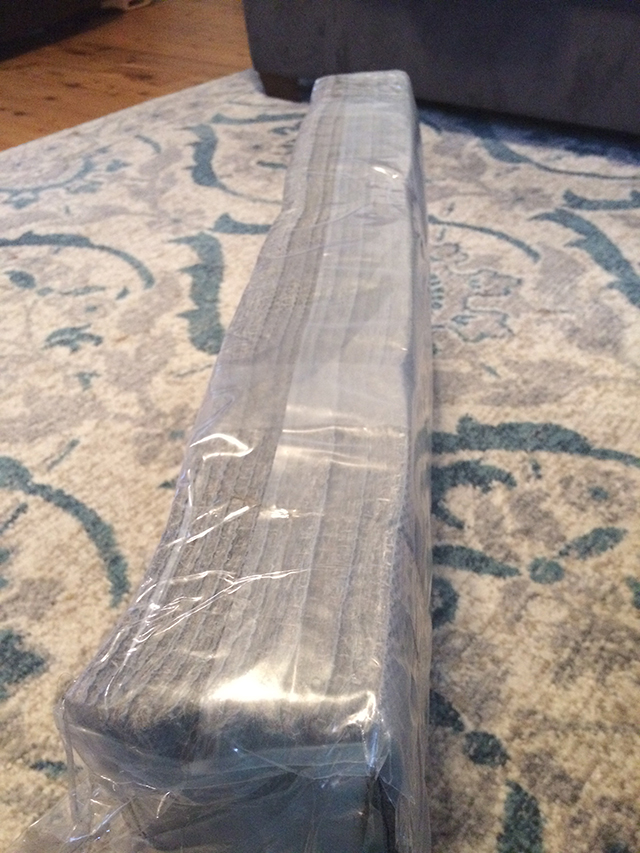
Carpet pads (that wrap around tread)
1″ nail brads for the nail gun
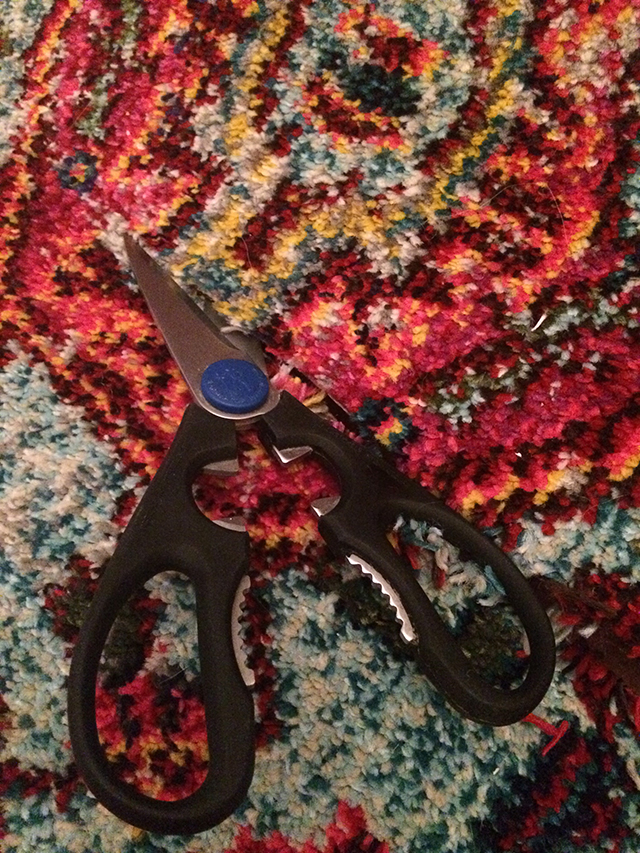
Great scissors that can cut through a rug or carpet knife
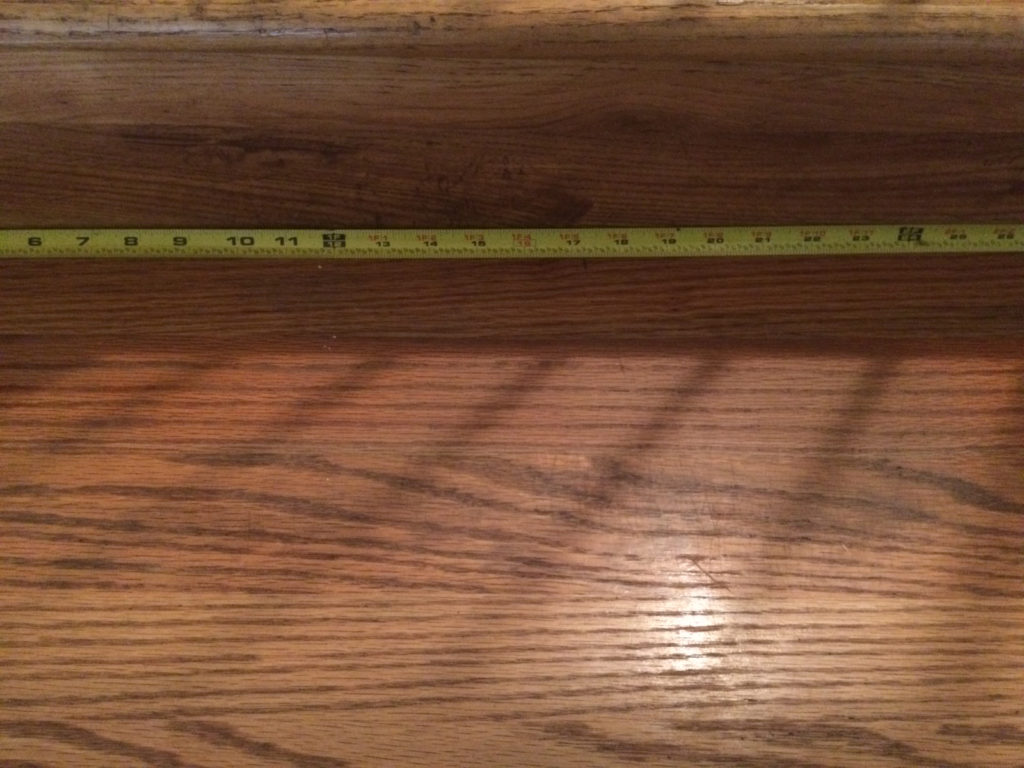
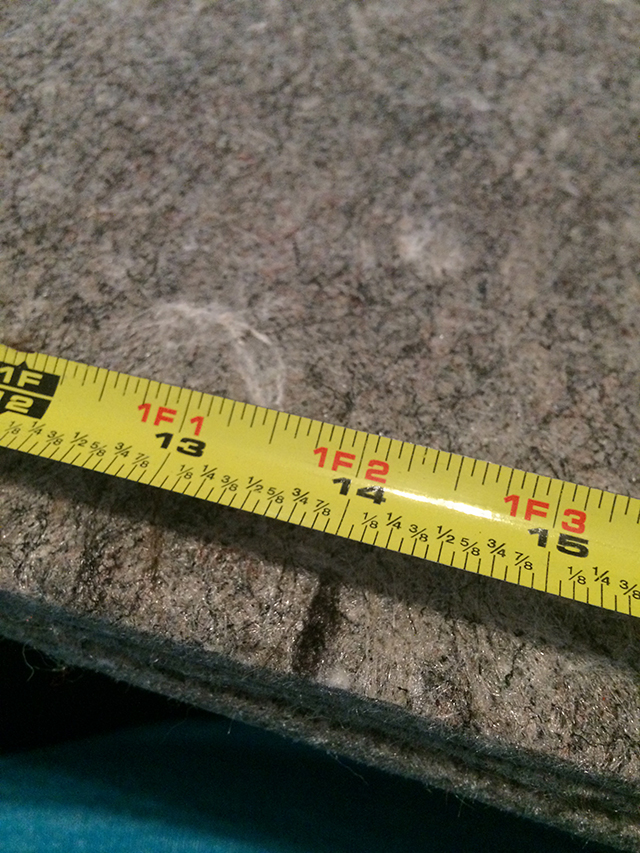
The first thing you want to do is measure and count your stairs. Take the step measurements and times it by the number of stairs you have to figure out how many inches you need. Add 12″ to that amount.We had hard wood so I wanted a little to show on the side but you may want more or less depending on the style you are going for. Find the runner you like that will be the ideal width for your stairs and then take the length of that and divide it by your total measurements (plus the 12″) to figure out how many runners you’ll need. You’ll want to be sure that your carpet pad is deep enough to cover the whole top of the step as well as fold over the tread. We needed 3 runners and 15 carpet pads.
Then order the amount of runners and carpet pads that you need and be sure they are in a width that works. I bought my carpet pads precut for me, which was absolutely lovely. The guy at Lowe’s was like, “you could have done that yourself”. Which of course I know, I am not opposed to doing things myself but I am trying to let myself be comfortable with delegating things and having a better focus on things I WANT to do myself. The pads we ordered were perfectly cut, came earlier than estimated and the guy included a handwritten note thanking me for my business. It was the best customer experience I’ve had with an Amazon experience, and I love Amazon.
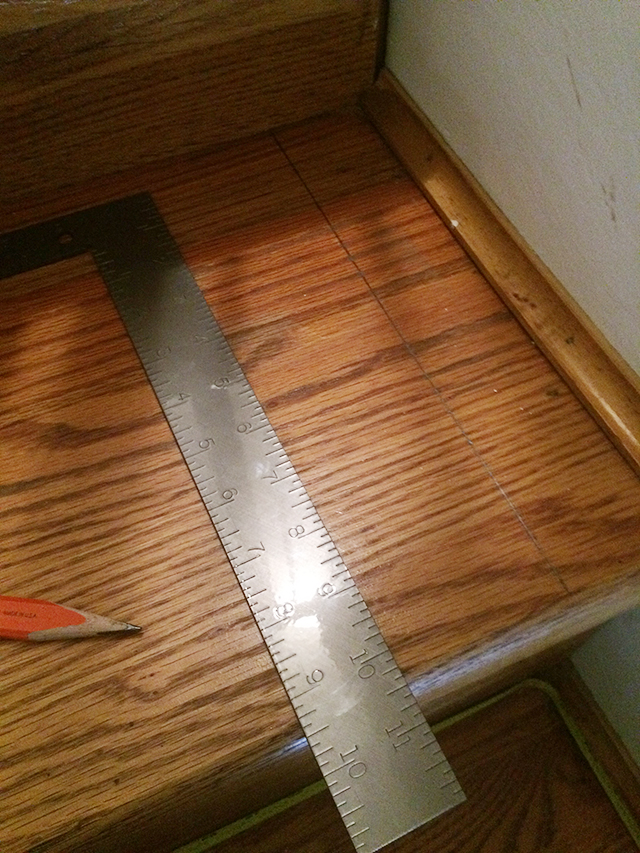
You want to take a pencil and start marking up your stairs. Figure out how far in from the edge you want the runner. I wanted 2″ on both sides. I marked the whole length of the edge of the runner on both sides as well as a small mark for the center at the back of the step.
Then I marked the center of the carpet pad with a sharpie since the carpet pad is not the full width of the runner but it’s easy to line up.
You are ready to start installing your pads. Match up the sharpie center point on the carpet pad with the pencil center mark on the top of the step.
Use your staple gun and secure the pad in place along the back and all edges. Wrap the pad around the tread and staple on the bottom edge as well. I put in 3-5 staples on each edge. I was a little worried about so many holes but I pulled up one edge and saw that they leave very tiny and not at all noticeable holes so if we ever go back to just hardwood, the floors won’t be ruined.

Once that’s all finished you are almost to the runner. Take some carpet tape and stick it up on the back of each stair step. This stuff is sticky so put it on straight. I ended up doing it on every other step at the bottom because I ran out and that was plenty. It mostly holds it in place so you can have it secure when you are installing the runner.
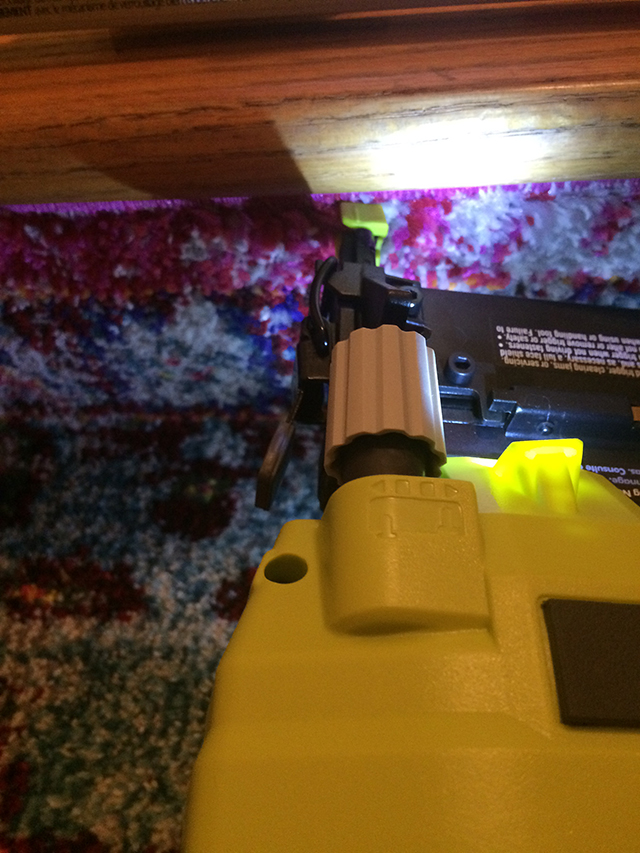
Starting at the back of the very first step, line up the edges of the runner and using your nail gun, start attaching it to the step. I started in the middle and smoothed it out as I went.
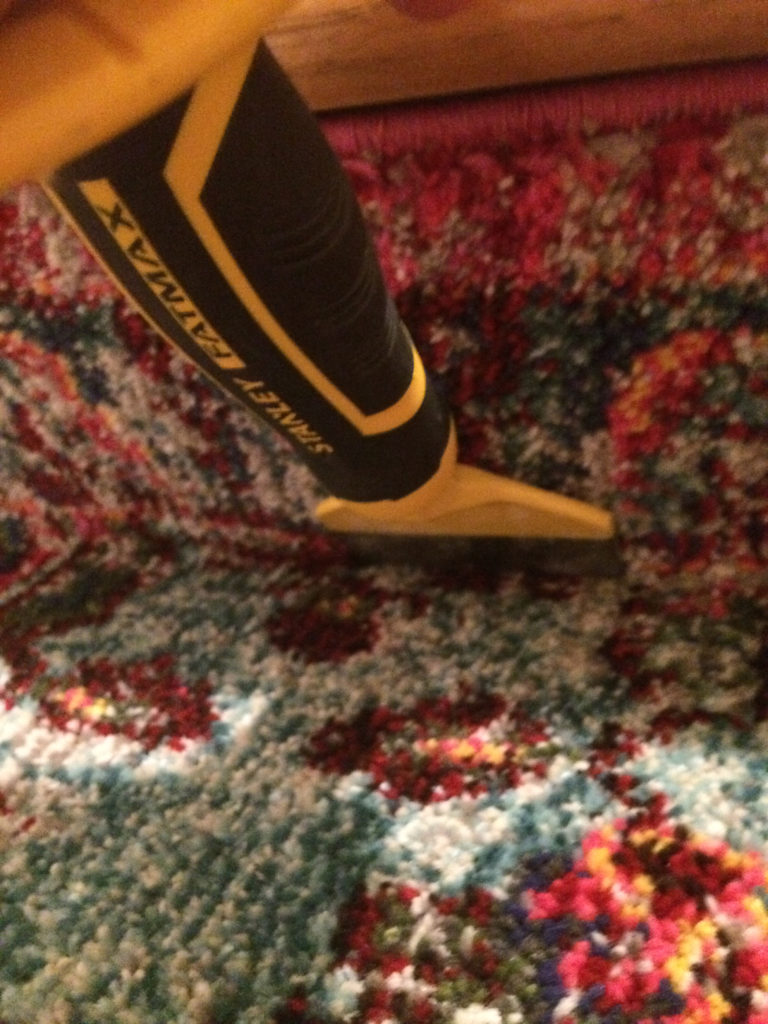
When you get to the top of the step, take your chisel. While applying some pressure down and back, you want to get the runner as tight as possible in the back crevice area. I hold it where I want it, nail and then move the chisel down a few inches and nail again. Then nail in the edges of the top of the runner and make sure that the runner lines up with the pencil line you have drawn.
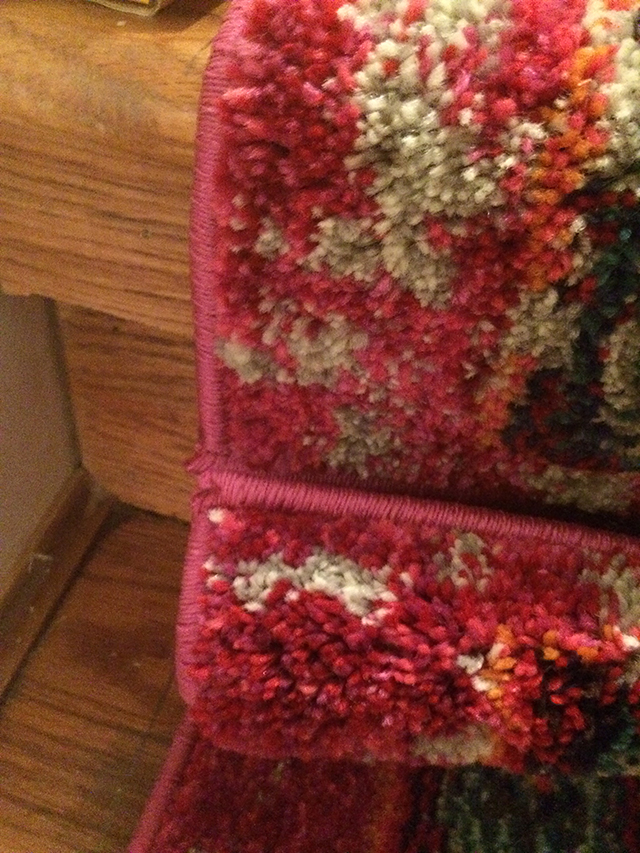
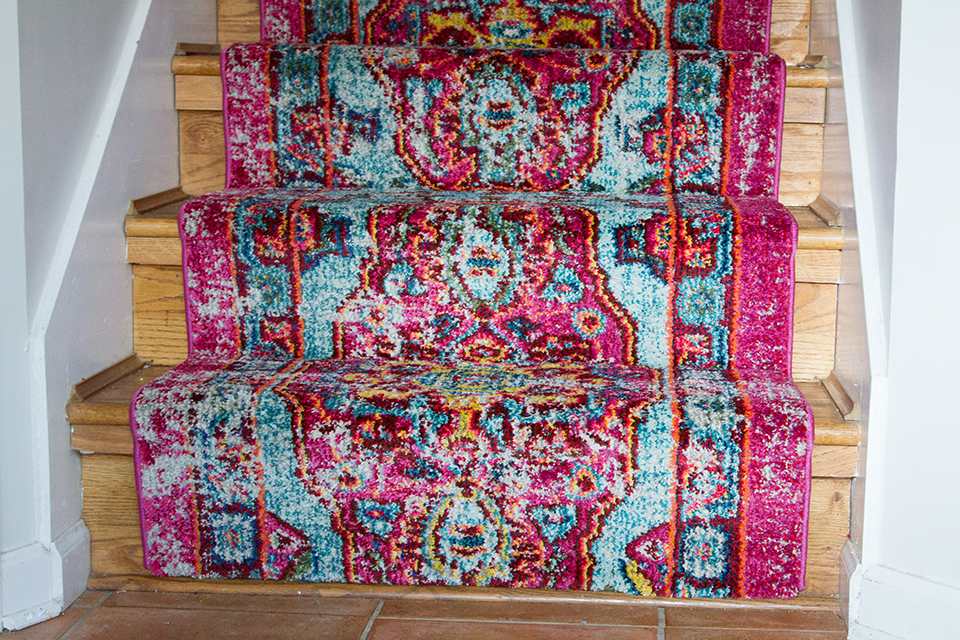
I decided to wrap the runner around each tread. Each of my steps seems to be different and different parts of the wood protrude. I thought doing a “waterfall” step where it is more casual and just hangs down would look better but in the areas where the wood trim sticks out more, it looked funny so I went with the more traditional look of having it all wrapped tight around the tread.
Continue this on until you get to the end of your runner. There are two options here. You can trim your runner down and then match up the new runner and staple it in or you can just fold everything under and get it lined up the way you wanted. I opted for the folding. I folded the end of the first runner and stapled it in. Then I folded the new runner about where it seemed to match with the old one on the design. Then I installed it in around a tread so it looked like that’s the way it was supposed to be. This does make it thick but if you hold it closed enough and make sure to nail it down really well, you will be fine.
Continue this until you get to the end. I had way too much rug left at the end to fold it under so I took our kitchen shears and cut off most of the excess and then folded it up, just like I did before, to install the last piece.
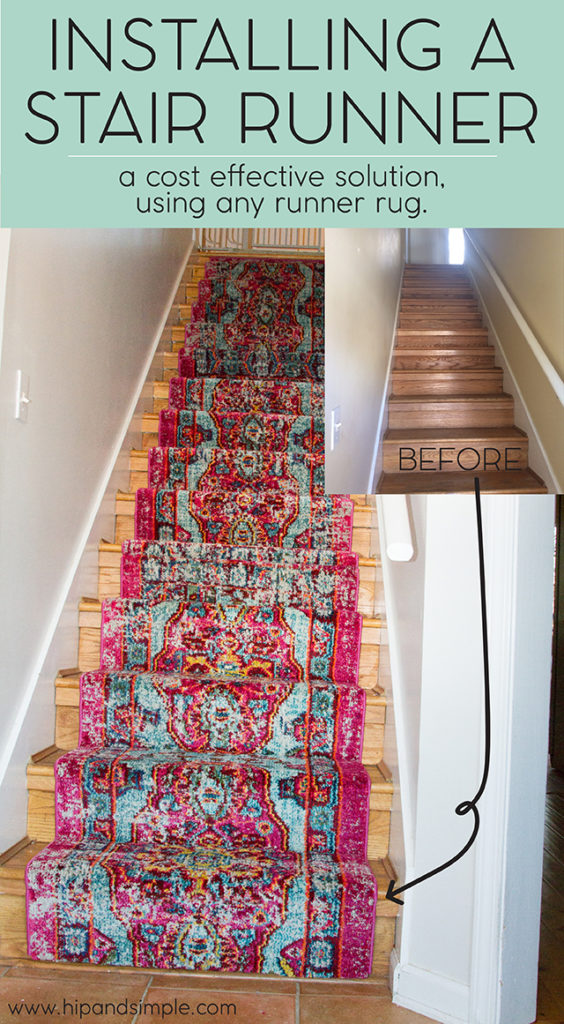
Here is the bottom step.
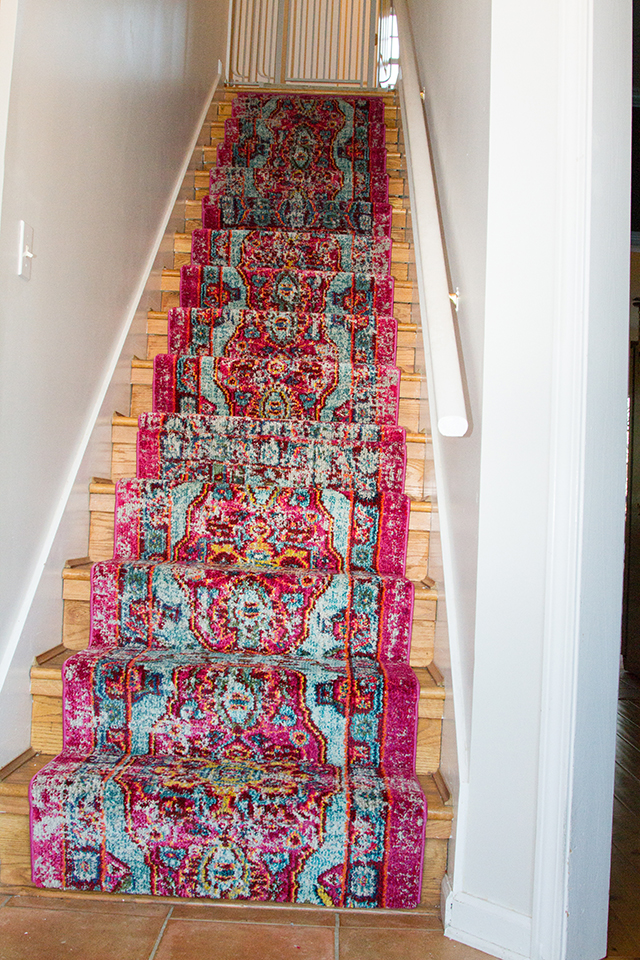
Here is the final product. I was a little worried about such a bold pattern in a rug but it is just awesome. It makes me smile every time I see it. Not only that but the stairs are safer now for the kids and dogs and the padding makes it so much more comfortable. I love the way it turned out. When I was looking at actual stair runners the cost would have been upwards of $300-$600 to do something like this and that is not including the installation. We’ve had it in for a few months now and everything is holding up well. I know this is going to last us a good while.
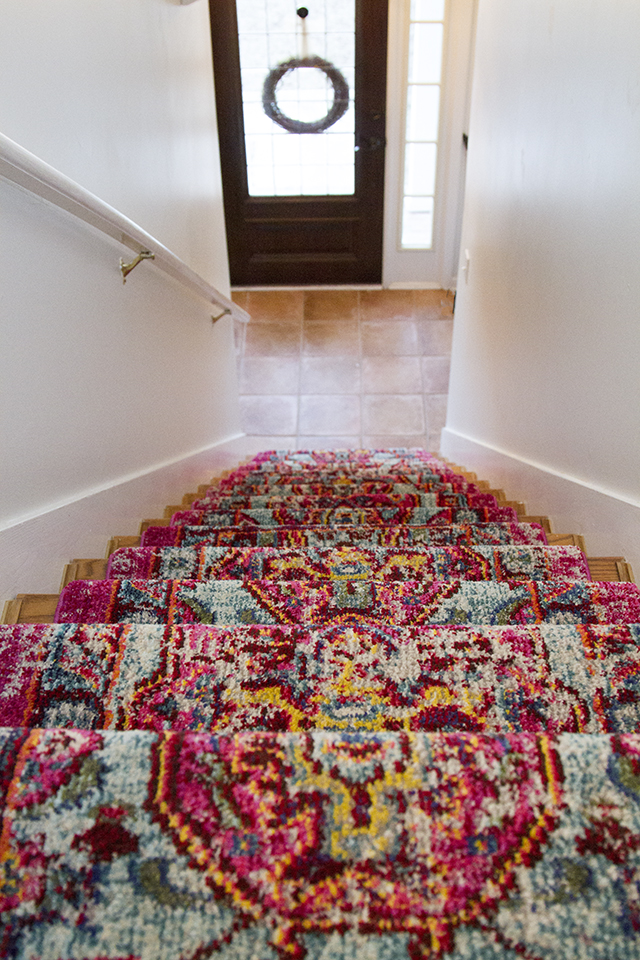
Another view. It’s so inviting and fun.
I can’t believe what a transformation this makes in our house. It was so BEIGE everywhere in this home. Beige walls, beige cupboards, tan tiles, light wood floors, etc. I’ve painted it all a light grey and have added some pops of colors, like this stair runner, to give our new place some personality. I am SERIOUSLY loving this and can’t wait to you all the other things I’ve done like my first back splash, repainting the kitchen counters, designing and installing a pantry, changing the direction of a door swing, new (and super cheap) headboard, etc.! I’ve been busy!







I just want to thank you for posting your experience. Keep it coming!
super helpful!! thank you!
You did a great job. I’m so chicken in tackling this same issue in my small town home. The carpet on the stairway needs changing,but the quotes were unbelievable considering I was going for the good old cream/buff color.More power to your stapler.
Could you please tell me where you got your rug? Thanks for the help article!
It’s from Amazon! https://www.amazon.com/gp/product/B01DW8KTE8/ref=as_li_qf_sp_asin_il_tl?ie=UTF8&tag=hipandsim-20&camp=1789&creative=9325&linkCode=as2&creativeASIN=B01DW8KTE8&linkId=138dbc7e5fe4e7e1db64bf22f78bb532
Is there,a,way to do this without the staples?
I have a HISTORIC Home.
love the rugs!!
I’m not sure, I wouldn’t recommend it in a historic home. Maybe research some taping options? Using a staple gun does leave small holes.