
My son is going to be a year old tomorrow. There I said it, I still don’t quite believe it but I said it and am starting to come to terms with it. I remember how slow time seemed to pass before him and now it really is going in the blink of an eye. I am sure it only gets worse the older he gets. I just wish time would slow down a little but oh well.
I have been thinking about what to do for his first birthday gift. He likes toys but most of all he loves things he shouldn’t play with like door stops, cupboards, etc. I have seen some ideas via pinterest for sensory boards. Most of them are very large and installed on the wall. Most of them aren’t very decorative but are very functional. All of that is fine and well but I wanted something a little smaller, easy to transport, and of course really cute. I like things to be pretty and some kids things can be cheesy but I don’t think they have to be to still be attractive to kids. So I came up with my own.
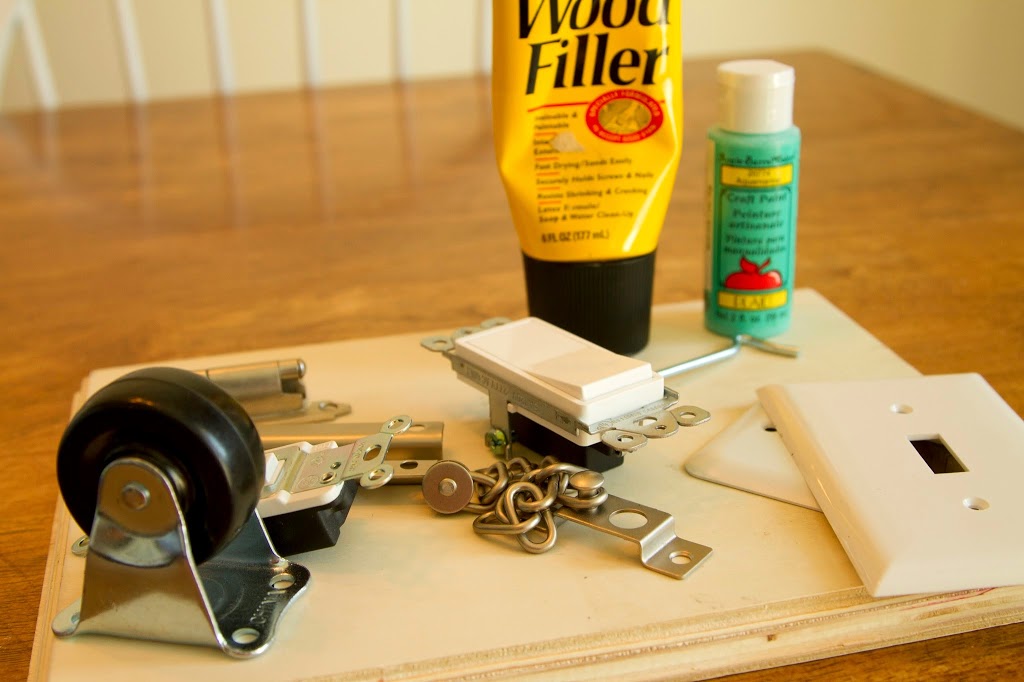
I got a wood plaque and some random gizmos and gadgets and locks that I thought would be fun for Reece.
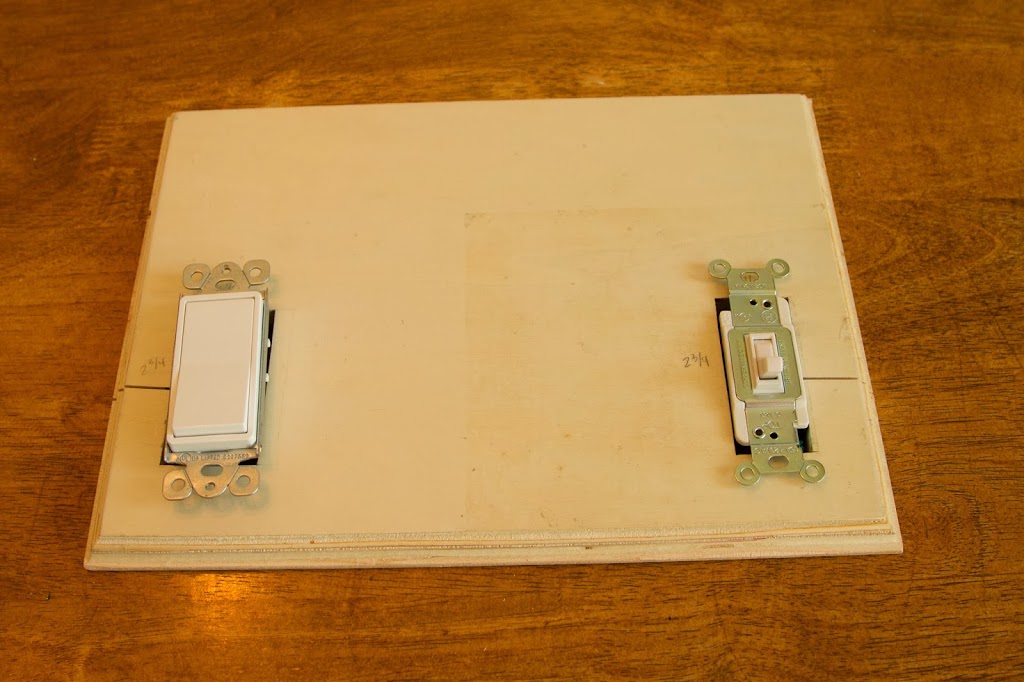
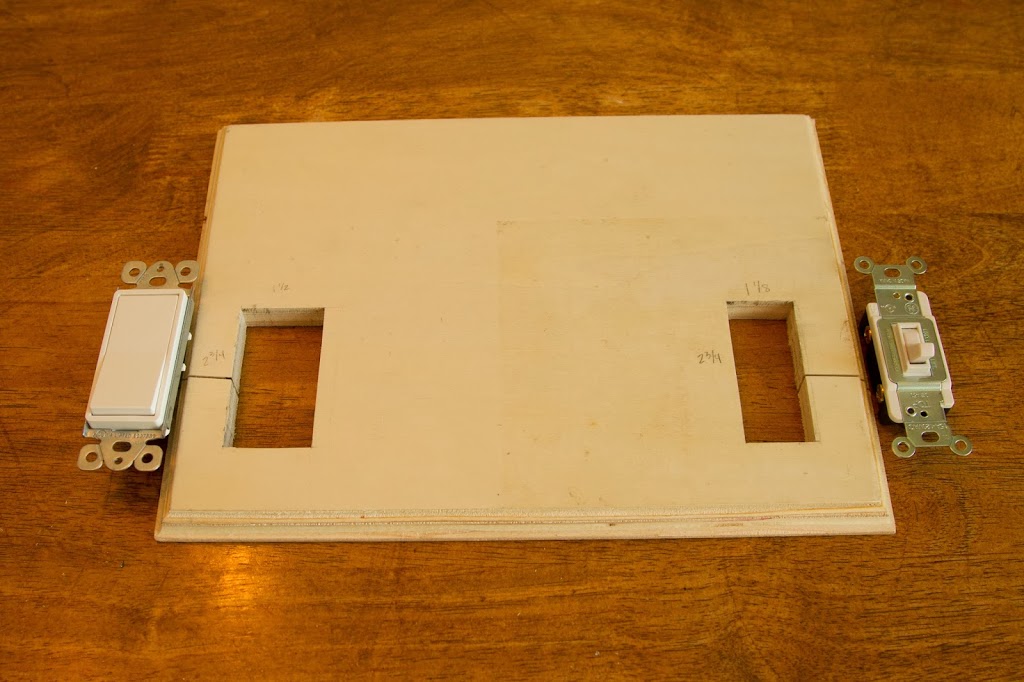
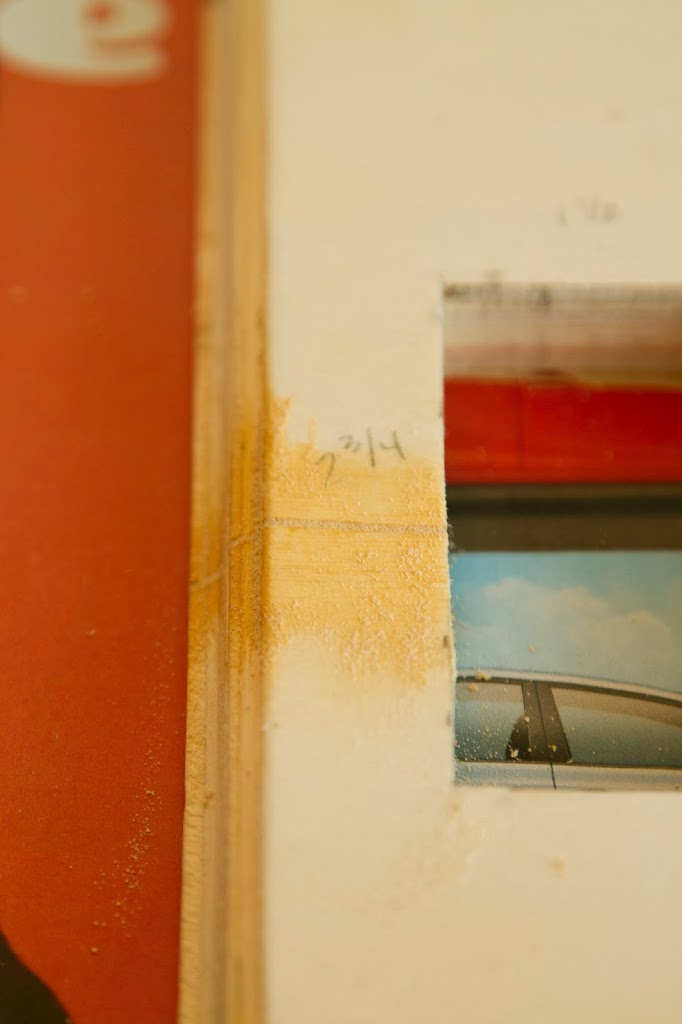
I laid out everything how I wanted it but needed to cut some holes to make room for the light switches. I cut the holes using a band saw.
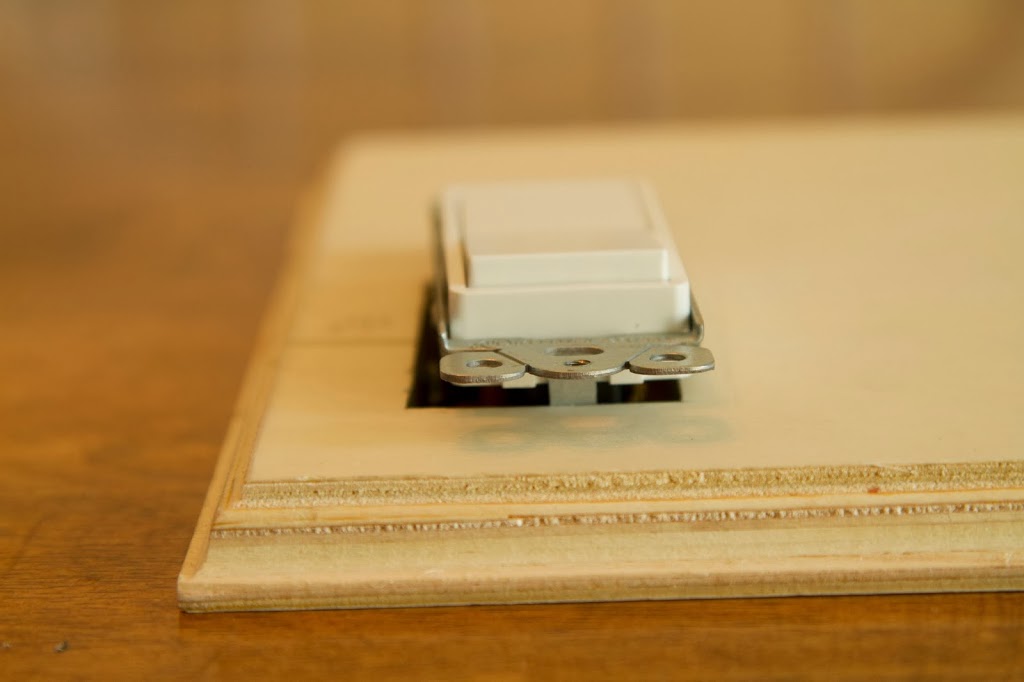
You’ll notice they stuck out more than the height of the wood, I’ll address a fix for that that later so it wouldn’t poke into my babies legs, or eyes, or whatever he sets the board on.
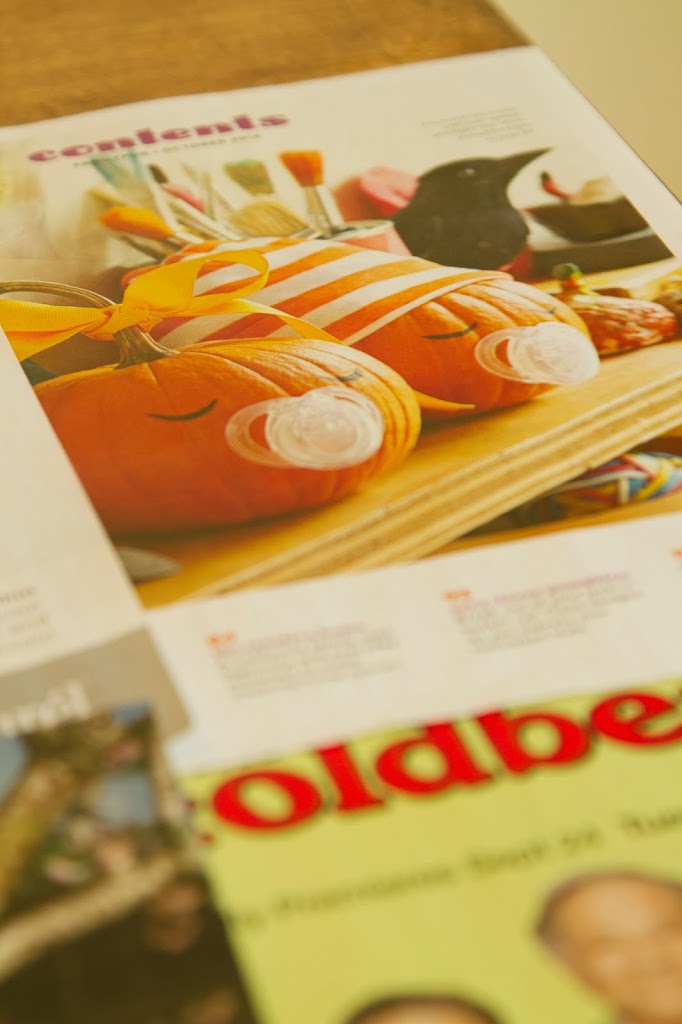
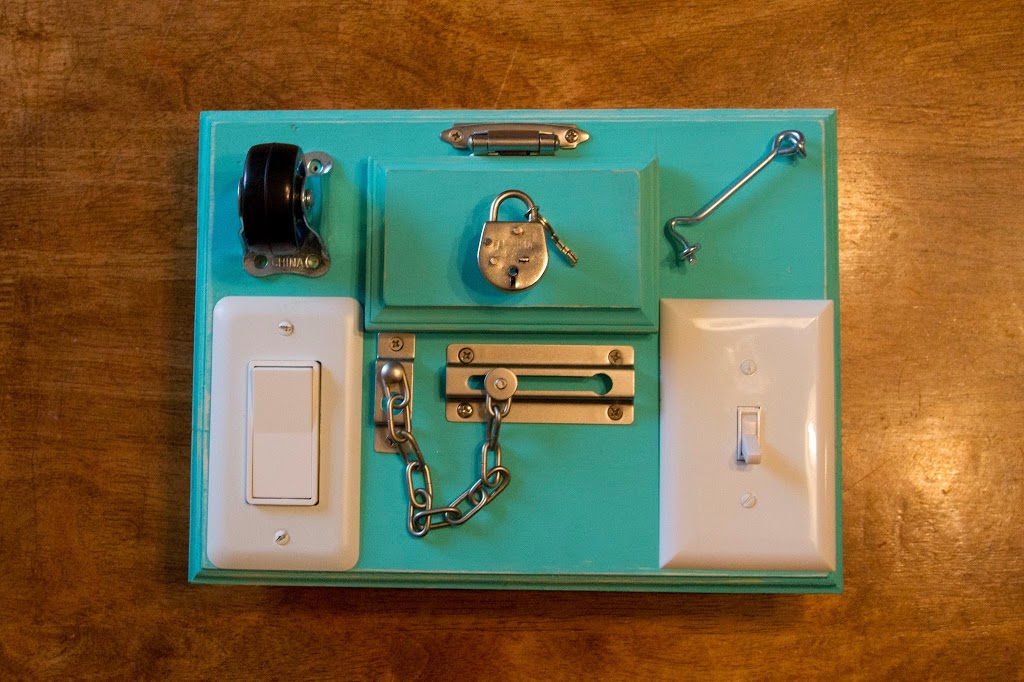
I then painted the board and attached all the gadgets. I drilled pilot holes into the board to help with the screws and not splitting the wood. I laid out some old magazine pages to protect the table from the paint and came across the picture below. That orange and white stripped hat on that pumpkin is the same one my mom brought Reece in the hospital after he was born. I was already feeling sappy and nostalgic and that didn’t help.
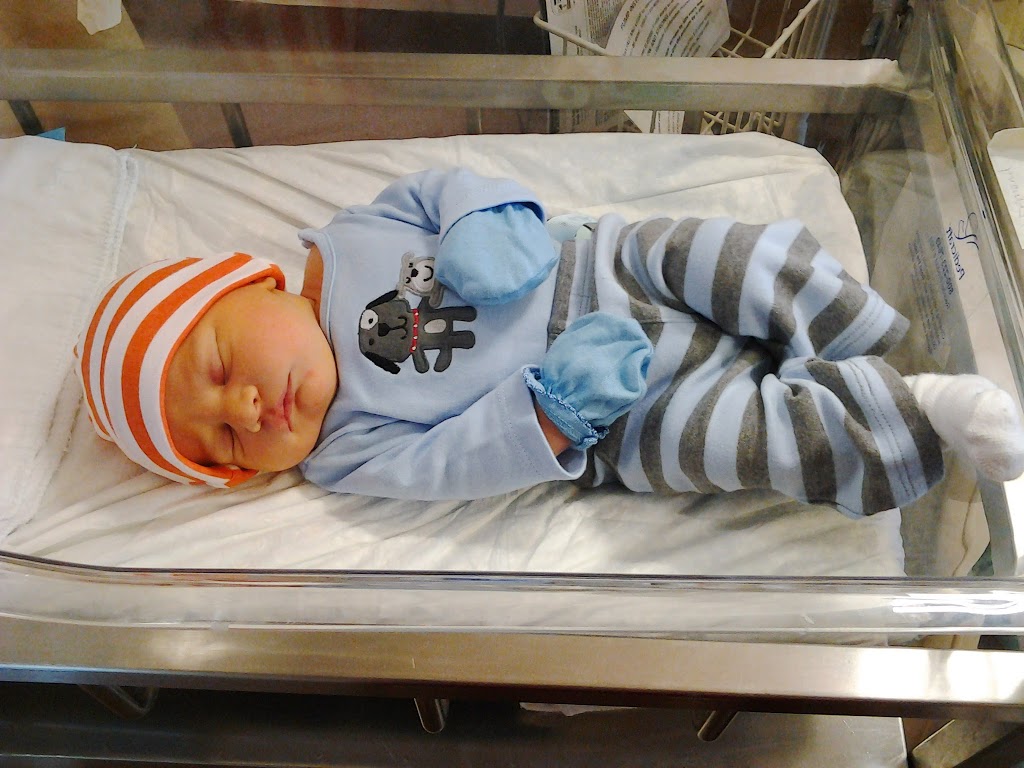
Look how tiny he was, this was right before we brought him home.
Look at him now, he was enjoying stuffing food in his mouth face and watching me work on this gift!

Back to the project…
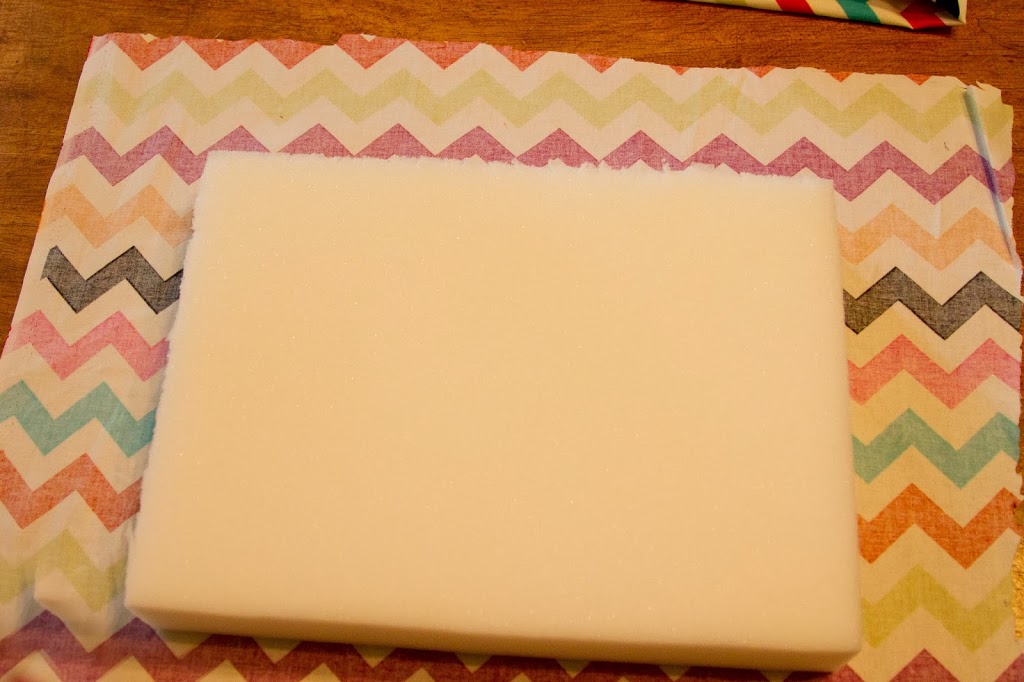
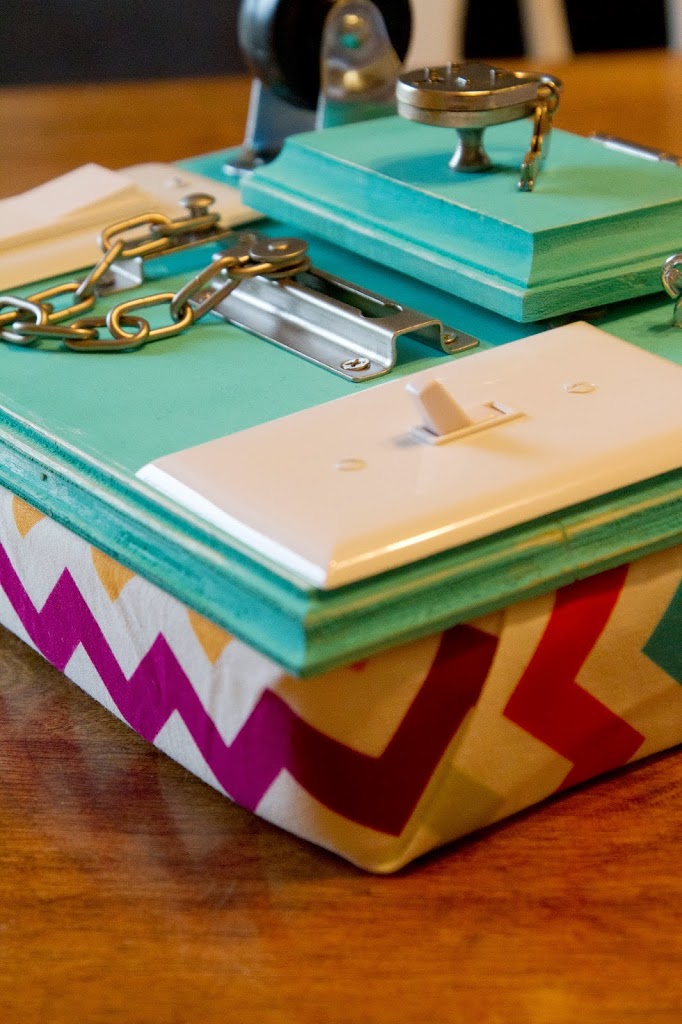
After I got everything attached and how I wanted, I decided to attach a foam base to cover up any holes and especially the light switch sticking out the bottom. I had some 2″ cushion foam lying around from a past project and picked out a fun and vibrant fabric that I thought Reece would enjoy.
I put the plaque on the foam and traced it with a pen and cut the foam to size.
I cut a piece of the fabric, making sure it extended far enough to cover all sides of the foam.


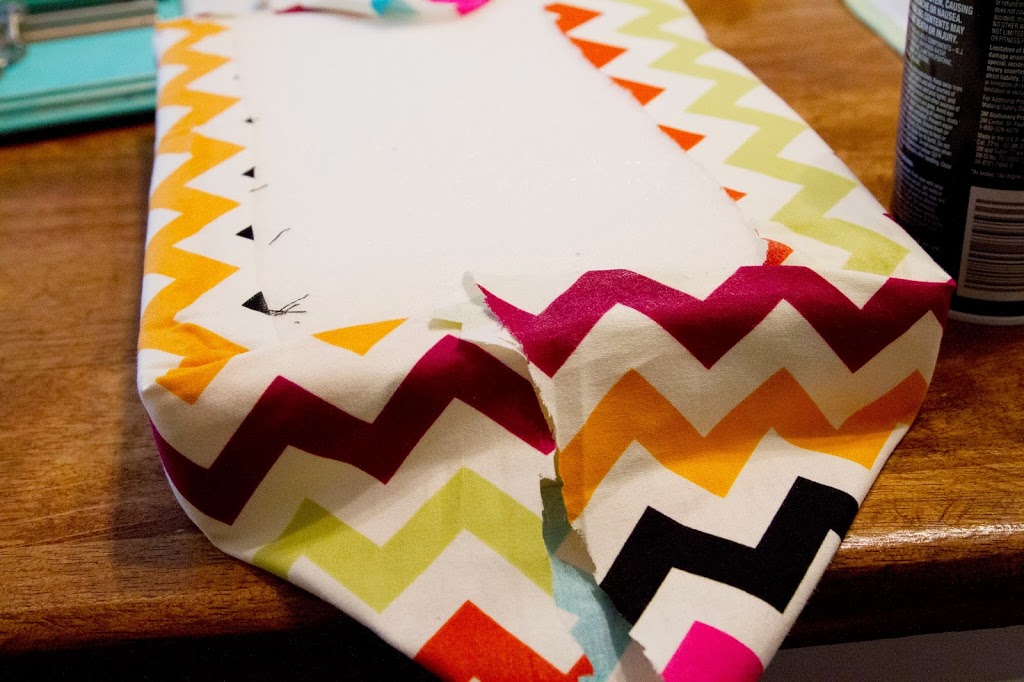
Then I sprayed all of the foam and exposed fabric on the bottom and carefully placed the plaque on top. I applied a little bit of pressure and held it there for a few seconds to get everything in place.
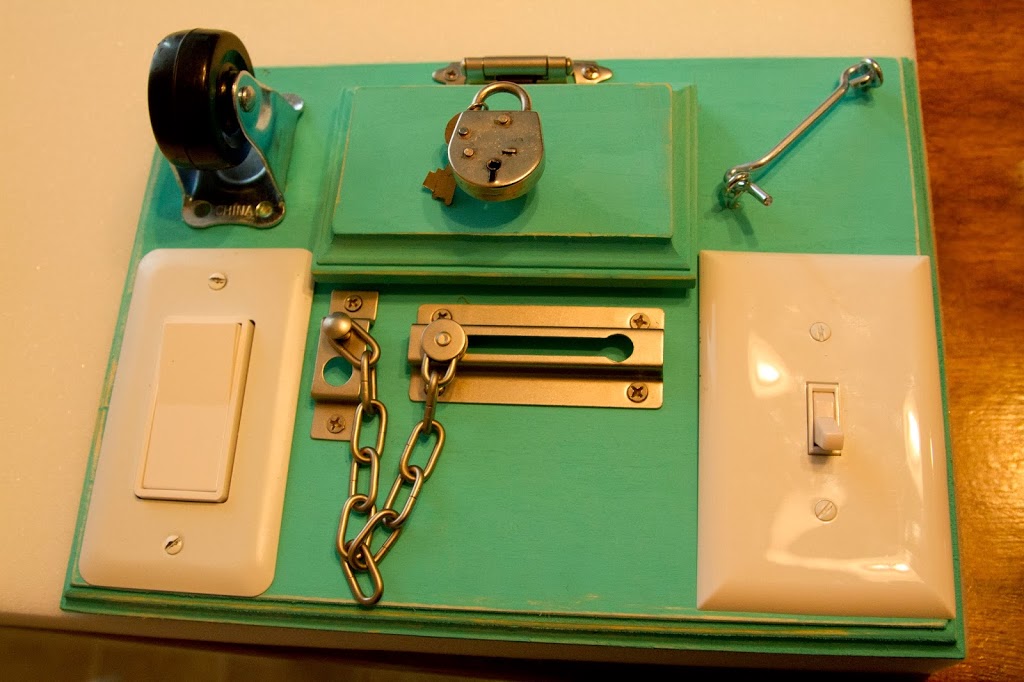
I then took some chip board letters I picked up from Hobby Lobby and spelled out his name under a second plaque and hinge on the board. I used tacky glue.
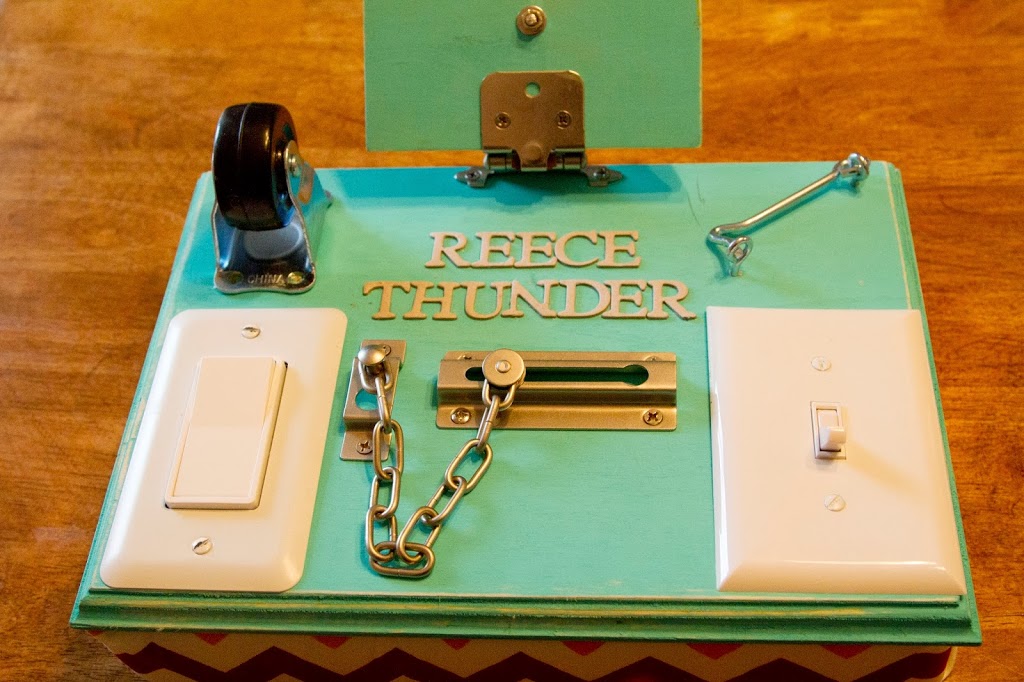
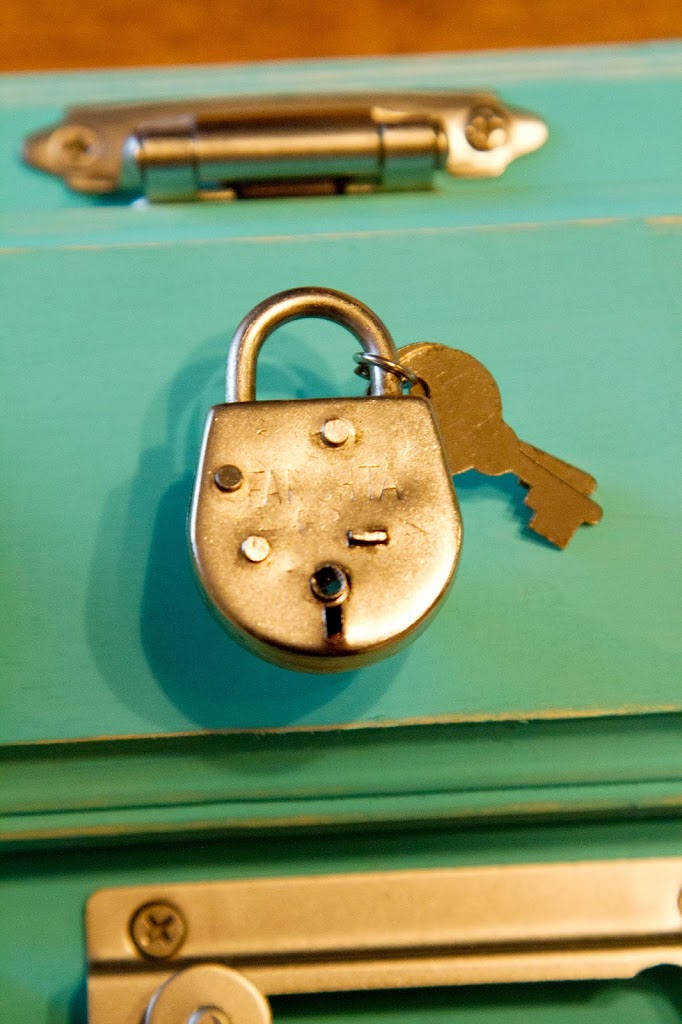
Most of the things I found are pretty basic and can be picked up at any hardware or even Walmart. I just have to point out that I found this adorable lock knob at Hobby Lobby and it was 50% – total score. I love how well it fits in with the whole theme and look of the board! I was giddy in the aisle when I spotted it. I did have to trim down the end of the knob with a hack saw but that was easy peasy!
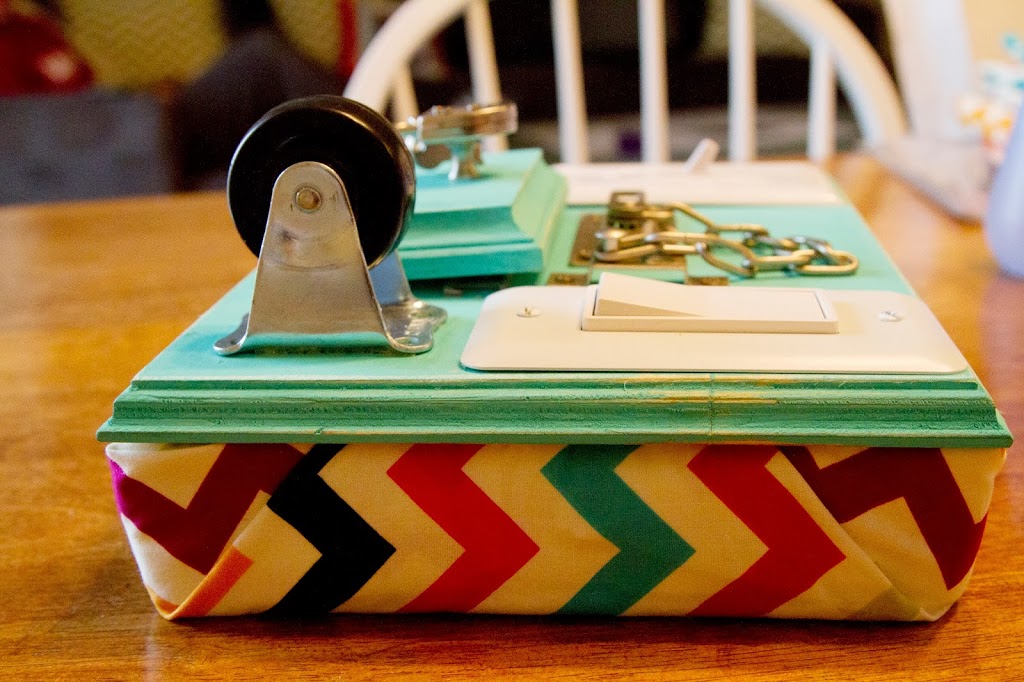
And that was it! All done! I am so happy with the way it turned out, it was even better than in my head.
It is light weight and can be used on his lap or a table and is sturdy for him to toss around.
I can’t wait to give it to my son at his upcoming birthday party! He has been eager to get his hands on this while watching me put it together!
What do you think?


Seriously Jess? This is brilliant and so well executed!
This is great! I’ve been searching for different ways (other than mounting on the wall) to execute a busy board and this one is my favorite so far. And I love the fabric you used.So cute.
My son has a sensory processing disorder, and this is an AWESOME idea! Very neat and easy!
Thanks Amber and Carrie! Even over a year later it holds up great and my son loves it. It is so good for the car!
This is great! I LOVE that this one looks unisex! I hate how they always look so “boyish.”
Yours is adorable and has inspired me to make my own 🙂
Thanks Maddie! Even though this was for my son, I wanted it too look cute and pretty and his new little sister even likes the colors. I’m all about unisex toys so they can easily be used by any gender and personality. 🙂 Let me know how yours turns out!
This is a great idea! I am about to make one for my son using a wooden “bar stools” and a lazy susan. Is there a finish for the wood that you can recommend in case he decides to taste test? Thanks!!
Hi Kristina! I use craft paint and then if I want to seal it then a polyurethane clear coat finish on most everything I paint. I can’t speak to the safety as I am not an expert in chemicals so I would suggest you read the labels but I find them to be safe for my family and feel comfortable bringing them into my home, even with babies who put everything in their mouths 🙂 Best of luck on your project, the lazy susan idea sounds so fantastic for something like this!