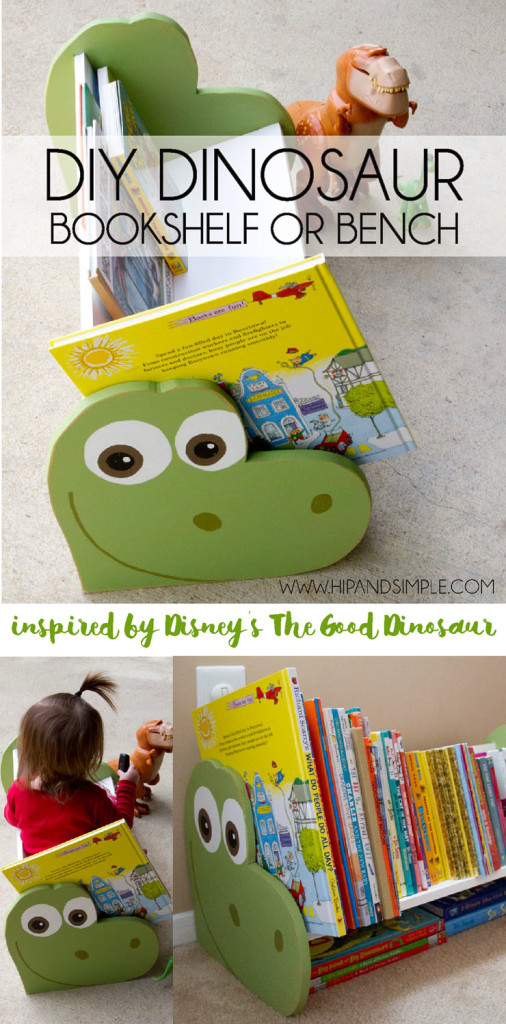
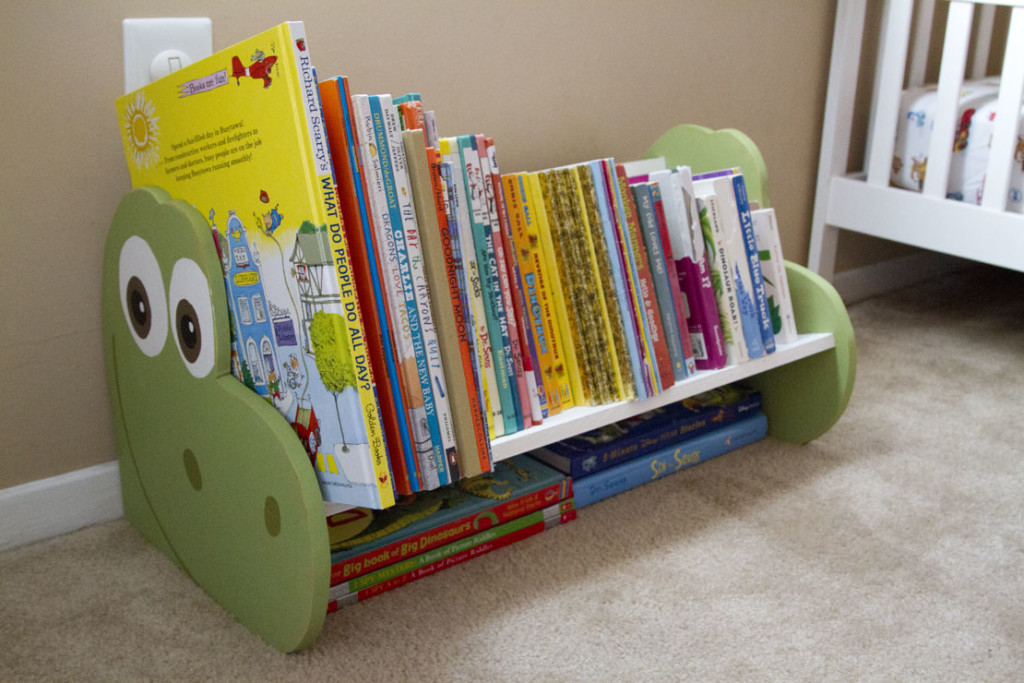
Y’all I am so excited to share this latest DIY Dinosaur Bookshelf and/or Bench of mine.
If you’ve been following me, you know my son is OBSESSED with dinosaurs. I recently rescued a dresser that we refinished. It was meant for the kids room but we decide to keep it on our room. We moved our old dresser in their room and now it’s time to get rid of the changing table. (I’ve got something in the works for it and I’ll post that soon!) We were using the bottom shelf as their bookshelf so once that left we needed to come up with something to organize their growing library. So this DIY Dinosaur Bookshelf and/or Bench was the solution I was looking for.
Last week I saw this Star Wars bookshelf featured on Hometalk and I thought it was a great idea. I thought about just doing a square end and painting something on it since we aren’t huge Star Wars fans but it wasn’t sparking as right until I was watching my son play and I realized it HAD to be a dinosaur.
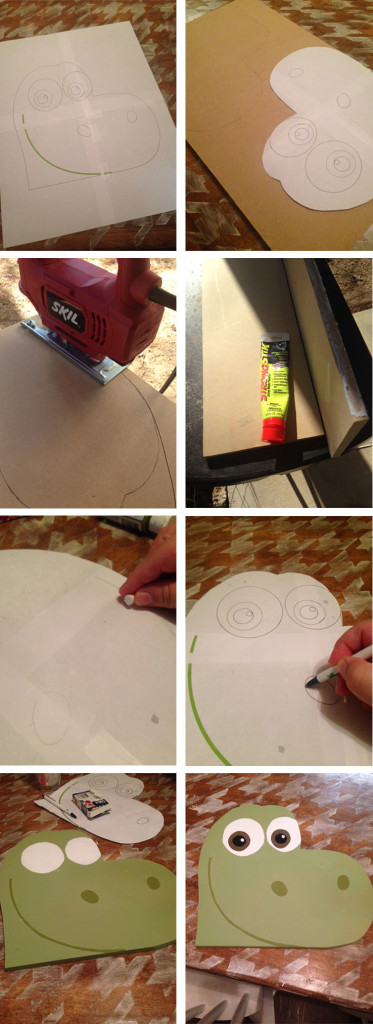
- I drew out a face similar to Arlo from Disney’s The Good Dinosaur on my computer and made a pattern for the ends. (You can download the pattern here)
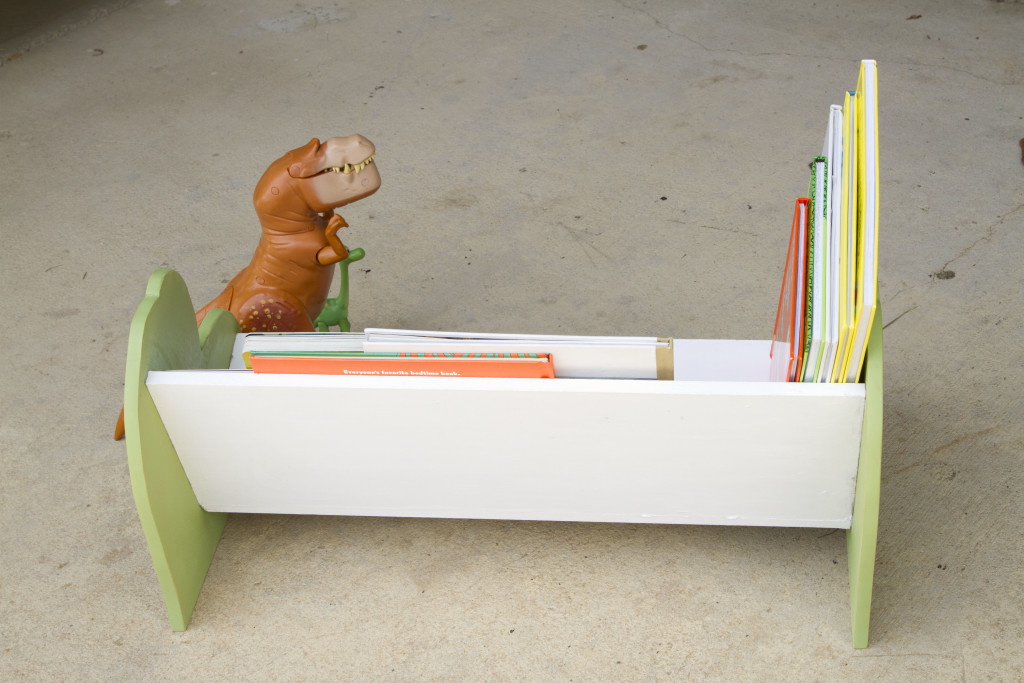
- I picked up a 24″ x 48″ piece of 1/2″ MDF at Home Depot. I had them rip two 8″ pieces for the shelf back and ledge (24″ each). I then traced the dinosaur pattern on the remaining sheet of wood.
- I got my jig saw out and cut the dino. You could use a bandsaw or scroll saw as well.
- Then I painted the dino pieces a base green (Americana Foliage Green).
- I then ran a piece of chalk over the back of the pattern then flipped it over and lined it up on the wood.
- I ran a pen down the lines on the pattern to transfer the chalk on the wood. Then I took a detail brush and painted in the white of the eyes and the green on the facial detail. I repeated the chalk transfer with the remaining layers on the eyes.
- I ran out of the base green paint so I just did the shelves white.
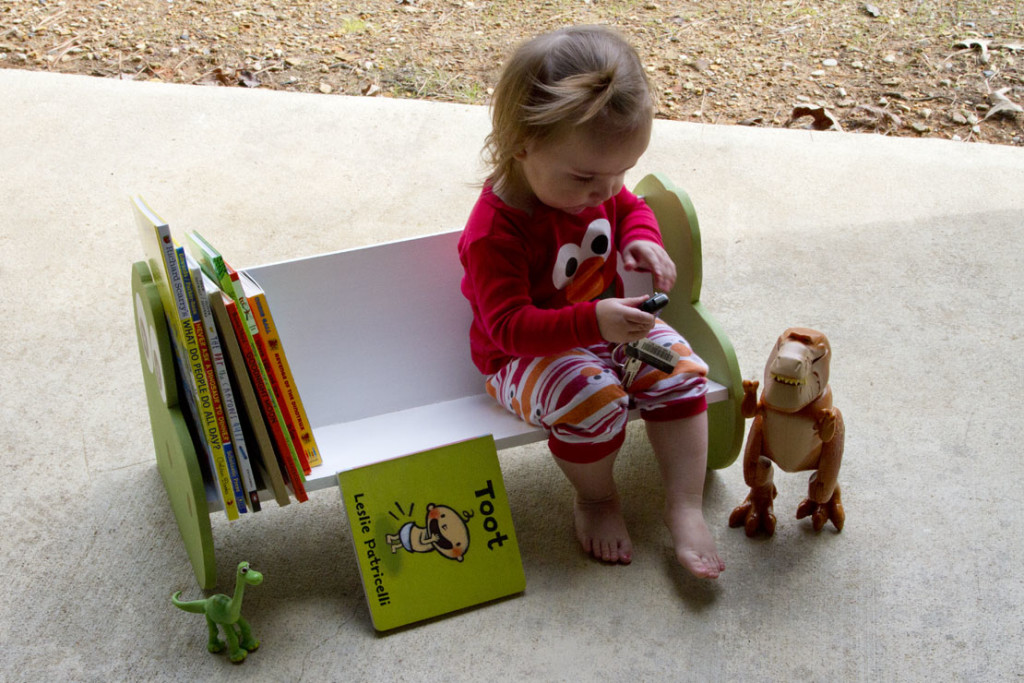
- I used some glue and glued it all together. I glued the shelf back and ledge together, let it dry 24 hours and then glued on the dinosaur pieces once at a time and let them dry really well, putting on clamps and weight to make sure it stuck together well. The piece is really sturdy, I even sat on it myself to test it out. If you wanted to do pocket screws that would make it even more secure but you’d want to use thicker material if you’re using MDF as pocket screws tend to rip up 1/2″ MDF material.
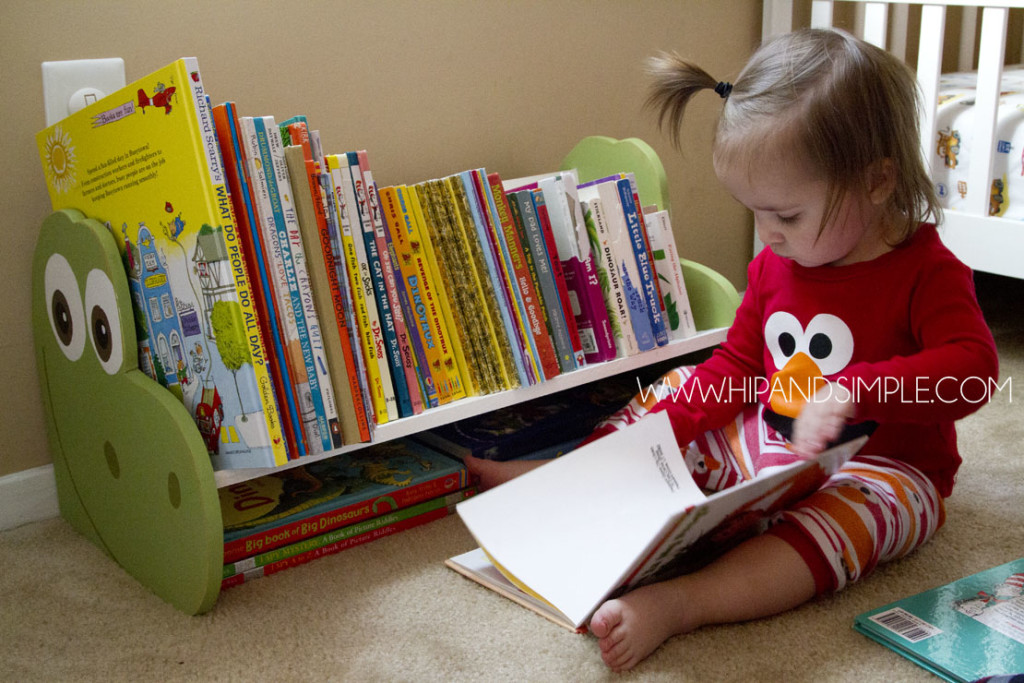
We will use it more for a bookshelf for now. Almost all of their books fit on it, I had to tuck a couple of the larger ones underneath. Both kids were ecstatic about it. They both love to read. You may notice a few of the books have ripped covers. We talked about keeping this shelf on the top of their dresser and have thought about putting them out of reach because they sometimes pick at the covers but they seriously love flipping through the books. I’ll find stacks of them in my son’s bed after nap time and it just warms that they love to read so much. I’d rather have them free to do that when they please rather than keep them safe and neat. Plus I want to encourage them to read as much as possible. Even while I was snapping pictures of this, my daughter came in and plopped down to start flipping through books. I love it!
This was really simple to put together and I love how it turned out. It was super cheap too – the MDF board was less than $6 and I had everything else on hand.

This is so cute! Love the idea! Its like their own little library to sit and read in 🙂
Thanks! We love it and it was easy to make!
What type of paint did you use? Normal acrylic poster paint or other? What type of wood did u use for the shelves. Thanks julie
Hi Julie! I used MDF for all the pieces and used acrylic craft paint. You could use common wood boards and even latex paint as well. I hope that helps!