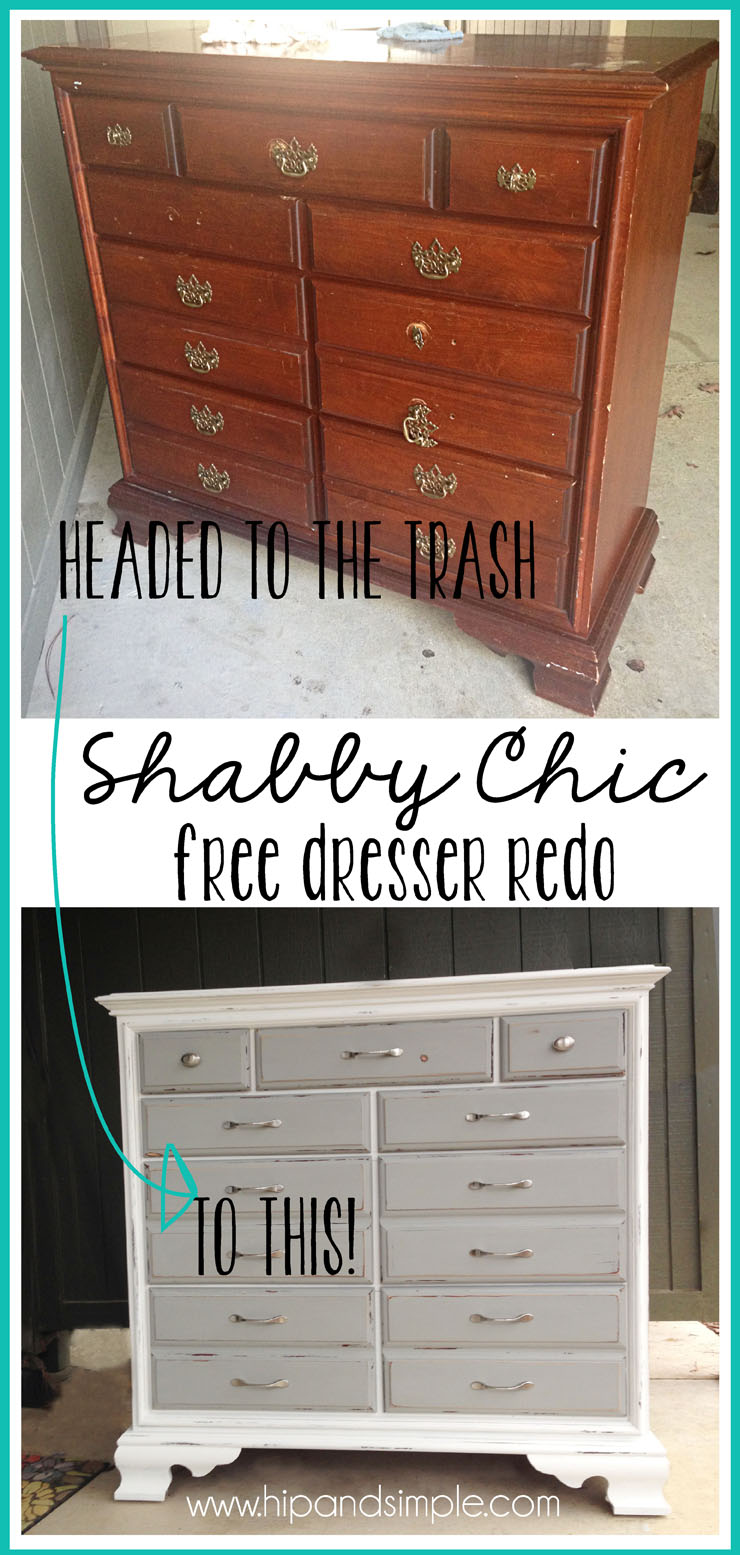
I have this thing where I am a cheap-o. I can’t spend money on things very easily, especially with furniture. I was thrilled when I found this dresser headed to the trash and was able to save it and put another Shabby Chic Free Dresser Redo under my belt.
Like I said, I’m cheap but I want quality pieces. Our choice to have a one income family so I can stay home, is the choice we make over purchases like that. I’ve been using our changing table and baskets to organize my kid’s stuff but it’s becoming time to upgrade to something with actual storage. I’ve been looking around for a dresser but have been so unimpressed with the quality of pieces in a price range I’m comfortable with so I keep putting it off.
Well the other day, I walked out to the car and saw a dresser outside of an apartment, in our building, that I knew had been empty for a while. I noticed what looked like a painter in the apartment so I was thinking it could have been left by the previous tenant. I mentioned it to my husband and he commented about how “gross” it was and what bad shape it was in and I could tell he wanted me to forget about it. But I couldn’t let it go. A couple days later, I called the apartment office and asked about it and found it was going to be trashed so I was free to take it! EEK! Perfect. I haven’t redone a piece like this since we moved to Alabama because of space and our apartment is ground level so I have this fear that someone will swipe (a huge, heavy piece of furniture) it off our patio before I finish it.
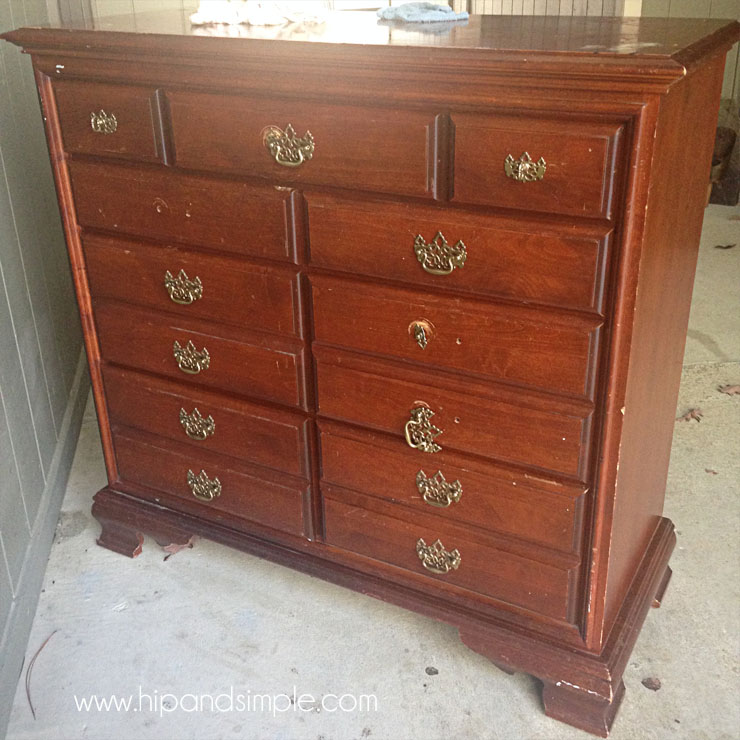
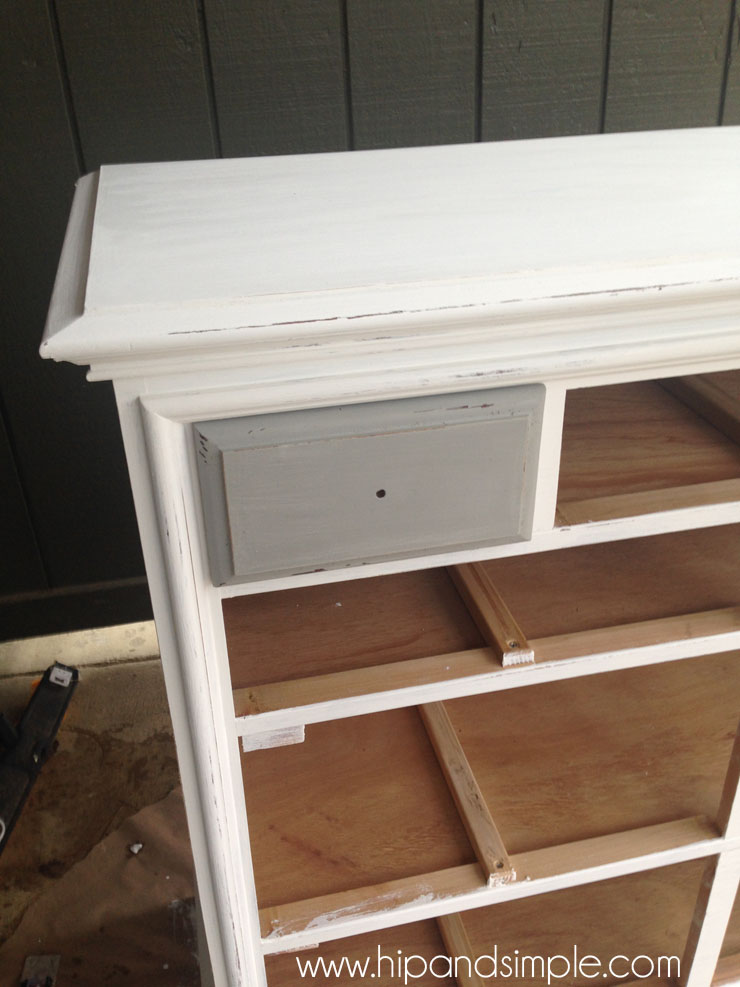
The wood had lots of water damage and some odors. The top had felt stuck to it on places. Lots of deep scratches and marks. I love to keep wood when it fits but this piece needed to be painted. Unfortunately, the hardware was damaged on a few of the drawers and since I was painting it anyway, I decided to go with a more modern look of pulls. Here is what I used:
Minwax High-Performance Wood Filler
Latex Paint – I used Lowe’s sample sizes (they were on sale for $.99 – my fave sale!) White – valspar and Grey – Sherwin Williams
Mouse Sander
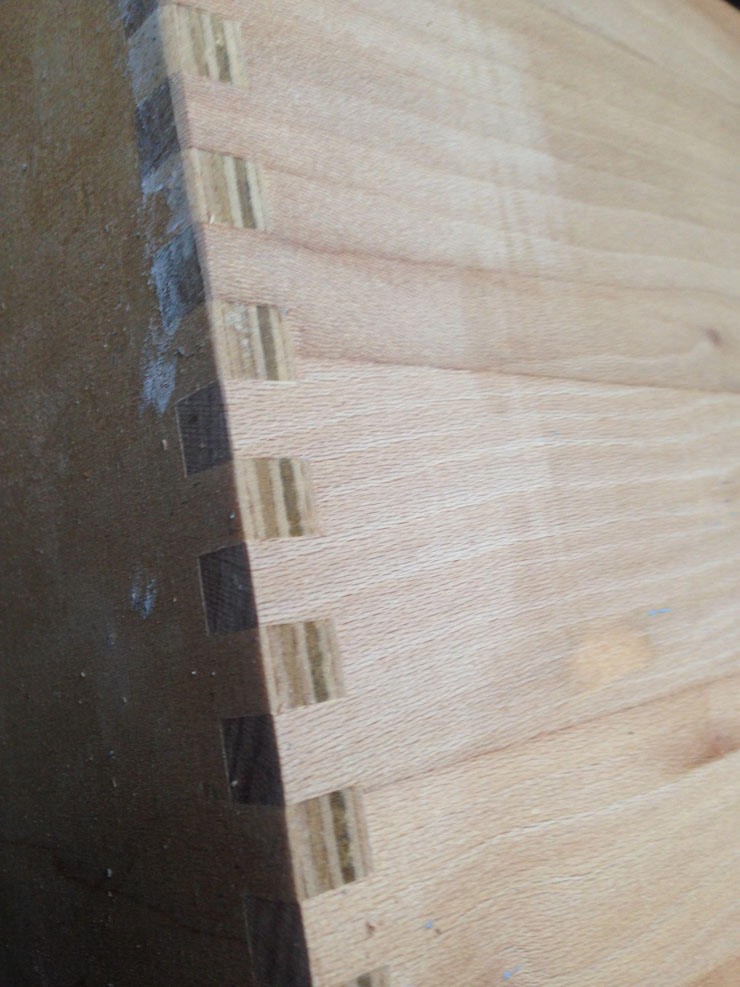
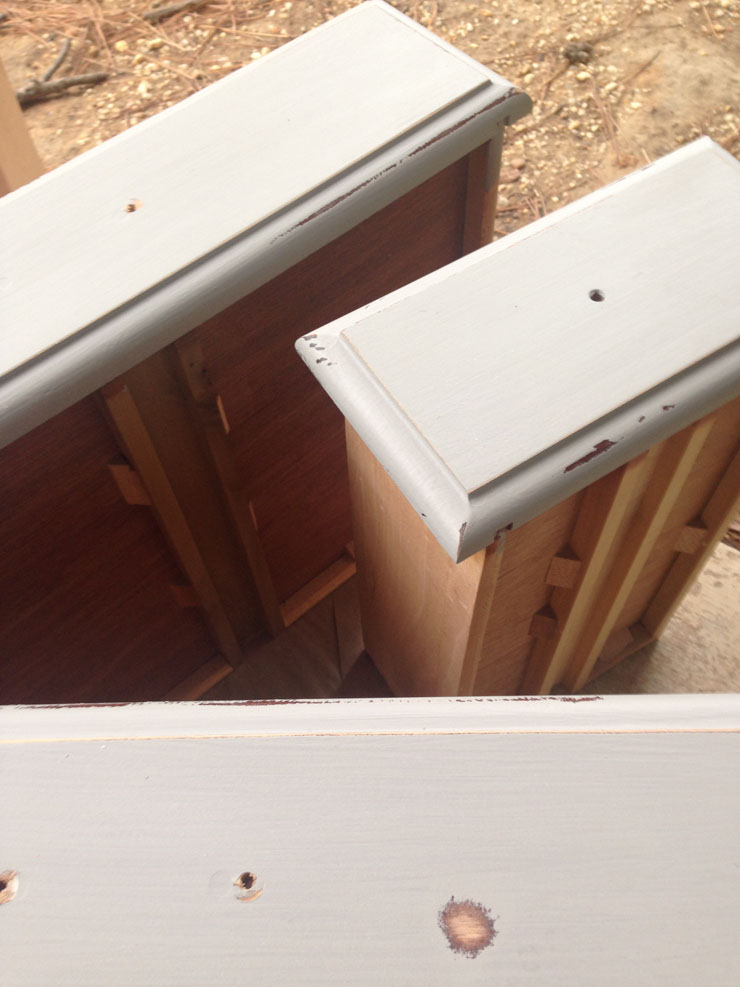
I was showing my husband that the dovetail joint on the drawers, showed that it was good quality and a sturdy piece. That’s something you can look for when you see something on the side of the road or at a yard sale.
In addition to being cheap, I also am impatient. I didn’t want to wait and order more traditional drawer pulls. Those pulls measure differently then what you can usually find in the store nowadays. That meant I needed to fill all of the holes with wood filler so I could drill the correct spacing for the pulls I found. I used the Minwax High-Performance Wood Filler and it worked so well. It hardened quickly and was easy to mix up. Much better than regular wood filler I’ve used for smaller fills. I did it nice and neat on most of the drawers, but you have to work fast because it hardens quick. By the end, I was rushing and the last drawers were much thicker but it was fine because you sand it smooth after anyway.
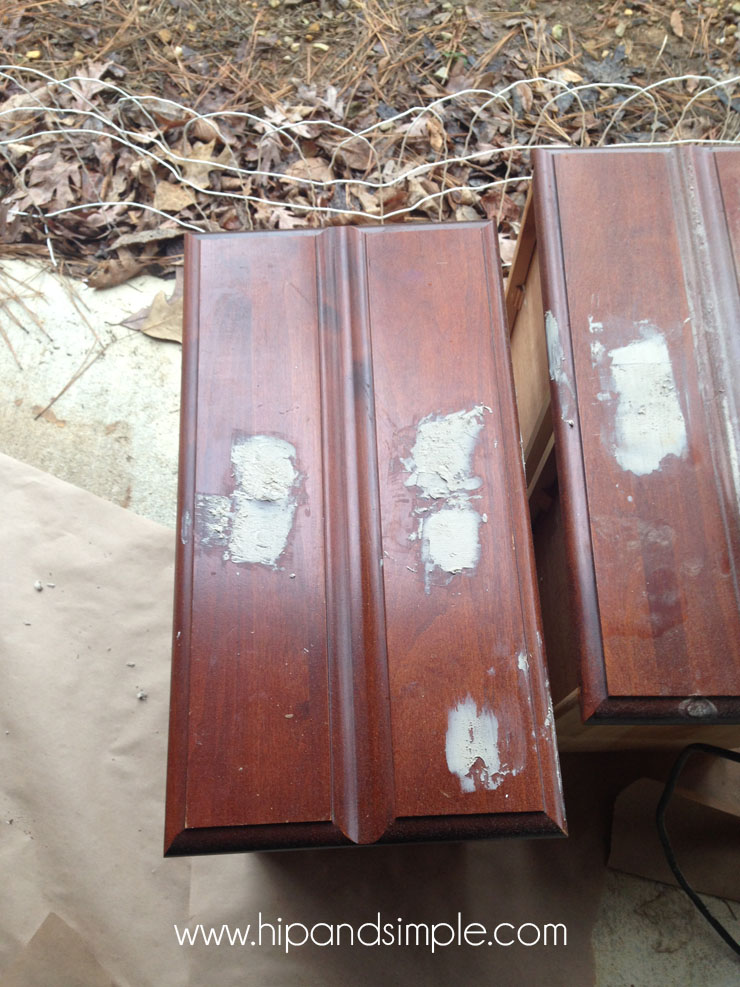
Once it’s completely hardened, you will sand it down until the drawer front is flat and smooth. Clean off the drawers really well. You don’t want any sawdust left.

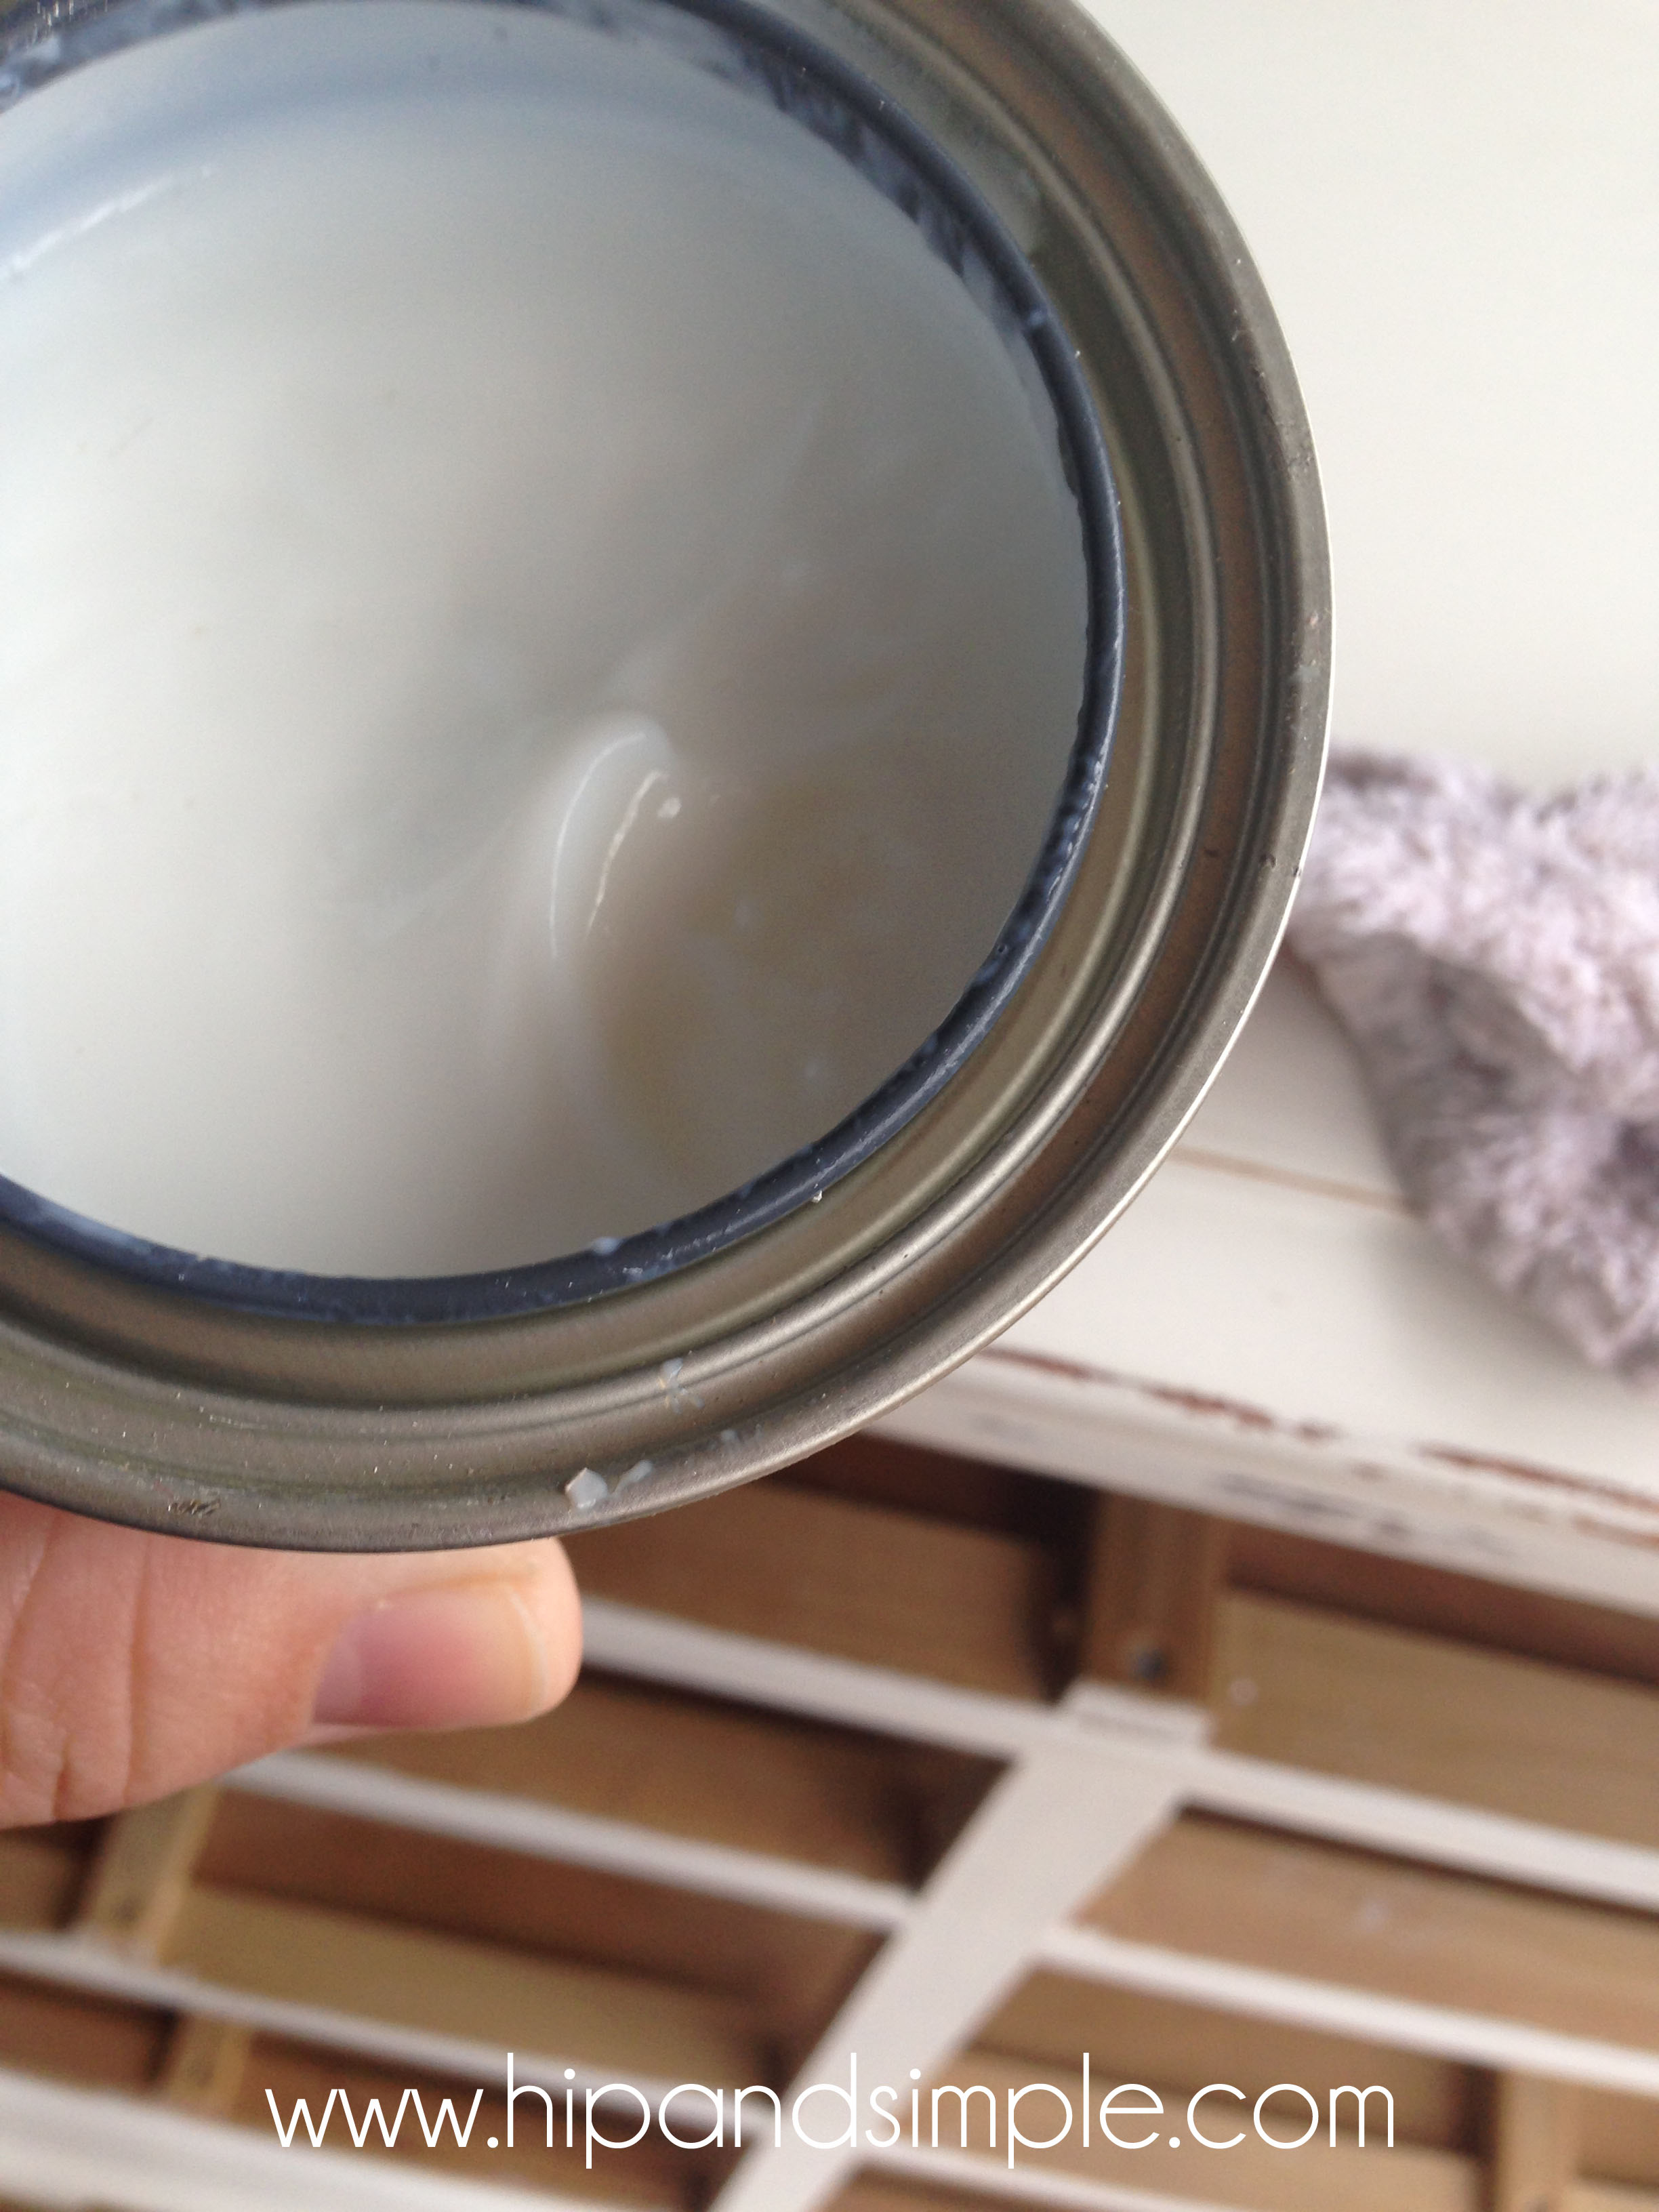
I have painted a lot of things in my time but haven’t used chalk paint much. I decided to make my own chalk paint for this project and I am hooked! It was so easy and the coverage was amazing. I took a Plastic Cup and mixed 1/3 cup plaster of paris, 1/3 cup of cool water and mix well. Then add in 1 cup of your latex paint. I found that with the valspar (white) paint, it got really thick, which ended up being okay. I could have added more paint but mixed all that I had on hand so I just went with it. I only needed one coat of the grey but three on the white. I let each coat dry at least an hour in between.
I wasn’t sold on the color combo I picked. I was struggling with switching to all white or all grey but once everything was dry, I stuck a drawer in and fell in love.
I had originally planned to keep it painted and not distressed but after starring at this picture for a while, I decided to scuff up the edges a bit with sandpaper. Grey is so funny with how it looks depending on the angles and lighting, which is a thing I love about it. It’s almost blue here.
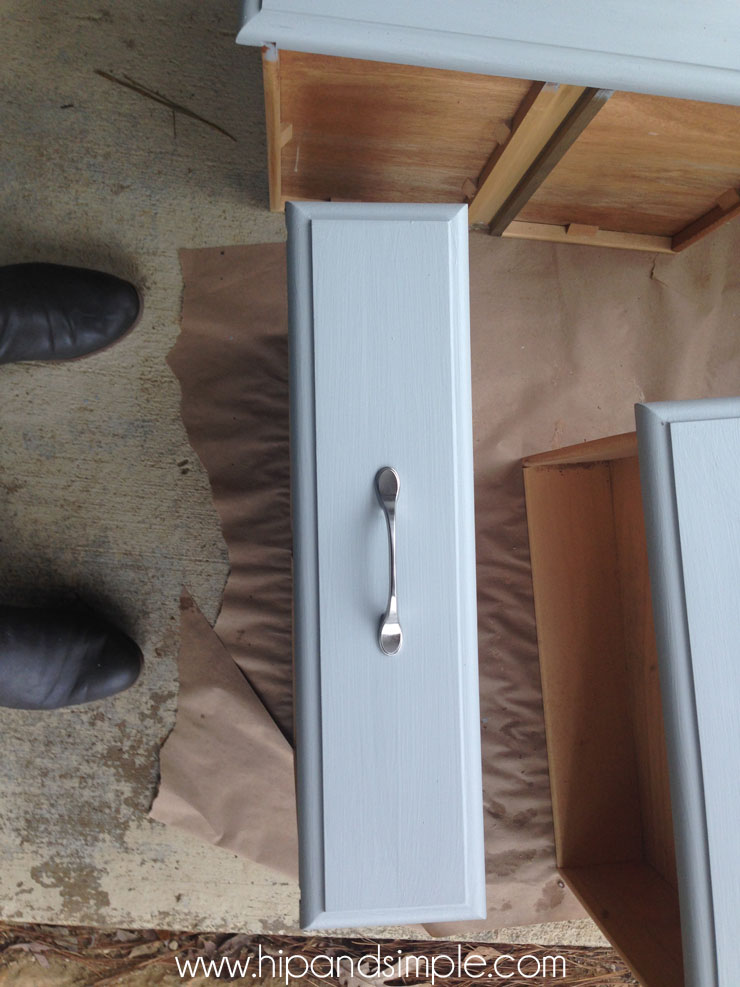
I got a new drill and had only done one project with it before this. It’s a little smoother going in then I am used to so I applied too much pressure and dinged up the edges by a couple of the holes. It was covered by the pulls so it wasn’t a big deal but I should have gone a little softer to avoid that!
I thought about using a dark stain or an antique wax but really wanted the white to be bright. I really ended up liking the multi grain colors from the sanded parts and original stain so I left it how it was. I took an old cloth and a little bit of the chalk wax and rubbed it all over where I had painted to protect the surface. It doesn’t take much at all; this can is going to last me a long time.
I am so in love with how it turned out! It was meant for my kids but I may just have to redo our old dresser that I got from my grandparents and give that to them instead… we will see!

Have you ever made chalk paint before? What are your thoughts and best recipes?


Leave a Reply