This shop has been compensated by Collective Bias, Inc. and its advertiser. All opinions are mine alone. #MakeHerMothersDay #CollectiveBias
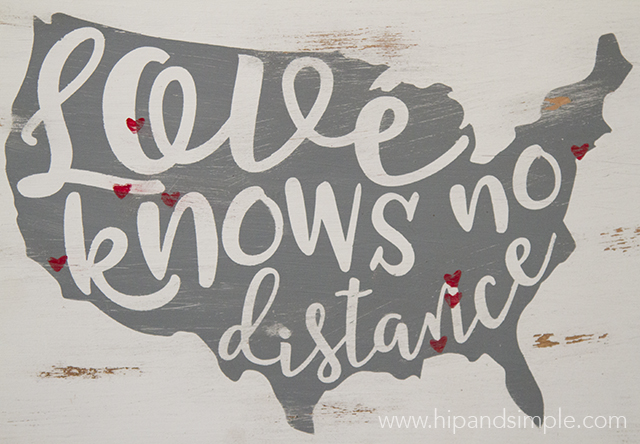
I have a lot of wonderful women in my life and various types of moms who have helped raise me. I love this time of year when we get to celebrate them and all that they do for us. Mother’s Day led me to design this new DIY USA Love Knows No Distance Wood Sign with free cut files that I’m sharing with you today.
We moved away from my family but closer to my husband’s family 3 years ago. It’s been interesting marrying someone who lived away from family and now us living away from my family but still not next door to his family. We love the life we are building but our hearts are all over the country with our loved ones. I know our parents all wish we were closer and so do we. It’s bitter sweet and impossible to be in all of the same places at once. That’s the inspiration for this DIY USA Loves Know No Distance wood sign that I’ve created. Because love really does not know distance. People are always in your hearts, even when far away. I’ve included the Silhouette cut files for this as well as a PDF and you can customize it by putting the heart stencils in the places where your loved ones live. Here is what you need to make this as a gift for a special mom (or anyone) in your life:
- Wood Board – I used a 1X12X18 common board
- Vinyl
- Vinyl Transfer Tape
- Precision / Craft Knife
- Paint Brushes
- Paper Towels
- Wood Stain
- Paint – I used white, grey and red
- Sandpaper
- Silhouette Cut File or PDF (at the end of this post)
- Tissue Paper
- Gift Card
- Gift Bag
To get started, I stained my wood board, by dipping a paper towel into stain and rubbing it onto the wood until all of it was covered. Wipe off any excess and let it dry. If I use white paint, I usually like to have the stain under the color. If you add stain on top of white paint, it will give it a darker color and make it more off white. That was not the look I was going for on this project so I stained first and that will show through when I sand at the end. Once the stain has dried you’ll paint your base color, I used white. Let that dry while you cut your vinyl using the Silhouette cut file or PDF. If you don’t have a vinyl cutter, you can print out the PDF and use it as a template on the vinyl to cut it with the precision knife.
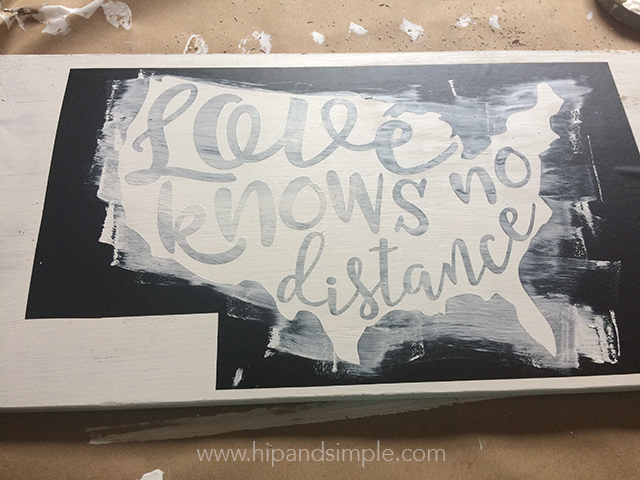
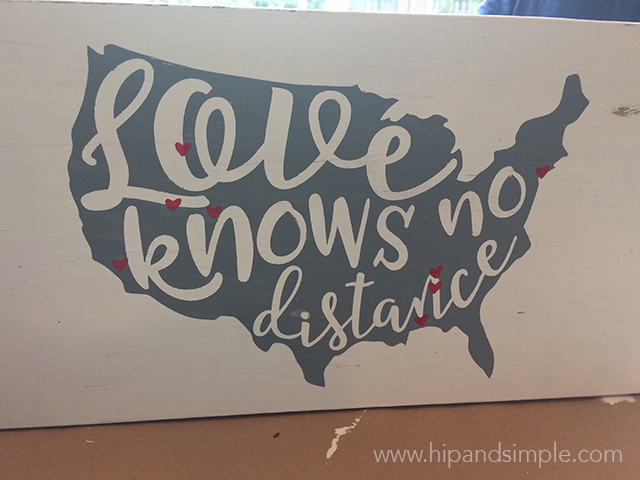
After the vinyl is cut you need to weed out the parts you don’t want. Using my precision knife, I picked out everything that I wanted to be grey in the final part, which was the USA outline and the insides of the letters. Then I put on the transfer tape and transferred the vinyl stencil onto the wood board. Press everything down really well and smooth it out. Then paint a very light coat of the base color over the stencil. You’ll see I did a very light white coat of paint over the stencil above. This helps to form a seal so if anything seeps under the vinyl stencil, it will be the base color and not be as noticeable. This helps you have crisp lines.
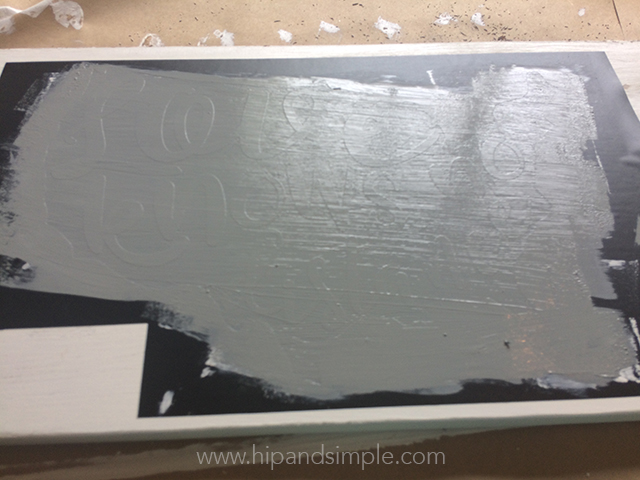
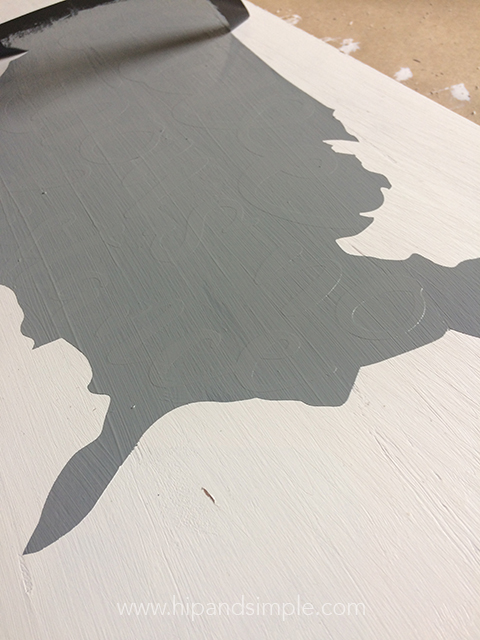
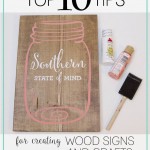
Once that has dried move on to the color you want the USA to be, in my case grey. Do light layers of paint and build up layers as needed, letting each layer dry for a minute or two between coats, but don’t let it dry all the way! Once you have the coverage of paint you like, you will peel off the vinyl. I do it when it is a little wet so that it can pull it apart from the paint more easily. Go slow and be sure that the wet paint on the vinyl doesn’t drop onto the board in another section. I ball it up in my hand as I go so it doesn’t hang down and risk smearing on other areas of the wood. I love me some crisp edges. It doesn’t always happen but usually I get that result with these steps. I cover this and other things in my top 10 tips post.
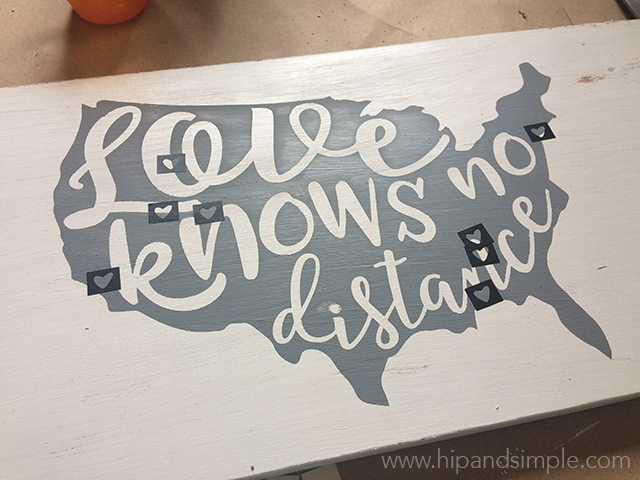
Use your precision knife to pick up the insides of the letters. Let that dry really well and then place the heart stencils where you need them. The cut file includes 12 hearts so hopefully that’s enough or you can cut more as you need.
You can’t paint a seal over these because they will overlap on some grey and white areas so be sure the vinyl is pressed down really well and layer your paint very lightly to avoid any seepage. Peel up the stencils.
Wait for it all to dry and then rub sandpaper over it to take a little bit of paint off. Focus on the edges at first and then take off areas throughout as it suits your taste. If you had any areas where the lines weren’t crisp rubbing them down will help hide that, like the dot on the “i” in “distance” where my finger touched some wet paint and took it off. I like my projects to look a little more roughed up but just do a little, step back and see what you think. It is easier to take off more later than it is to add paint again. As you sand off the paint, it will reveal the stained wood below. You could rub more stain over it but it will change the look and make it a lot darker so it just depends on what look you are going for on yours.
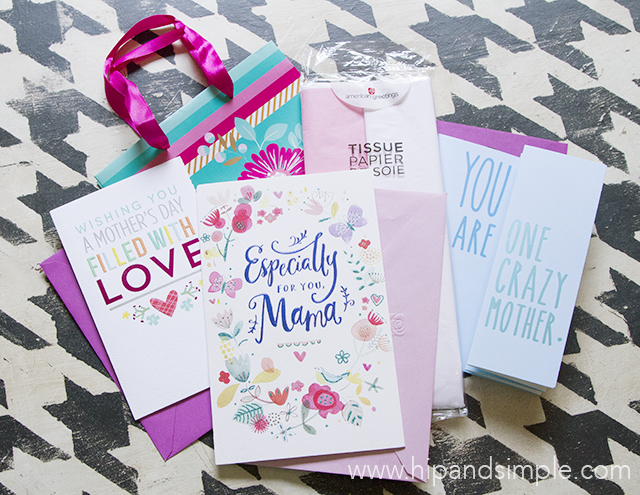
Now time for the icing on the cake, if you will, to get this ready to give as a gift to a loved one. Reece and I had a mother and son date this weekend to see a movie and finished it off by wandering around Walmart. I love bonding with my kids like that and think one-on-one time is really important, plus the kids are somehow angels whenever they are apart. Being a mom is my favorite job in the world and it has helped me more deeply appreciate what my mom, step-mom and mother-in-law (plus all the other motherly people) have done for me over my life. Reece and I talked about that a bit, checked out the seasonal summer stuff in the front of the store and headed to the next aisle where he helped me pick the perfect cards. Walmart had a bunch of really stylish gift wrap and gift card options. I always love to wander the card aisle for quality and cute cards like what American Greetings offers.
I picked out a few to go for each of the moms in my life. We must always have a funny one for Stephen to give. He could spend hours in the card aisle searching for the perfect and most funny option! The funny one is on the right in the picture below and it actually opens up to a really sweet message, of course, but it is so my husband. There really were perfect options for everyone on my list.
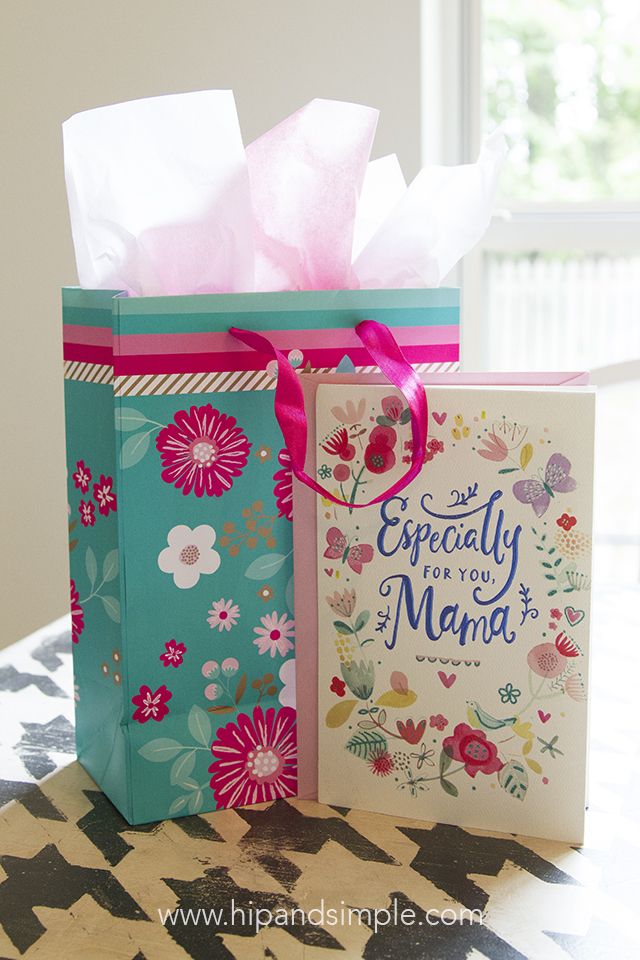
I wrapped my DIY USA Love Knows No Distance wood sign up in some tissue paper and then my typical brown craft paper to ship it but the tissue adds a little extra flair and makes it a little more special for a gift being shipped. Walmart was the place for me to find everything I needed to make mother’s day great so I picked up a few other specific things for other moms on my list. The packaging made them look super cute and ready to present to my loved ones.
If you’d like to make your own version of the DIY Love Knows No Distance wood sign, you can download the free cut files below and also get an Ibotta Offer that will earn you $2.00 when you buy 2 cards for the perfect final touch of any gift. There’s plenty of time to put one of these together and Make Her Day this Mother’s Day. Be sure to stop by Walmart and pick up some items to top everything off. I hope you have a great Mother’s Day celebrating the moms or motherly people in your life.
Here are the free files associated with the DIY USA Love Knows No Distance Wood Sign. These have been designed and are owned by Hip and Simple but are available for free, for your own personal use only. This means you can’t use these files to create things you sell. I do not currently offer commercial versions of my items but may in the future. If you have any questions, please let me know.




Leave a Reply