
I am super excited to show this. Remember before when I showed our new living room and how the stuff on the wall didn’t seem to be the right scale or fit?
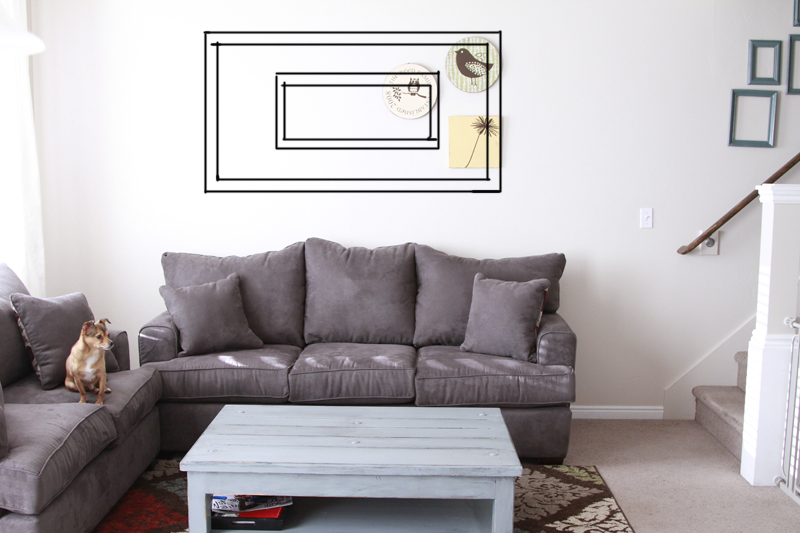
Well of course I went to Pinterest searching for inspiration. I really love how people are doing large prints from Staples called engineering prints.
I love the look of this and pinned it a while back hoping to use it one day. The only things I didn’t like about this were that I don’t have a projector or saw to cut the cool frame and I wanted to incorporate a more rustic look and some sort of design or fabric. Also, I didn’t want to go to all this work and not be able to switch out the pictures. With our baby on the way, I am sure he will be the focus of our world and we will have new pictures to fill the frame in no time.
So I kept searching for another option but nothing was what I wanted. I started drawing out options and looking at different print sizes and began the hunt for the perfect fabric. Here is what I came up with:
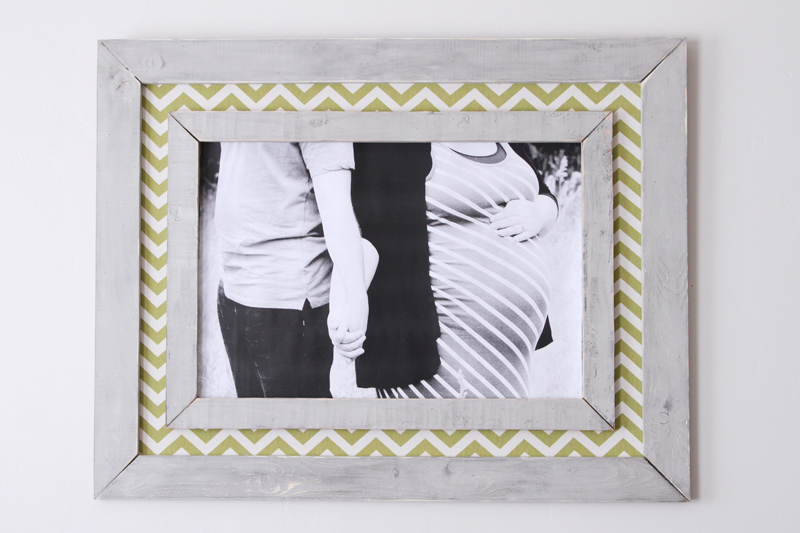
Stephen helped a lot and when I finished and was giddy, as I am with successful projects, he was like now where did you see this? I responded, “in my head”. Apparently when he realized this wasn’t a Pinterest project he was much more impressed with it. Funny thing is before Pinterest I did come up with unique ideas all the time, I still do but more often than not lately I am so excited by other people’s ideas that I have to recreate for myself! I am really proud of this and the way it turned out!
Here is how I did the frame project and what you will need for this project:
Large light weight piece of plywood
Molding for exterior and interior frames (I used pine 1 x 4s on the outside and 1 x 3s on the inside frames)
1 yard of fabric
Spray adhesive
Wood Glue
Clamps
Paint
Glaze / Stain
2 Screw eyes
Framing wire
Nail gun or small nails and hammer
Miter saw (power would be best but we did it with a miter box and it was fine but if you have access to a power saw – USE IT!!!)
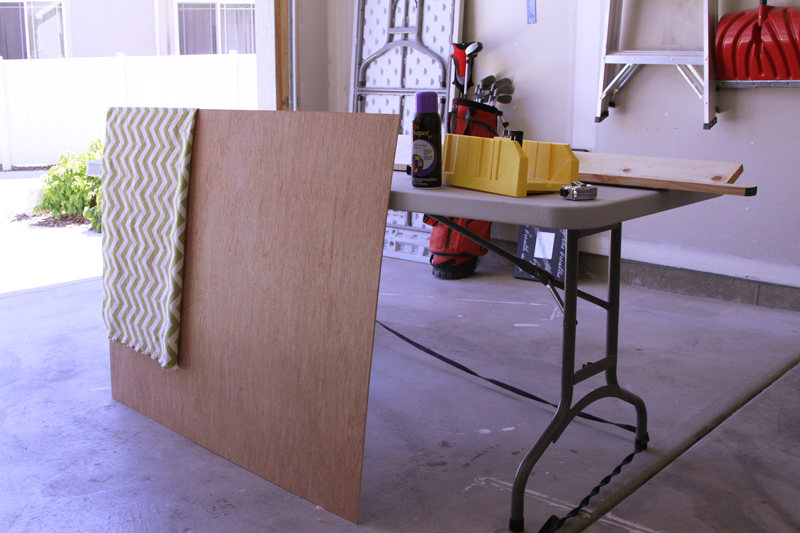
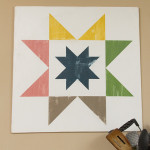
Once I found the fabric I wanted to use, I had to design the project based on the width of the fabric. The fabric is 46″ wide. (It is from Hobby Lobby and is printed duck cloth). With that in mind I found that the Home Depot sells a very light plywood in a square 48″ x 48″ piece. I had them cut down the wood to 46″ x 36″. I wanted the picture size to be 30″ x 20″ so those measurements would work well in the larger frame. If you want a different size, you will need to adjust. I also did all of the hanging thinking it would weigh around 50 lbs but in reality it was only about 20 lbs, if you wanted one heavier you would need to adjust to accommodate the weight.
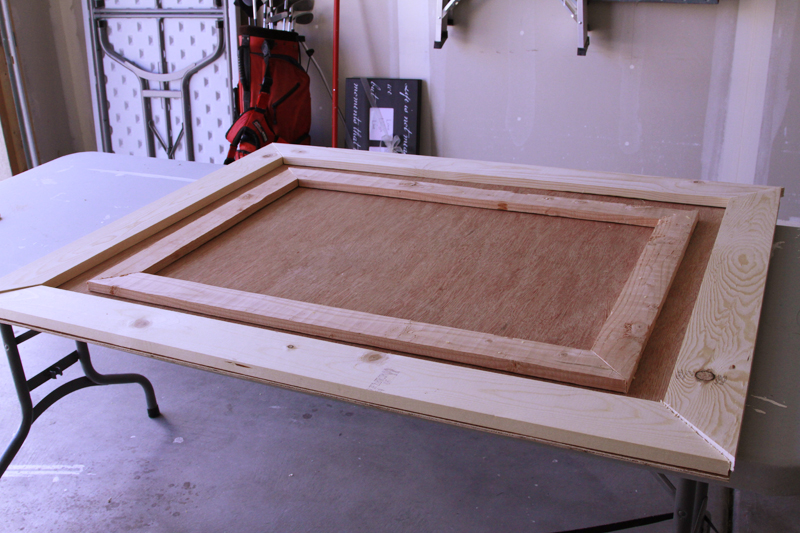
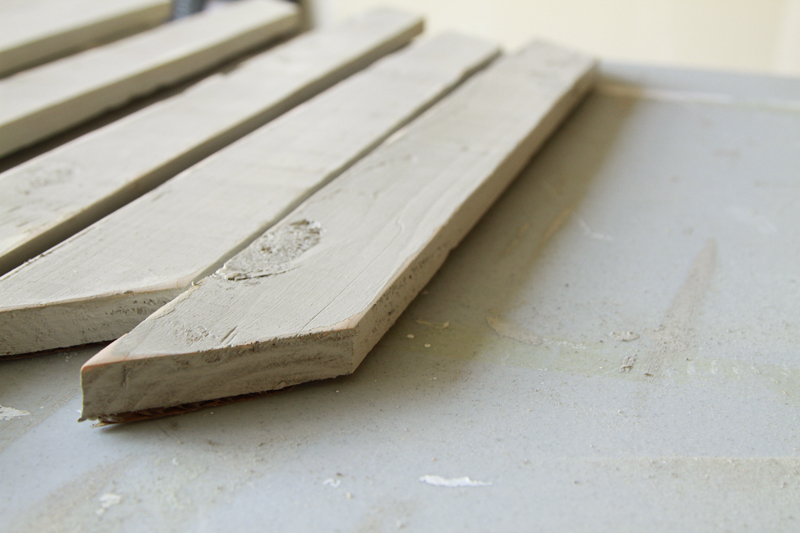
The first thing you do is cut all of your angles for the framing. We started on the outside and cut to the size of the board. Stephen did all of the cutting for me. Normally I would do it but in my current pregnant state he felt more comfortable doing it. We only have a miter box and I will admit at first I was nervous to do angles and framing but with my dad doing our basement and showing me how easy it was, I could see myself framing everything now! Since I didn’t use molding, it was a pain to cut through these thick boards. I didn’t take pictures of this process since I was helping Stephen. Once you get to the middle frame pieces just make sure the inside measurements are slightly smaller than 30″ x 20″or whatever size picture you plan to use.
Layout all of your pieces and make sure it all works together.

Set the board aside and let the glue set.
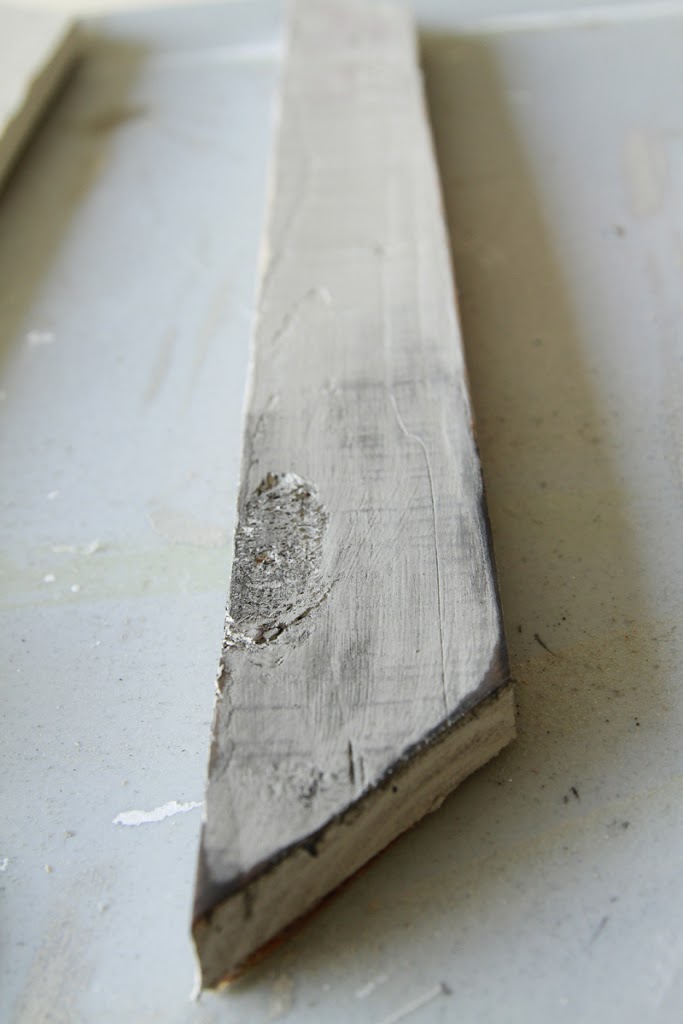
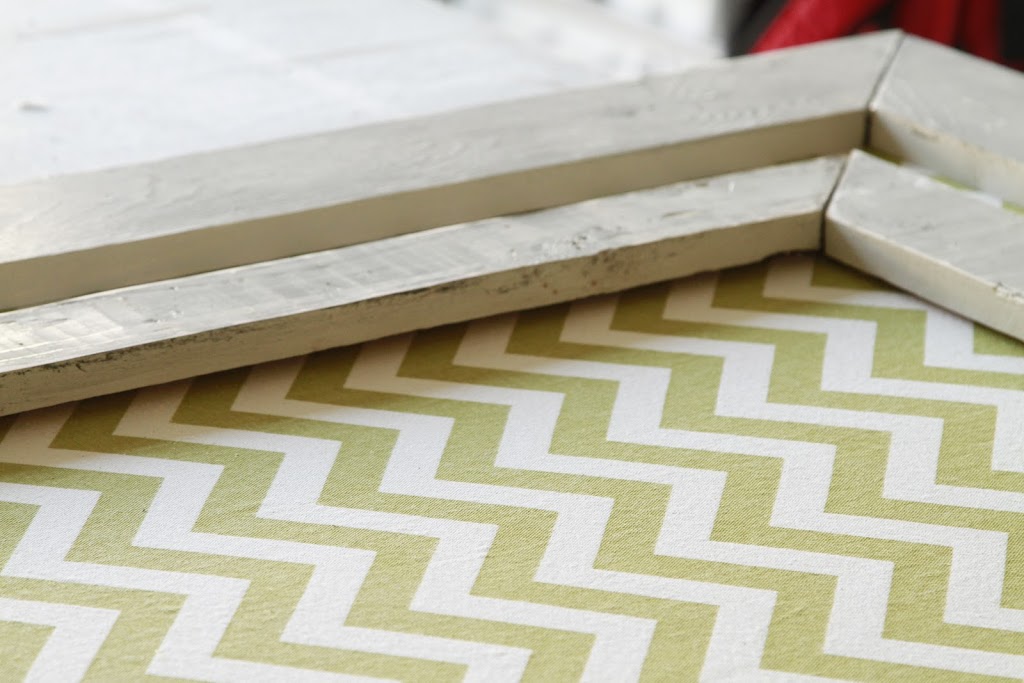
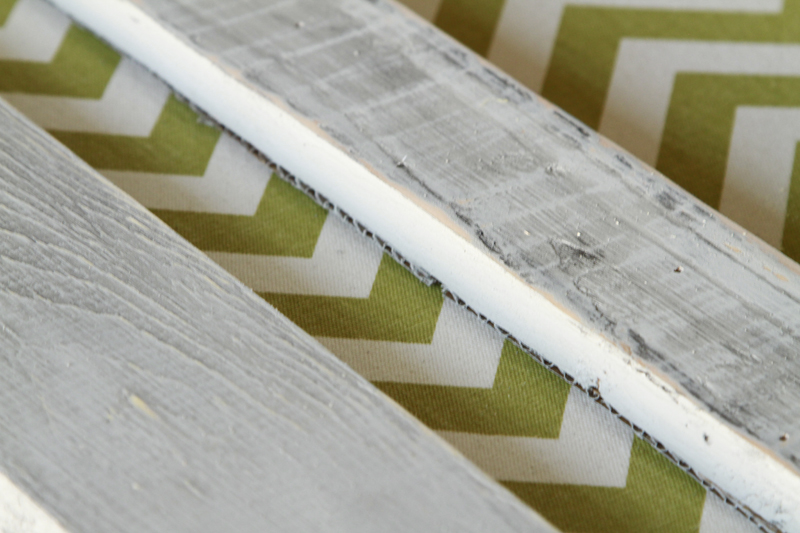
Then get the boards ready to go. For the interior frame, you need to bump it up a little so there is a little lip for the picture to slip into so you can change out the picture whenever you want. You could use chip board or small pieces of wood or there are even molding options that are designed to fit over the edge of another piece of wood that might work. I ended up using card board. I cut the pieces to fit the boards, leaving about a 1/2 inch gap for the picture. I used more spray adhesive to get them to stick and hold in place until they were attached to plywood board.
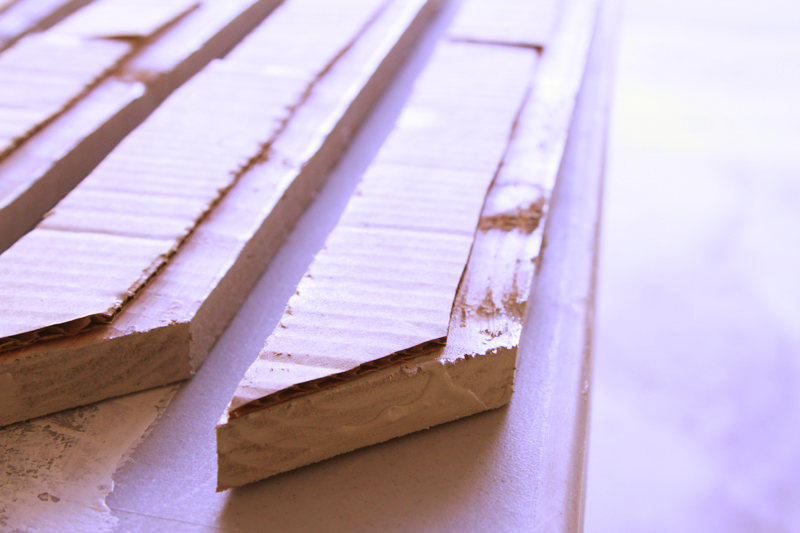
Throw on some paint that coordinates with your fabric and will work with color or black and white prints. Be sure to cover the sides and even the sides of the cardboard but don’t worry about the back. As you can see here, the cardboard helps it stand up just enough for the picture to slide in.
Sand the edges to your liking. I sanded the crap out of them with a power hand sander.
Next, I did a black tinted glaze over the gray paint. I grew up using minwax stain to antique stuff but have recently gone to a glaze. I love the way the glaze sticks into the nooks and groves of the wood. I use a little bit of glaze and a drop or two of paint. If you use too much paint, it will dry too fast and will make it too dark. If you add too much, you can add water.

I recommend you do small sections. Paint on a little glaze and wipe it off with a paper towel or rag. If you are new to it, you can have a wet paper towel ready as well if you need to quickly wipe off excess. You can see the difference the glaze makes between the paint and glaze.
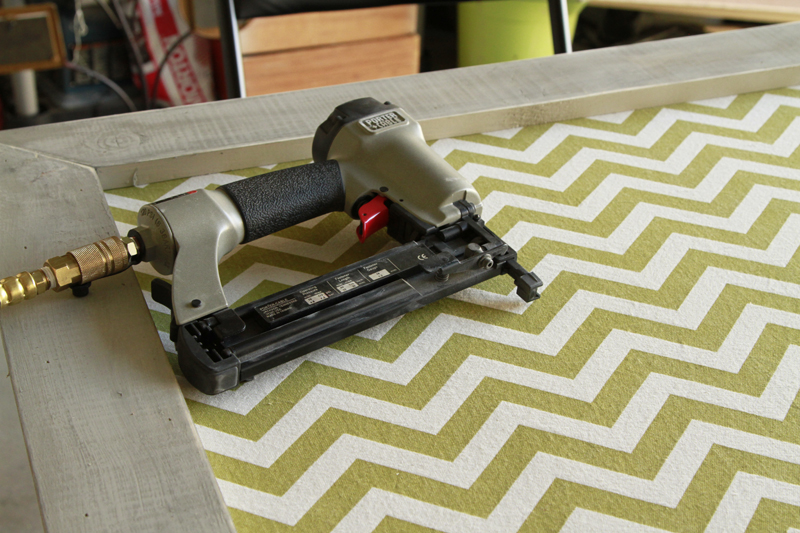
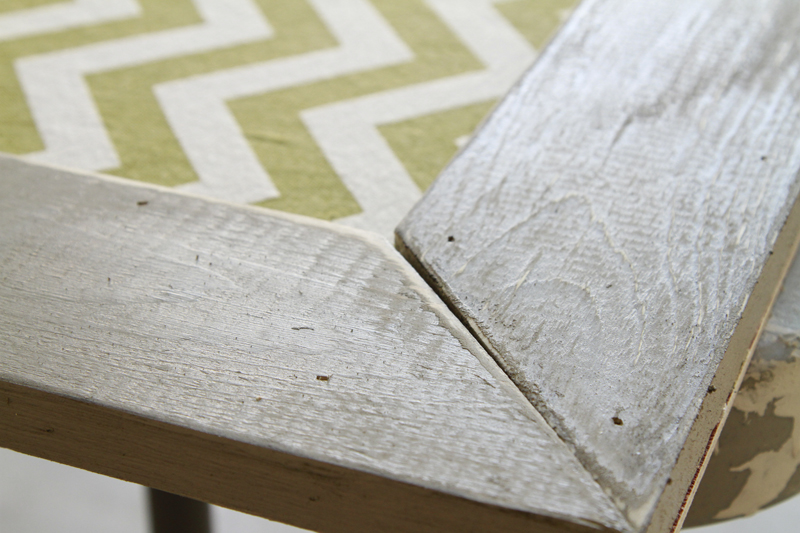
Then place the interior frame about where you want it. This is the point I really started getting excited. I was worried I didn’t have enough fabric showing but I really like the way it turned out. Be sure to carefully measure around all edges before gluing and nailing to be sure it is the same distance from the outer frame on all sides. If you follow my measurements it should be 2 1/4 inches. Also don’t nail too close to the inside of the frame since you created the lip area to slide pictures in and don’t want to block that area.

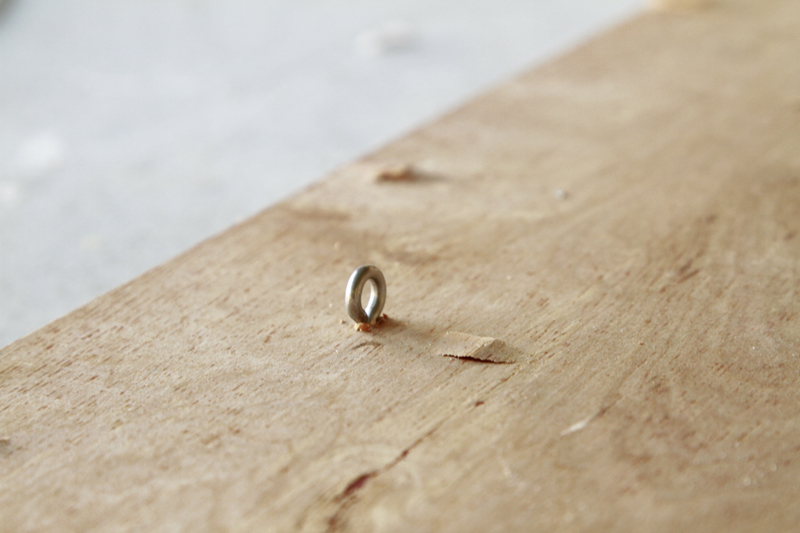
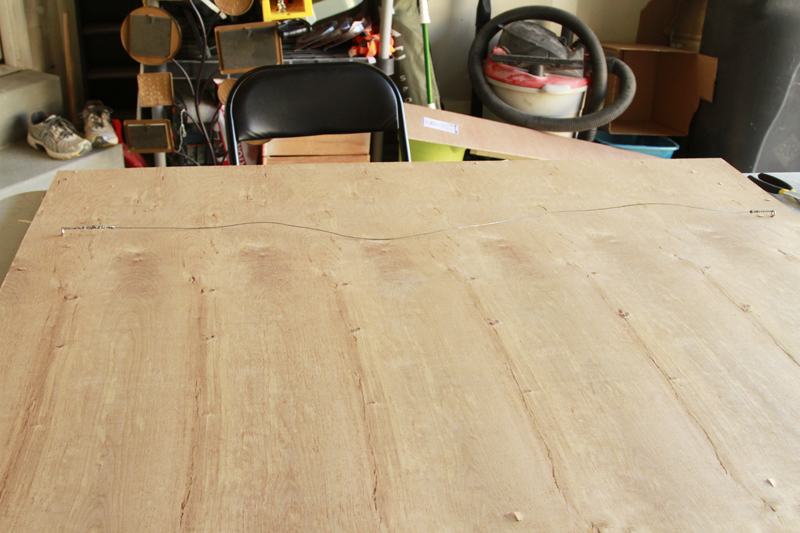
Take some framing wire and loop it through the screw eyes and run it across to the other hole and repeat.


CUTE! Totally saw it on pinterest! You and your talents! The house looks so cute!
This turned out wonderful! What a statement piece. Such a precious piece of artwork. Thanks for sharing with us at Monday Funday!
That is brilliant! I love the double frame and the color in the fabric with the black and white. Someday I might just have to copy your idea! Pinning… Julia