I have this wonderful table that I got from my mom. It has been around since I was like 6. It followed me to my first apartment and now to my first house. It is just a good sturdy wood table full of memories and it fits great in my house. (notice this was done before the swag light fix in our dining area!)
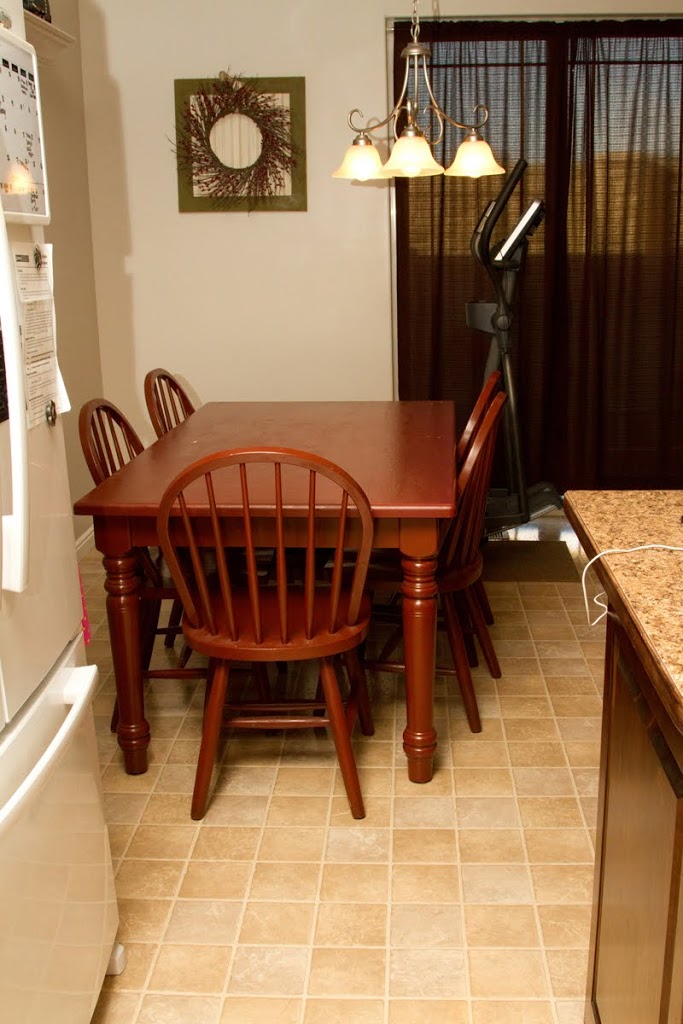
I painted it red shortly after moving in to our house about 3 years ago. It has been good but I was growing tired of it. If I had a larger kitchen where an island would fit, I would pick a butcher block island so I thought why not get the look with the table?
For our anniversary (back in November, yikes!) Stephen said we could do whatever I wanted. Well I wanted to refinish this. He makes fun of me because when given the choice to do ANYTHING at all, I choose manual labor! It was a fun project together. We ran into a couple of bumps but it turned out exactly as I wanted.
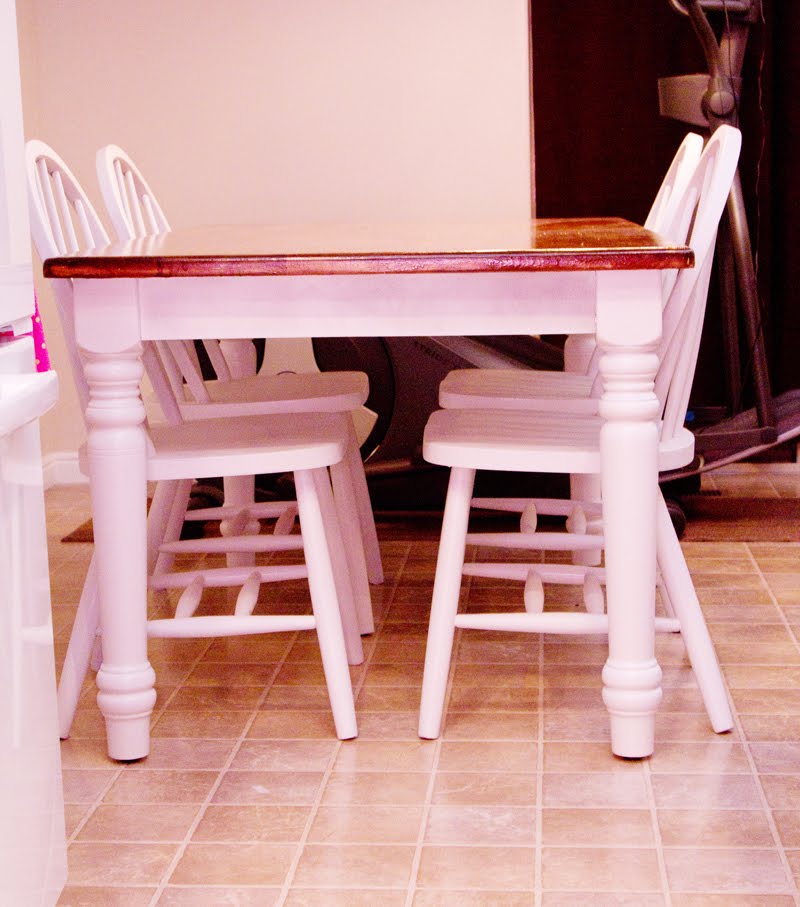
We painted the chairs and the base all white.
 For the top, I started sanding away and after a solid hour I found there were at least 6 coats of paint and I barely made a dent after the very physical **power** sanding process so I turned to a paint stripper. I had never stripped paint so I was a little nervous. The stuff ate through my latex gloves – maybe I should have read the info more closely? FYI – if you use that stuff, use real tough gloves and long sleeves to cover your skin.
After that process I sanded it down really smooth, wiped it clean and stained it. Then I went through about 3 cycles of applying polyurethane and sanding it smooth.
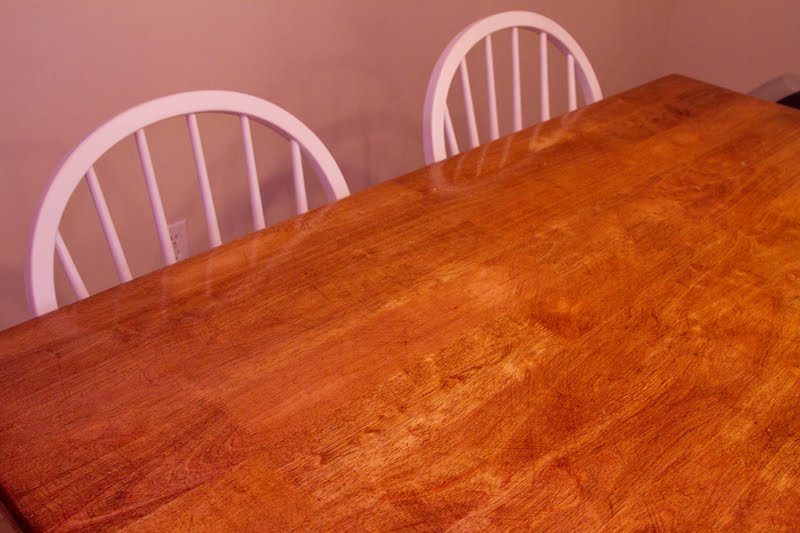
The surface feels amazing. When I did the first sanding job before the stain, I realized I wasn’t going with the grain but more in circles and it was creating scuff lines in the wood. I found that I loved it and I love that the stain brings that out more – it adds more character to the basic colors.
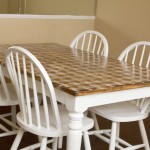
 I have been going back and forth trying to decide if I should chunk up and antique the white base parts and chairs. Part of me feels it is a little too sterile now and another part likes the clean look. This great inner battle is probably why it has taken me so long to post about. I still haven’t decided so for now it is the way it is and I love the look of it.


Leave a Reply