I’m always looking for new ways to play with my toddler and foster his imagination. I especially love it when I can do it from things we already have on hand. This free cardboard castle project was just the thing we needed to entertain us this week!
While we were eating breakfast one day, I was twiddling my thumbs and thinking what are we going to do today? It’s easy to get stuck in a rut or bored of our day-to-day routine. I love doing projects that involve him and allow him to cultivate his creativity like this and this. A few days before I had seen this pin on Pinterest and it was the inspiration for this project.
My son loves castles. Probably because he loves Disney movies and knows when he sees a castle on tv he is going to be watching a movie very soon. When we pull up to our house he likes to call it a castle. All the buildings are “castles”. He also LOVES CARS and TRUCKS! I mean he loves them. He talks about them, dreams about them, screams about them when we pass one on the road. He also really enjoys seeing how to fit things. He puts his trucks inside of bigger trucks – like packs it as full as possible with little trucks.
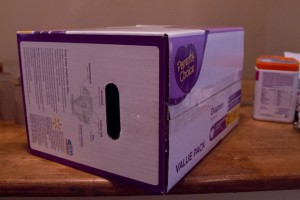
We always have diaper and wipe boxes in the house as well as empty formula containers. I hate to just toss them but there are only so many thing to repurpose them so why not play with them for a bit before we are done with them? I knew we could come up with something fun together.
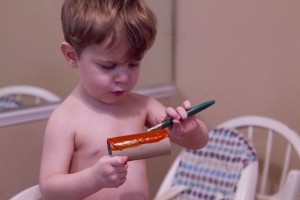
I gathered up the toilet paper rolls we have been accumulating. Sprayed a little Lysol on them and let them dry. This project involves some cutting and hot glue and I wanted my son to be involved more than just looking over my shoulder. I decided to have him paint the toilet paper rolls.
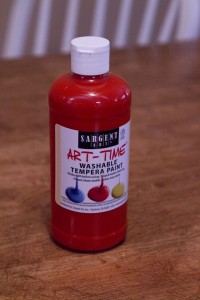
I used my favorite kid’s craft paint. This stuff says washable and it is no joke. I can wipe this down off my white kitchen chairs (that are in serious need of a new paint and finishing job) like an hour later and it wipes up and there is no stain. It also wipes off of skin easily and quickly. I have a hard time scrubbing my wiggly toddler down outside of the tub so I need something that comes off fast. I’m sure getting it on clothes might be different but we haven’t had to deal with that yet. We use this stuff all the time. I picked mine up from Walmart but you can also find it online here (affiliate link).
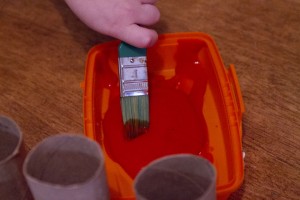
I pulled off the lid of a formula container and it works perfectly to pour paint in for my son. He has his own set of brushes to use when we make art. They are cheap and totally replaceable and you can find them here (affiliate link).
He is such a focused kid. He takes his painting very seriously.
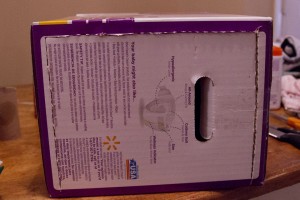
While he was busy painting the rolls, I started getting the box together. I taped up the open side.
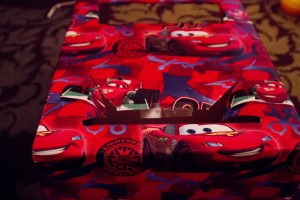
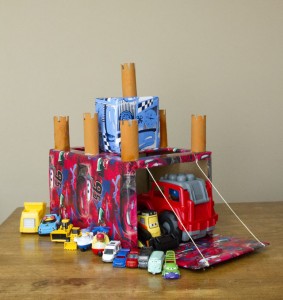
I knew I wanted a drawbridge so he could open the box and park his cars inside. I also knew he would like dropping in his cars and seeing them from the top so I cut two holes in the top. I just used a cheap steak knife to cut these.
My son is only 2 so he doesn’t last on projects for too terribly long. After he finished painting the toilet paper rolls and needed to wait for them to dry, we took a break and played. Then during nap time, I finished putting the rest of it together.
If the box had been plain cardboard, I probably would have had him color or paint on the outside but since it wasn’t I decided to use some wrapping paper to decorate the outside. I wrapped it up like a present and then cut and taped the paper inside where there were holes.
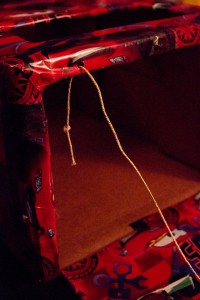
I used a hole punch and added some bakers twine to make the drawbridge. It would have worked just fine without that but it added to the over all look.
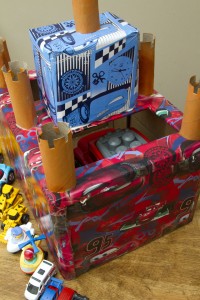
I cut the tops of the toilet paper rolls to make them more castle like and folded the pieces inside the tube. I took the formula container that I used earlier, ripping the top off of for paint, and wrapped it to add a layer to the castle. Then I went to assembling. I used my hot glue gun to attach everything.
I let it all dry while I did some dishes and laundry. I was pretty excited about how it turned out and was excited for him to get up from his nap! (Yes I changed him into clean pjs before his nap – that’s how a lot of days are in our house.) He was thrilled.
He has been obsessively playing with his trucks in this free cardboard castle project, or as he calls it “car castle” for days. He even puts his trucks to sleep in their castle by shoving it full of trucks. He likes the holes on the top and the drawbridge, just as I thought he would. The string on the drawbridge didn’t last too long. He was too interested in how it was tied in there that he started inspecting it and pulling at it and it came out. I also reinforced the toilet paper tubes with packaging tape because he kept setting cars on top of them and it helps to keep them from totally crushing. This won’t be a permanent toy in our house by any means but it was fun project we did together and to get something new. It’s great because you can totally customize it to what your child likes or the material you have on hand as far as crayons vs paint, glue types, shapes, function, etc.
I hope this gives you some inspiration to create and build something fun with your child!



I love this idea!! We made a cardboard castle at our house, too! It is big enough for the kiddos to play in!<3
http://thecreativesaver.blogspot.com/2017/12/diy-princess-castle.html