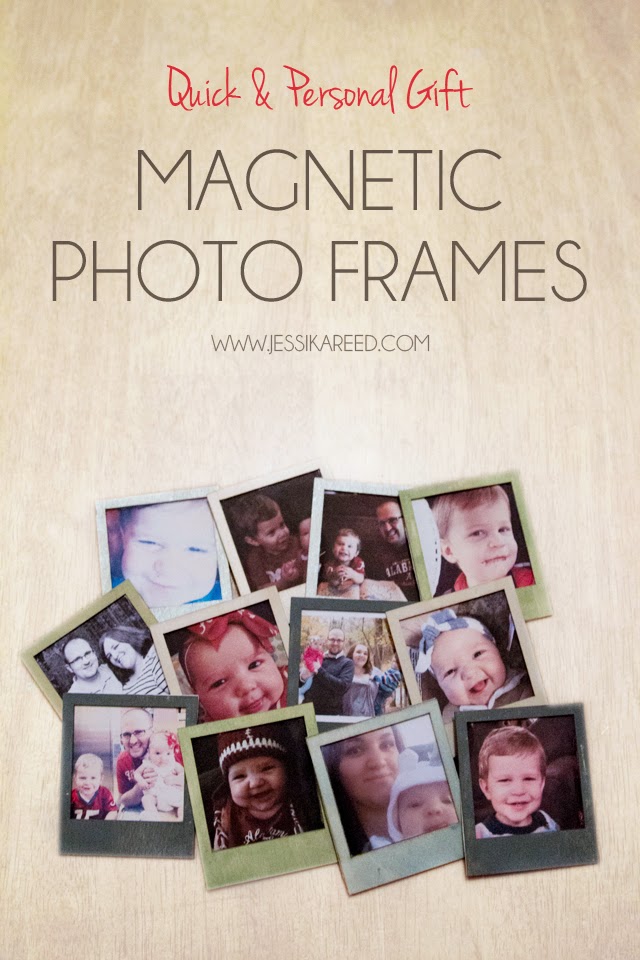
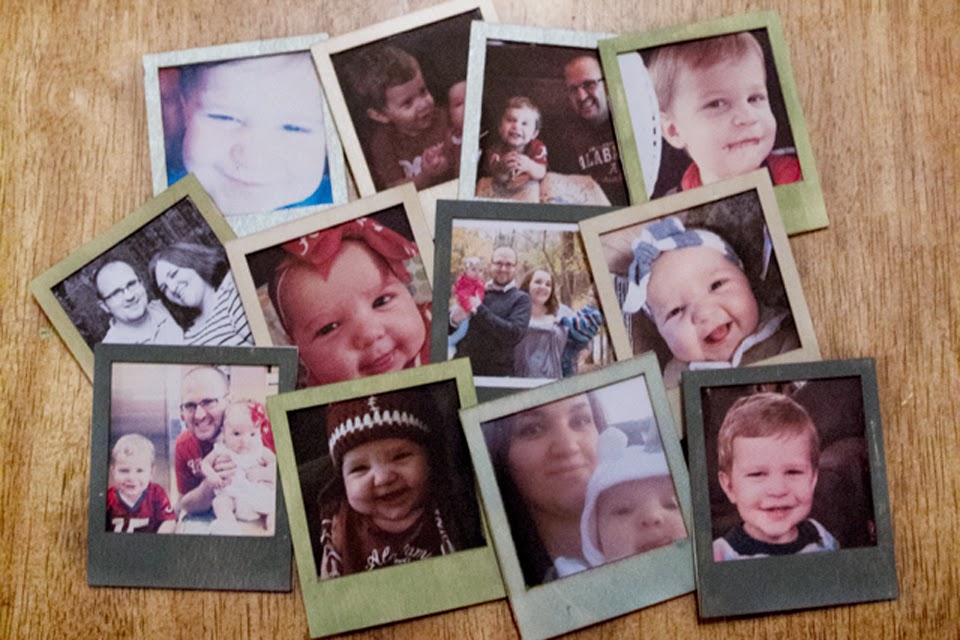
Looking for a last minute gift for Christmas? These quick & personal gift magnetic photo frames are perfect for that or any occasion.
I’ve been doing water aerobics at our rec center lately. I really like it, maybe more just the structure of the class but it is so beneficial in many ways. My kids love it because they get to play at the gym nursery with their toys. How can you avoid working out when your kid wakes up and says “go to gym to play”? It’s a great motivator.
The days we make it to they gym, I am so much more productive. Maybe it is because we are up and out early or because of the physical element. Whatever the reason, I like how much more I get done on those days. The other day was no exception. I wasn’t ready to head home yet after my class, so I took the kids into Michaels to look for a creative project and something fun to give their daddy for Christmas.
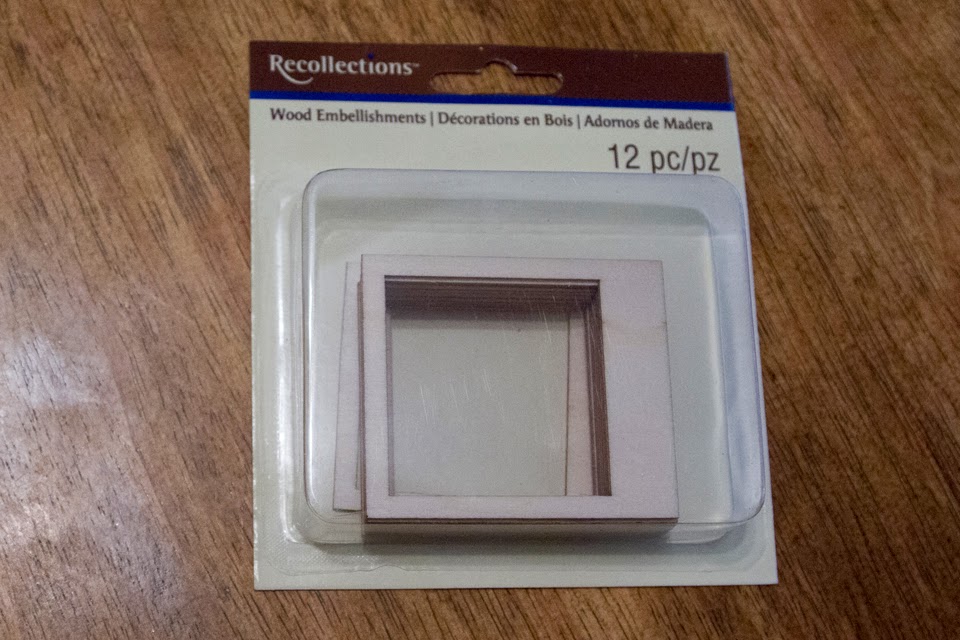
I had no idea what we were going to make but we wandered around looking. I found these little polaroid looking things in their scrapbook elements section and had a spark of inspiration to make some magnetic photo frames for my husband’s office. It was $3.99 for this 12 pack and I had a 50% off coupon.
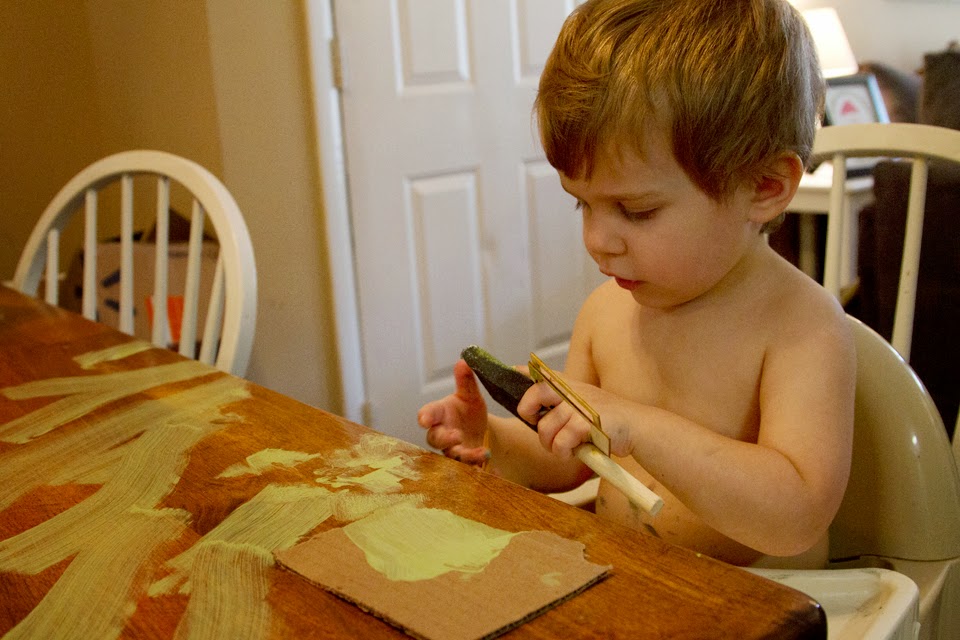
The natural wood on the frames is nice but I wanted to paint them so I could involve my son in the process. We picked out three colors we had on hand and left a few in the original natural finish. He was so into it. He loves painting and doing creative projects, as you can tell by his face here.
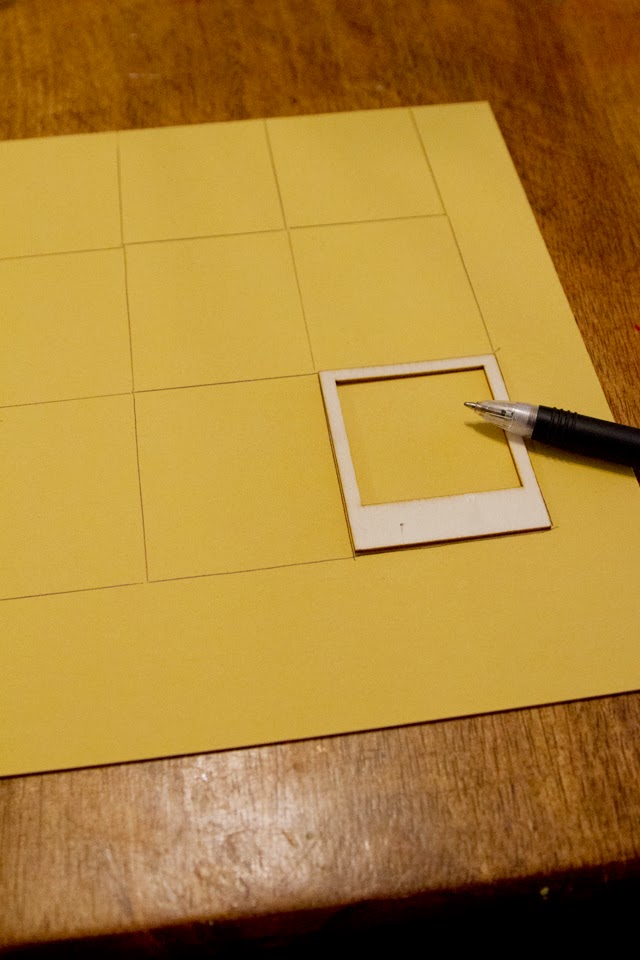
While I was supervising him paint, I traced out the frames on a thick piece of card stock I had. I cut out those pieces, a little smaller than the tracing so there wouldn’t be any overhang when I attached them to the back of the frames. There are 12 frames so you’ll need two pieces of card stock.
My son gets paint everywhere! It’s okay though because it cleans up with water and a rag when you get it before it dries and even after that it can be scraped off the table.
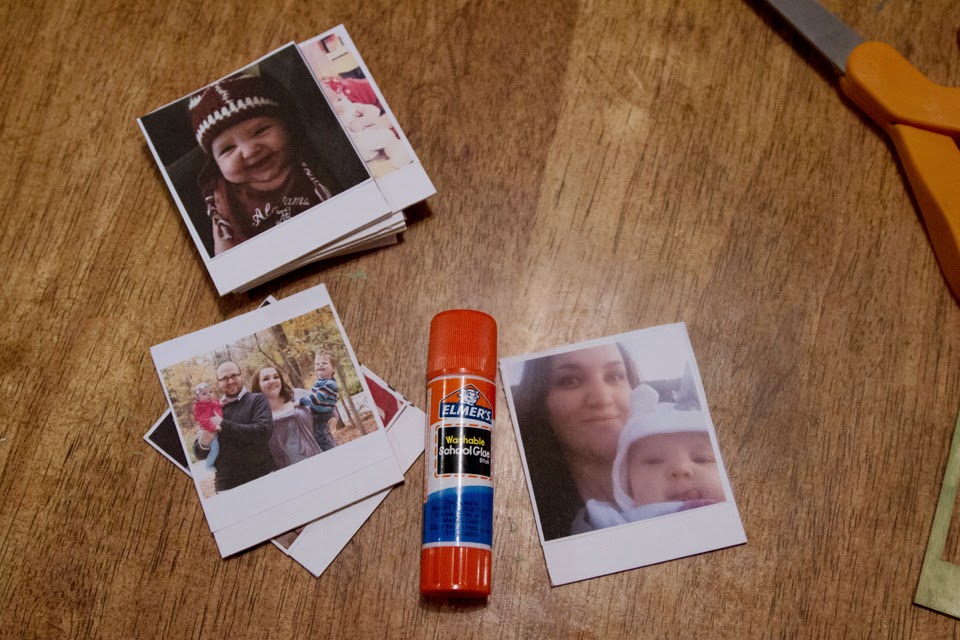
After we were cleaned up from painting and the frames were drying, we took to my laptop and looked through my facebook page. He helped pick each picture when I gave him a selection of each grouping, individual shots, etc. He loves looking at pictures and correctly naming who is in them. Once we had them picked out and saved in a folder, I placed them in an illustrator file and cut them to size in the program. The frames fit 2 x 2 images. I sized mine at 2.125 x 2.125 and lined them up in the program to make it easier when printed. If any of what I just said doesn’t make sense, this can be done in any photo editing program or even a word document and can be cut down in size with scissors on the paper so just get them printed and go from there. I printed these on regular copy paper since I was attaching them to a really thick card stock.
I cut them out and glued them to the card stock pieces. These will get glued to the frames so it doesn’t need to be perfect, I just slapped them on in the general area of the frame opening.
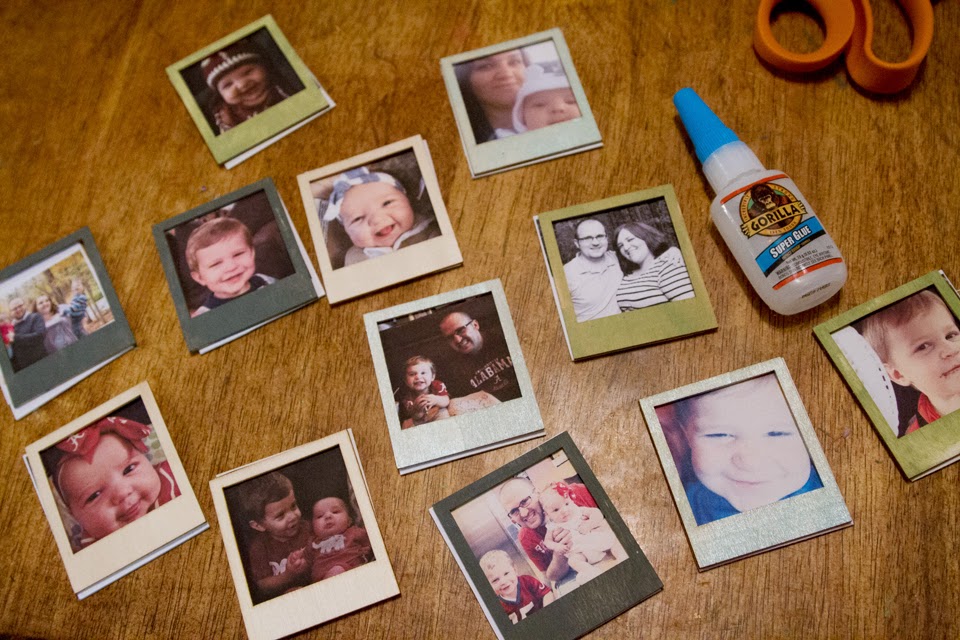
After they were all glued, I laid out all of the frames. I wanted to be sure not to end up with all blue frames on my son’s images or all green for my daughter, etc. so I figured that out before gluing them together. Once I had them the way I wanted, I put a little line of gorilla glue around the backs of the frames and glued them on the picture/card stock image. If there was any over hang on the back, I just trimmed them up with scissors so they looked nice and clean. I ran out of glue sticks for my hot glue gun or I probably would have used that instead but this worked well.
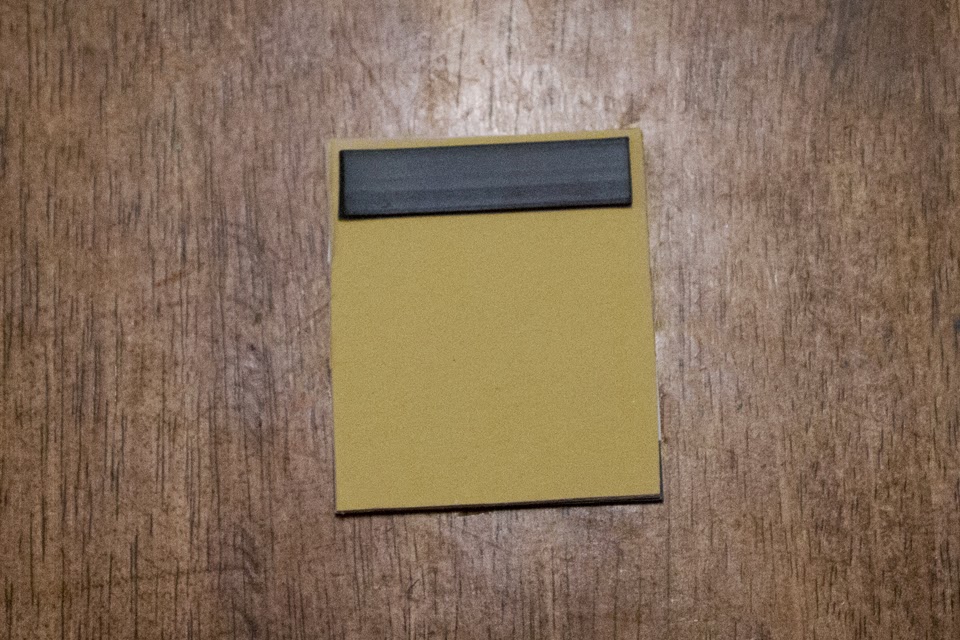
I got a roll of magnetic tape for $2.99. There was a smaller roll that was only $1.99 and would have been plenty for this project. I’ll have to come up with something else to use the extra on.
Cut equal size strips of the tape to fit the back of the frame. Remove the paper backing and stick on. Since it’s on a roll, the magnet starts to roll a bit so I stacked all of the frames together and put a couple of cd cases on top to weigh them down and let them stick well.
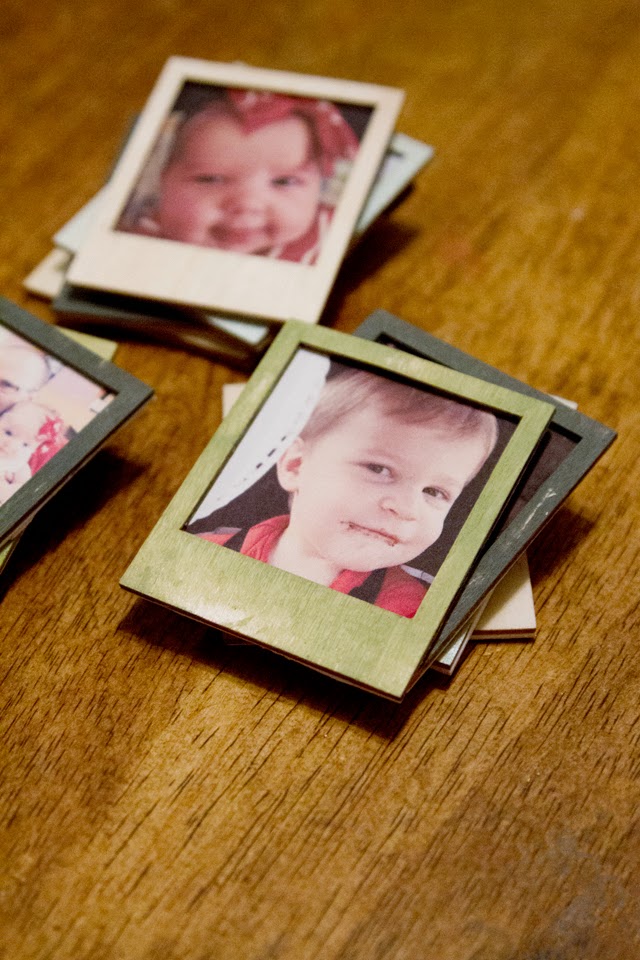
I seriously love how they turned out! They were 100% painted by my 2 year old son and there are a couple spots that aren’t completely painted but it adds to the antique / rustic style that I love and it makes the gift so much more meaningful coming from him.
Honestly, the hardest part of this was figuring out which pictures and groupings to include!
We put these in a box and wrapped it. My son was so cute putting it under the tree, after driving it around in his trucks and airplane for a little bit but he eventually made it to the tree! I’m so excited for my husband to open these on Christmas! If you have forgotten a gift for someone special or just want something fun for your fridge or workspace, give these quick & personal gift magnetic photo frames a shot and let me know what you think!






These are really neat Jessika. Wish I had time to do these.