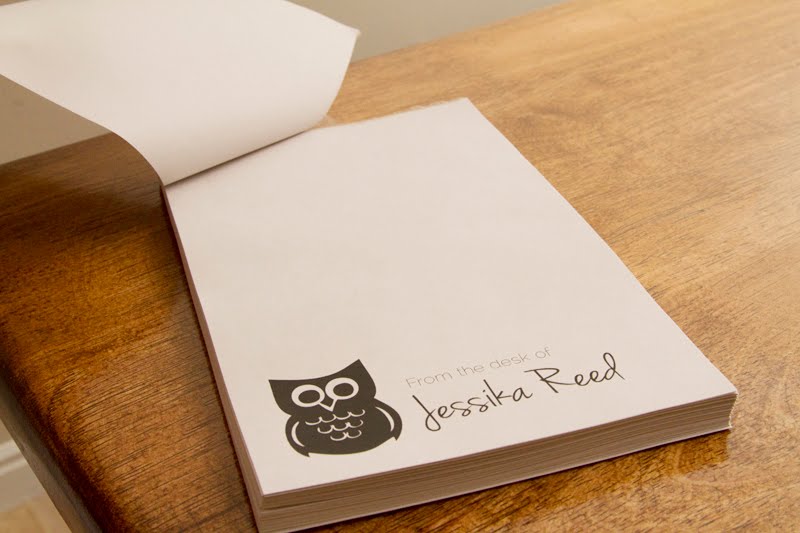
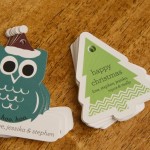
One of the ladies I work with has a note pad that says “from the desk of” with her name on it. I thought about ordering a notepad like that from our print department but wanted something a little more custom and more me. I love the owl design from my gift tags so I decided to use that.
 All you need for this project is:
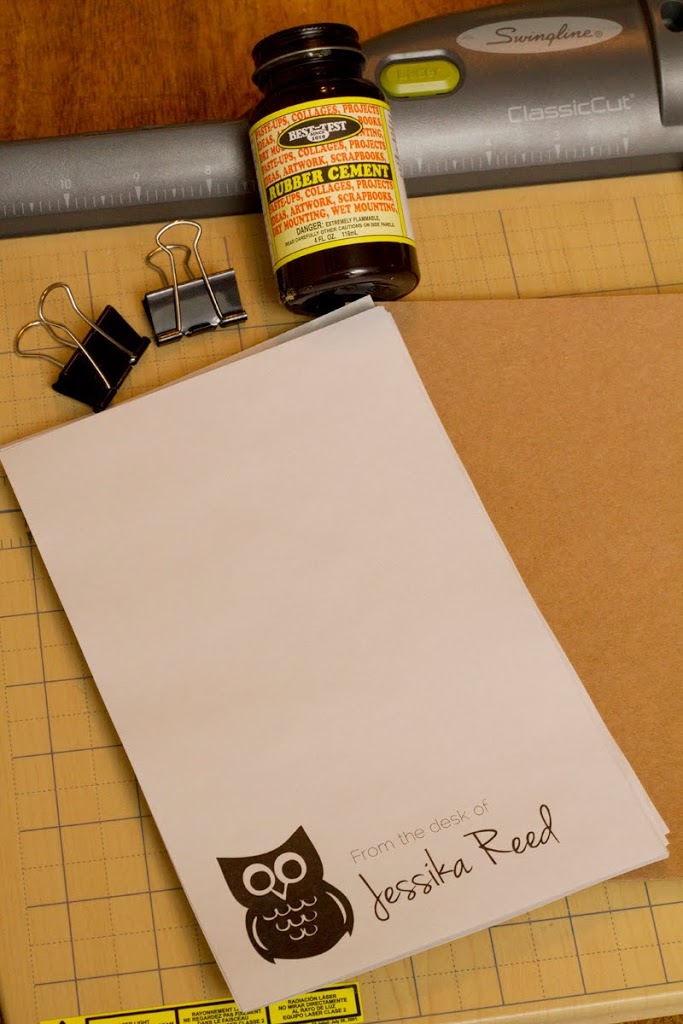
Rubber Cement
Large Binder Clips
100 Sheets of paper (or however many pages you want)
Chip board (cut to the same size as the paper)
Print your design and name on the paper and cut to size. I used free fonts on this – the top is Raleway found here and the name is in Jenna Sue found here. I found that many copy places would print and cut for pretty inexpensive. I wanted to do it all myself so I printed the paper on grey copy paper, two to a sheet and then hand cut each the same size, straight down the middle so the final size was 5.5 x 8.5.
Put the chip board on the back and then make sure all of the pages are flush and straight on all sides. Binder clip near the top of the stack. Lay the stack flat on the table and glue the top of the pad. Let dry for 15-30 minutes and reapply until the coverage is even, it took 3 times to get it where I wanted it.
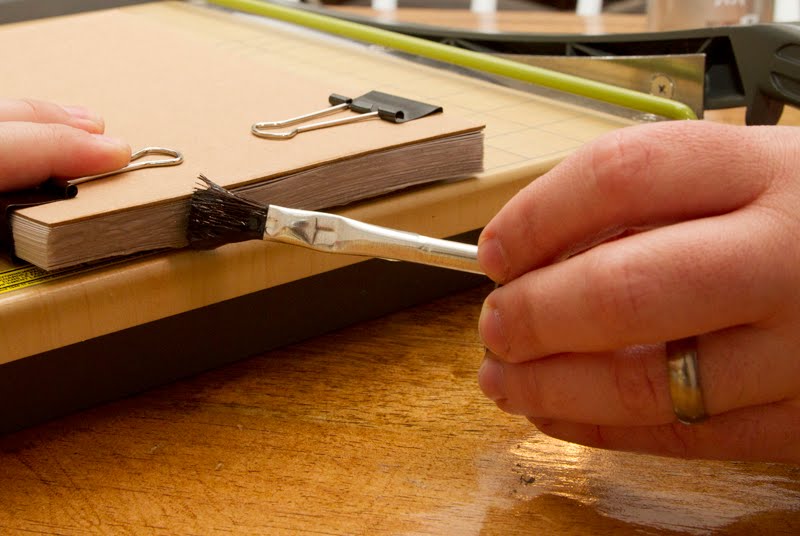 If the glue globs on to the chip board or front of the pad like this, it will rub off, so no worries!
 I let the glue dry overnight to be sure it set but it seemed pretty dry after a couple of hours.
 I am totally in love with this and can’t wait to write my next note!
 And it looks great with my new gift tags that I showed earlier so easy to make one for yourself or as a gift! The project ended up being about $2.50!
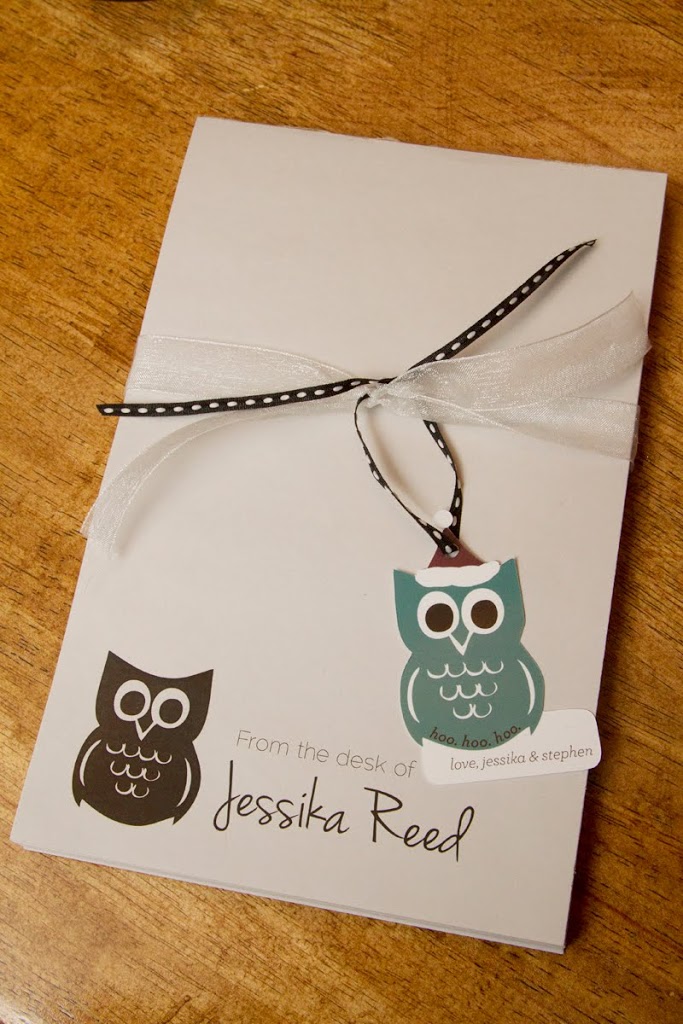


so cool!
This is extremely interesting! I want my own notebook too! 🙂
Can you please tell me where you got the rubber cement? I live in Italy and I have to understand who could sell it to me!! 🙂
Cecilia
Wow~~~ So cute!
I would like to know what kind of glue you apply on papers…. Can you tell me please if you can… ^____^
I have always been able to find rubber cement at most grocery, craft, or office supply stores. I did find it on amazon though, I am not sure if this is something you can get where you are – http://www.amazon.com/Elmers-No-Wrinkle-Rubber-Cement-231/dp/B000EFQ2I0/ref=sr_1_1?s=office-products&ie=UTF8&qid=1401226481&sr=1-1