In honor of a recent visit from my mother, I have a delicious recipe to share with you. But first a funny little story about the history of Suzy Q’s with my mom. There was one time I went grocery shopping with my mom and she bought a package of Suzy Q’s. Somehow we didn’t get that bag of groceries so my mom sent me back into the store to get it. They couldn’t find it. They searched and no luck. I said okay, let’s just grab another one. I couldn’t find one. For some reason, I thought it would be very funny to tell the people, in a very serious tone, that I could not leave the store without Suzy Q’s and to please not make me tell my mother I couldn’t get them. The look on their faces was priceless. They helped me search and it turned out she bought the last one and they were worried to tell me. At the time I thought it was hilarious but now I would die if I knew my kids ever said anything like that and gave that negative of an impression. I can’t see a Suzy Q package without thinking of my mother and that story.
When she came to visit, I made some welcome baskets for her and my grandmother and attempted a moon pie recipe I found well before their visit to include in the basket. According to my husband, they were good but nothing like moon pies and since I have never had one, I couldn’t know for sure. That recipe reminded me a little of Suzy Q’s. I have tinkered with it a few times since that initial baking and found a version that we really love. I won’t say they are exactly Suzy Q’s because I’m not Hostess but they do taste just as I remember them.
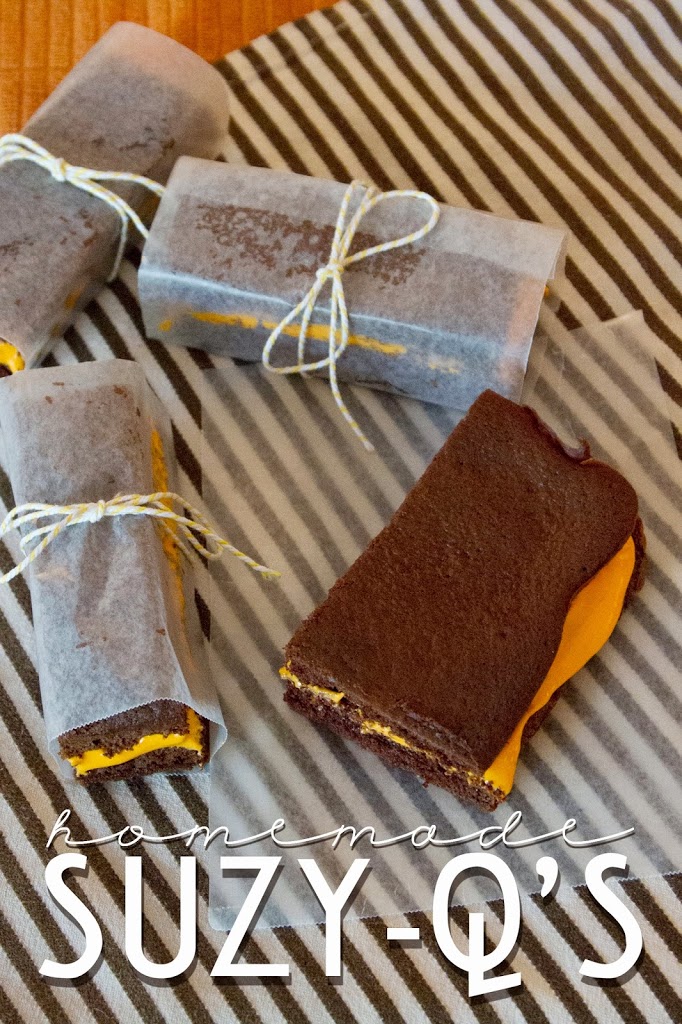
This time I made them a little festive for Halloween!
Preheat oven to 375 degrees. Line 9 x 12 cookie sheet or cake pan with parchment paper.
Cream together butter and sugar. Add in egg, then milk and vanilla. In a separate bowl, combine all dry ingredients. Slowly stir dry ingredients into wet mixture. Mix well.
Add 1/2 the batter to the pan and smooth out the top. Bake for 9-12 minutes until a toothpick comes out clean. Let that cool and repeat with remaining batter. Let the cake cool completely, at least a couple of hours.
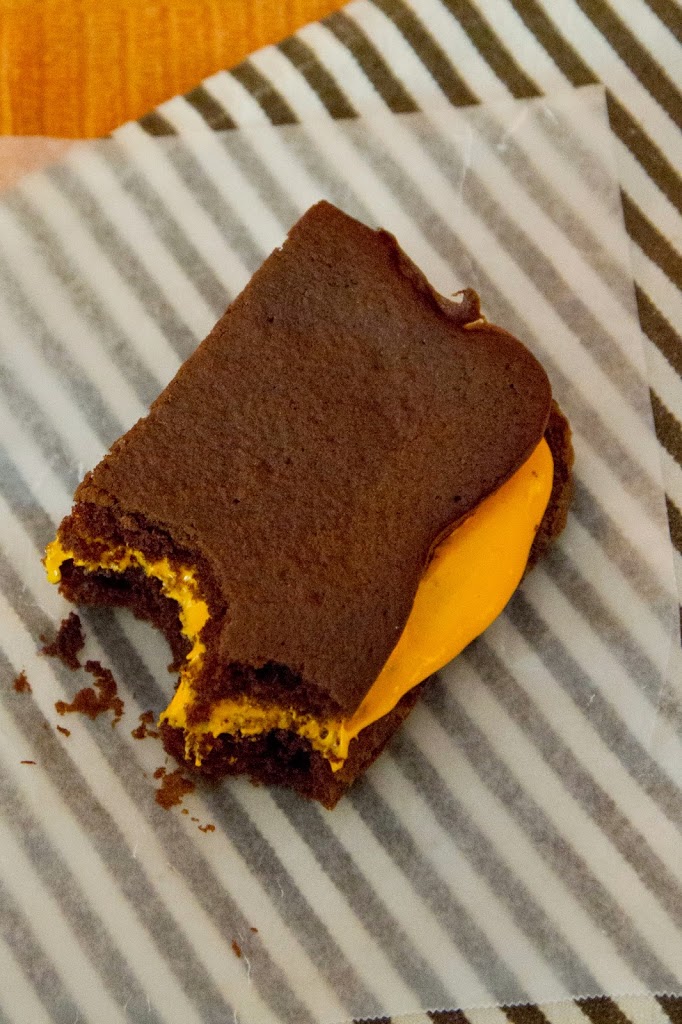
Meanwhile, start on the filling. Mix the butter and fluff together. When working with fluff, I always run the jar under hot water for a minute as well as the spoon I am going to use. It helps make it come out more easily. Add in vanilla and then sugar and mix well. We decided to go with orange food coloring to be a little more festive with the time of year.
Spoon filling onto one cake and then slowly smooth out. Carefully put the other cake on top and slice it up! We cut it long ways in thirds and then about 1 inch slices from there. You’ll get 24 bars at that size.

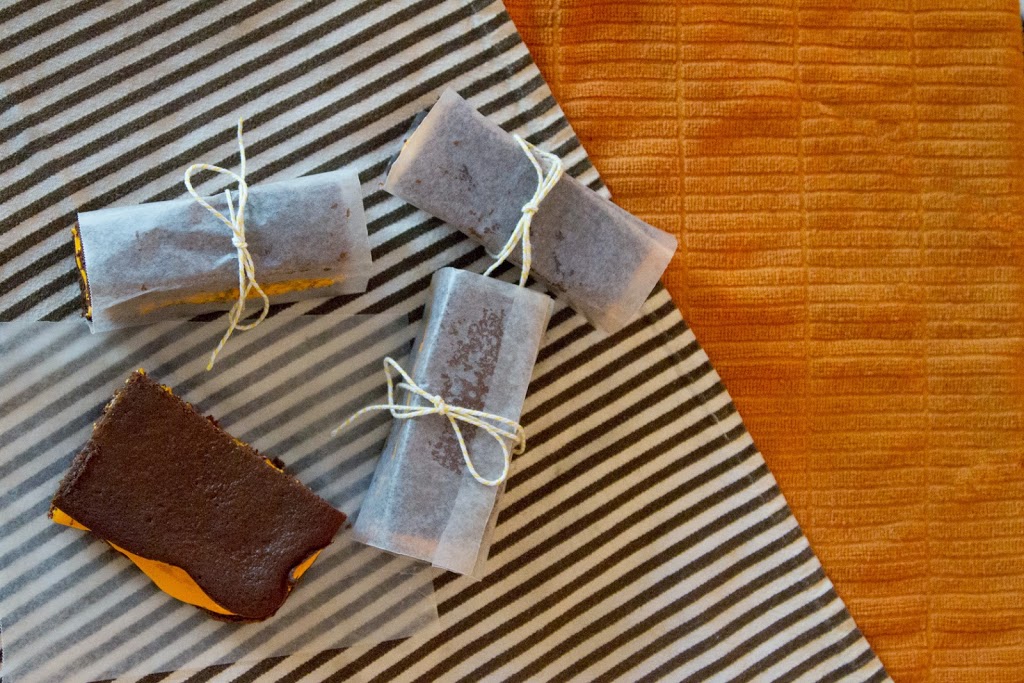
These are perfect little gifts, wrap up with a little wax paper and a bow and you are all set. They would be so cute for neighbor or coworker treats on Halloween or served up at a party.
Ingredients
- 1/2 C Butter, softened
- 1 C White Sugar
- 1 Egg
- 1 1/2 C Evaporated Milk
- 1 T Vanilla
- 2 C Flour
- 1/2 t Salt
- 3/4 C Cocoa Powder
- 1/2 t Baking Powder
- 1 1/2 t Baking Soda
- Filling:
- 1/2 C Butter, softened
- 1 - 7 oz Jar Marshmallow Fluff
- 1/2 t Vanilla
- 1 C Powdered Sugar
- Food coloring - optional
Instructions
- Preheat oven to 375 degrees. Line 9 x 12 cookie sheet or cake pan with parchment paper.
- Cream together butter and sugar. Add in egg, then milk and vanilla. In a separate bowl, combine all dry ingredients. Slowly stir dry ingredients into wet mixture. Mix well.
- Add 1/2 the batter to the pan and smooth out the top. Bake for 9-12 minutes until a toothpick comes out clean. Let that cool and repeat with remaining batter. Let the cake cool completely, at least a couple of hours.
- Meanwhile, start on the filling. Mix the butter and fluff together. When working with fluff, I always run the jar under hot water for a minute as well as the spoon I am going to use. It helps make it come out more easily. Add in vanilla and then sugar and mix well. We decided to go with orange food coloring to be a little more festive with the time of year.
- Spoon filling onto one cake and then slowly smooth out. Carefully put the other cake on top and slice it up! We cut it long ways in thirds and then about 1 inch slices from there. You'll get 24 bars at that size.


Leave a Reply