I’ve mentioned before that we live in a small apartment. It’s been an adjustment and was supposed to be temporary but we are past 2 years at this point. Sometime in the future we will get a house again but for now we are making this work. The thing I really don’t like is the lack of space, especially counter top space in the kitchen. Well my new DIY Upcycled Kitchen Cart is the perfect solution to my counter top space blues.
I frequently change out decor or move furniture to spice up my space. It’s something I have control over and can actually change, especially while renting. And usually after you move things around a little bit, it makes the space feel fresh and new and it helps me curb my house cravings a little bit until the timing is better suited for our family. Of course, I could go out and buy new things but that really won’t help us get to our goals as far as homeownership goes; sticking to a budget and DIYing is the best solution for us.
I’ve known since we moved in that if we got the microwave off of the kitchen counter, it would free up some really needed space in our small galley kitchen. The problem is, I’ve been using our dining area for dining as well as for my office. I’m not talking about using my dining table, I mean I’ve had a second, 6′ table against the wall behind our dining room table. I’ve kept all of my craft supplies in plastic bins, stacked under the table, rolling carts with more supplies and of course my Silhouette machine. My kids had art supplies and all of our bills. It was great but took up a lot of space. Well since I have returned back to work full time, I haven’t been crafting as much. I still do freelance work but it doesn’t use that space nearly as much as I was before. So it was the perfect time to make a change.
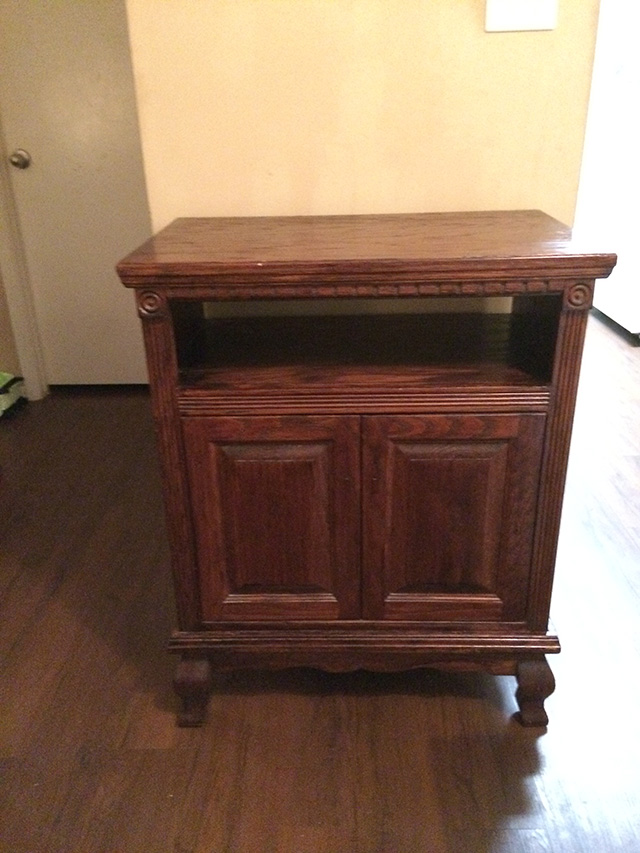
I had been hunting on Craig’s list for something to fix up and use but nothing caught my eye or was well above what I wanted to spend. I toyed around with building something but with furniture, I LOVE to redo it; I always love a good before and after. Building is great but I would rather spend my time painting or upcycling my finds. There is a store in our area called The Brass Bear. They have booths and various sellers with a lot of antiques. I’ve only been there once or twice but we decided to see if they happened to have anything that would work. I came upon this old TV stand that is solid wood and was in really good shape and only $25! There were a couple of chips on the wood but really I could have left it as is, but where is the fun in that? I wanted something bright and cherry.
I wiped the piece down and got all of the cobwebs off the bottom. I picked American’s Sweet Mint for the color and then made it into chalk paint. To do that, I take a plastic cup and mix up 1/3 cup plaster of paris, 1/3 cup of cool water and mix well. Then add in 1 cup of paint.
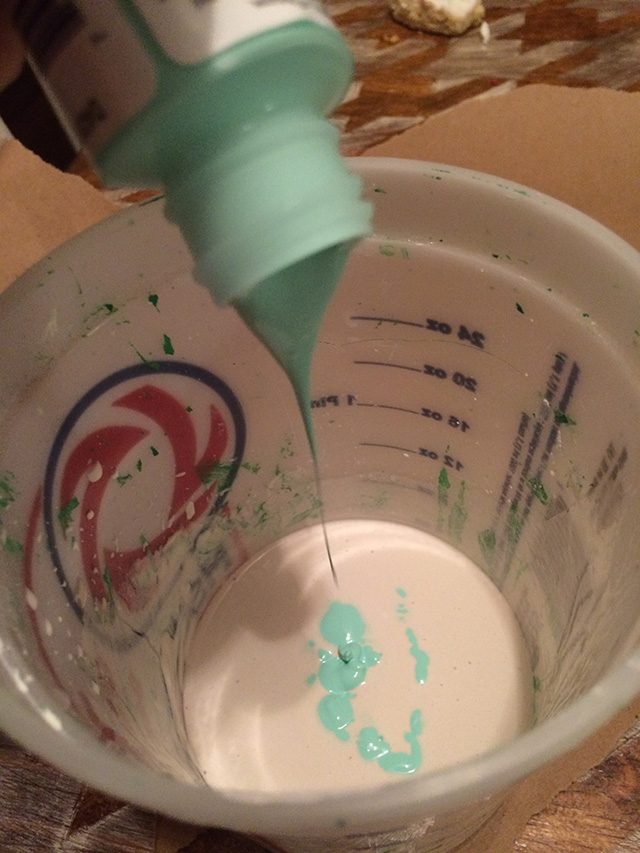
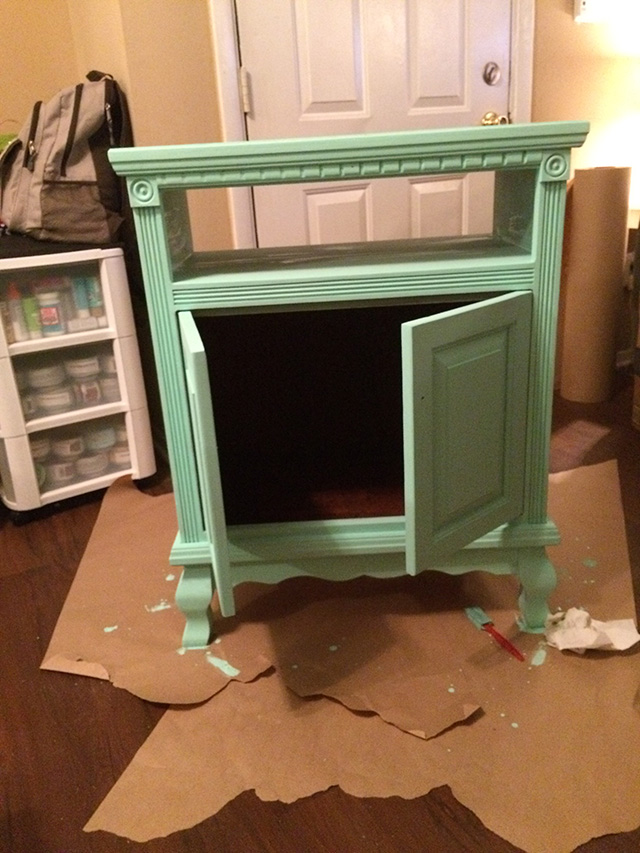
The thing I love about this is you don’t need to sand or prep your item, you just slap it on. I did two coats. I wasn’t set on the color though, it felt way too bright. I decided to sleep on it and then sand it and stain in the morning.
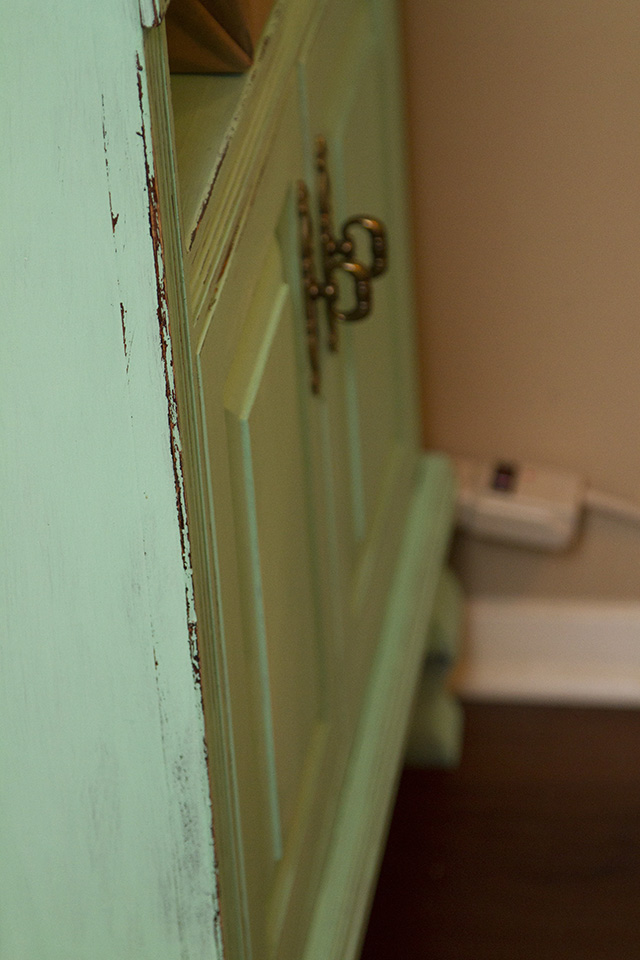
I pulled it outside and sanded it by hand with a piece of sand paper. Chalk paint will flake off easily so this is pretty easy to do. I could have used my mouse hand sander but I wasn’t sure how “roughed up” I wanted it so I went lighter at first. The original stain showed through very nicely and I decided it was perfect so I decided not to add more stain to it.
Because it does flake off, you need to finish it off with wax. I use Valspar’s clear wax from Lowe’s. The container is small but it lasts forever because you don’t need to use much. I just take an old rag, dip it in the wax and rub it over the paint. Just a small layer. I’ll do two layers on the top if it is going to have heavy used, like this piece. Let it dry and you are good to go.
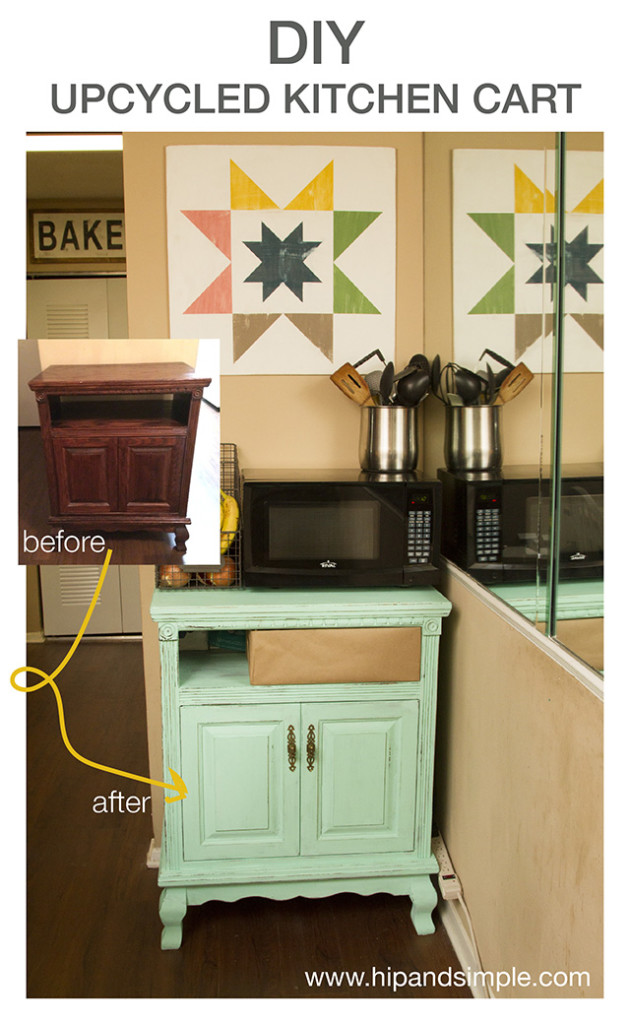
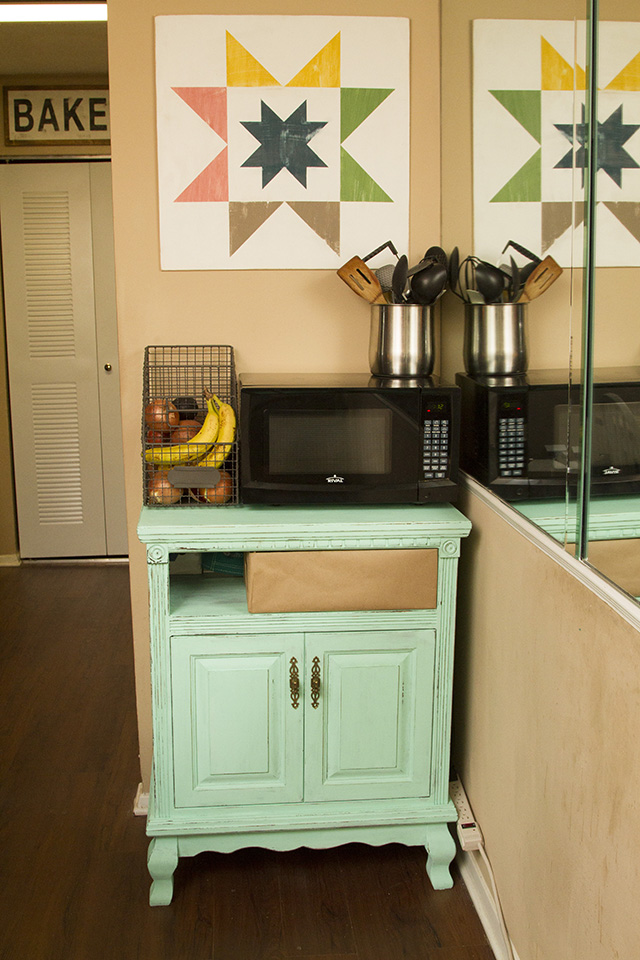
I set it up in our dining area and got the microwave set up. I also found this great wire basket at Hobby Lobby that is perfect for our non-refrigerated fruit and veggies, which is awesome because that means even more counter space is freed up! I was also able to get all of our essentials from our desk table set up, into the cabinet. The open tray area, perfectly fits my silhouette! It was meant to be. I would like to find a basket that fits in front of it, but for now, I cut down and Amazon box and wrapped it in butcher paper to store pens and tape and things that we need easy access to.
I started getting excited seeing it all come together, especially when I hung up the quilt block that I’ve had brewing in my head for ages. I’ll share that soon. I can’t even begin to tell you how awesome this is! Not only does it mix things up a little and add a pop of color but it opens up the kitchen so well, I’m wondering why I didn’t do it before! It’s amazing what a $25 item has done to inspire us to transform our space.
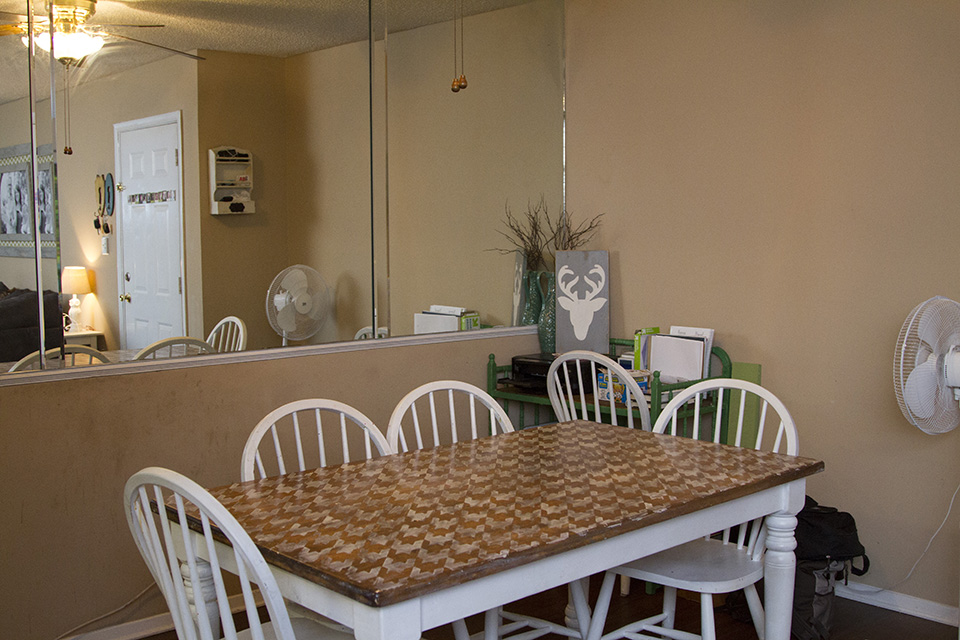
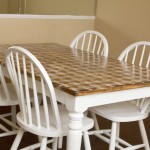
Here is the whole dining area. We reoriented the dining table and moved in my changing table desk, from our bedroom, to have some area to keep bills organized and have our printer at better access. I’m loving the flow and how things work here. More space on our counters, more in our bedroom, etc. It’s great. The next thing I want to get done is this big blank wall. I’ve got a solution that I’m working on and will share when it’s done!
Oh and go ahead and ignore those stains on the wall under the big mirror. We had the table near it and my daughter got drink and food on it. We have cheap flat paint that will not clean up. We scrub and it makes it worse or sometimes it will just rub off. The paint they gave us to touch up doesn’t match. Anyway, another thing I don’t love about our place but it’s not that big of a deal so I just ignore it myself 🙂




Leave a Reply