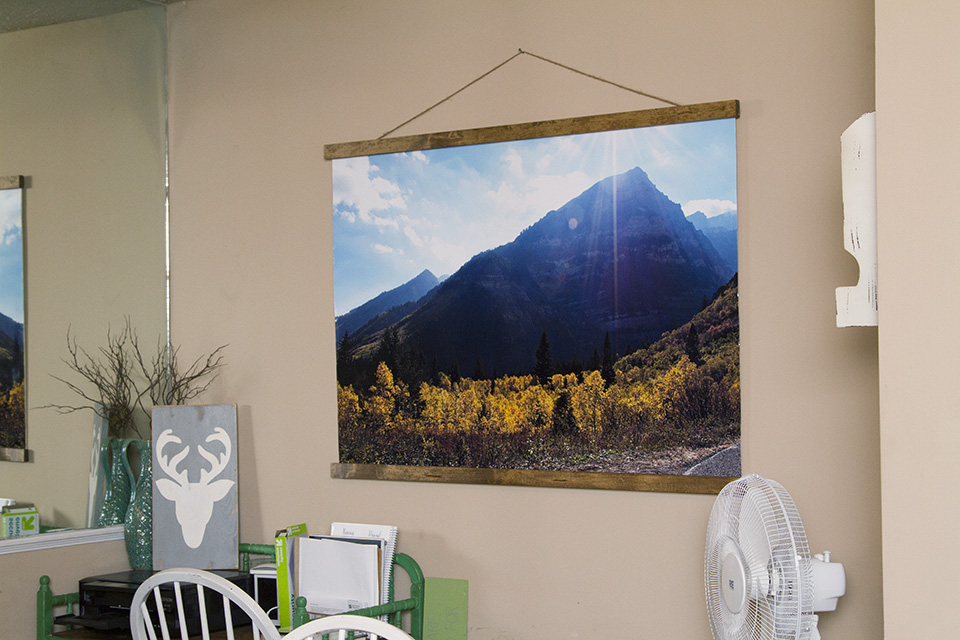
I had a blank wall in our kitchen and it had to be filled. I’ve tried to think of a way to use one of my first and favorite photos I’ve ever taken and I’ve finally nailed it with this DIY Large Photo Scroll Display.
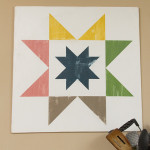
This wall in my kitchen was feeling a little bare and lonely after I added in my upcycled kitchen cart and quilt block decor so I needed something big to fill the space. I’ve loved this photo I took up in the mountains in American Fork Canyon in Utah. It was my first photo shoot ever. I borrowed my mom’s camera and went up with my then supervisor and her little family. I was nervous and the pictures of the family were just ok. I’ve grown a lot in my ability and skills since then but when I was checking out the lighting and doing some test shots, I accidentally captured this picture. I didn’t even know that was called a sun flare but the picture has always made me feel great and full of potential.
I’ve posted that picture here for a school texture assignment and printed it for my grandfather but that’s all I’ve ever done with it. I was working on a project for work and had to print a large document at an on campus lab. They offer huge prints for reasonable prices. I blew this up and had them print it out. I had it printed at a 36 x 48 size.
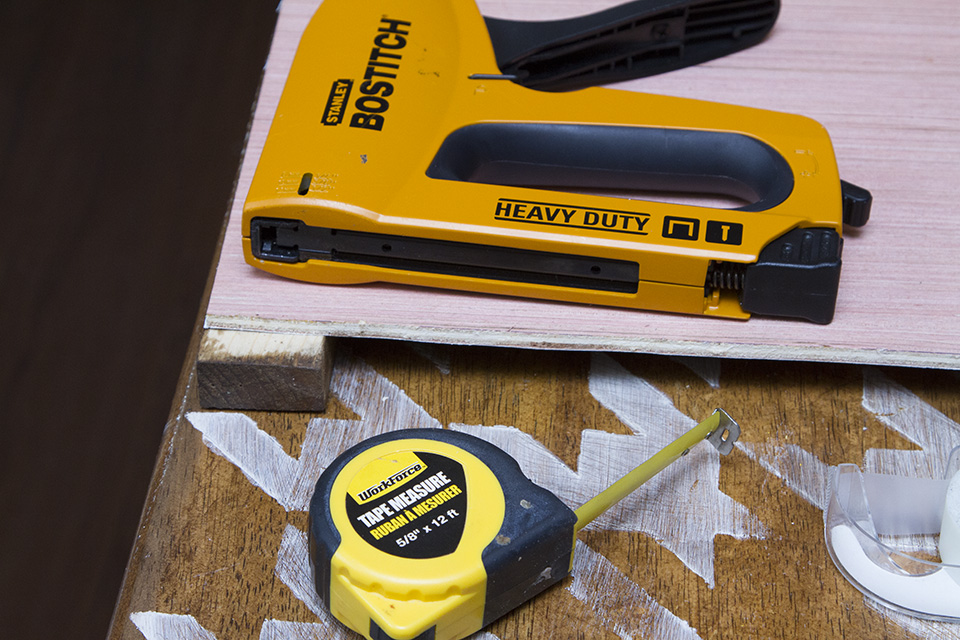
Here is what you need for this project:
-36″ x 48″ print
-36″ x 48″ – 1/4″ plywood
-Two – 2″ x 49.5″ – 1″ pine common boards
-Loctite spray glue
-Wood Stain
-Hammer
-Nail Gun and Finishing nails
-Two – Sawtooth Hangers
-Twine
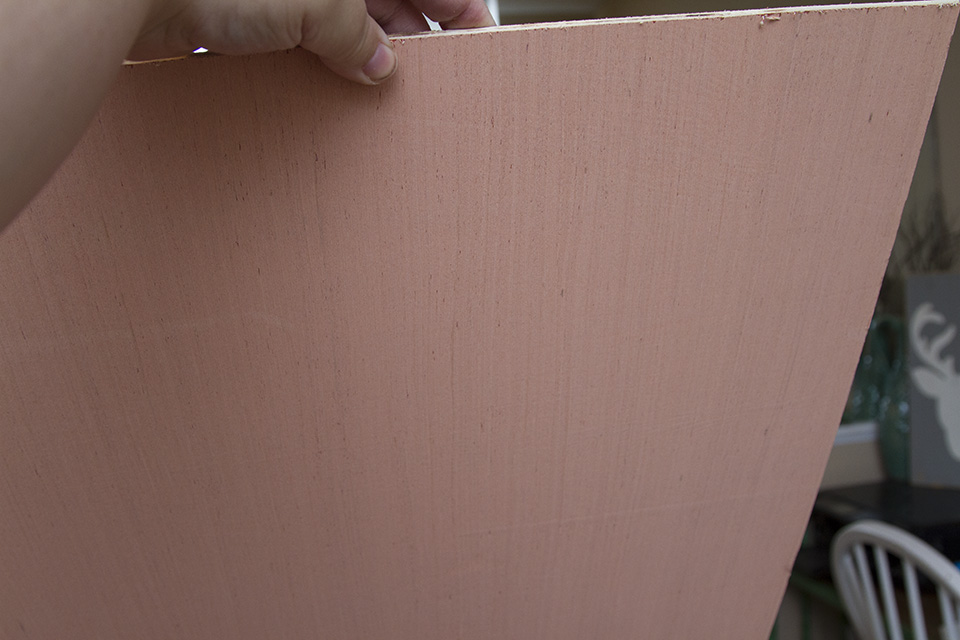
I went to Lowe’s and had a 4′ x 8′ plywood board cut down to that size. I get this plywood that has a pink-ish back. It is around $13 and I always have a lot left over to use on other projects.
Then I grabbed some 1 x 2″ boards and made sure they weren’t warped. I had them cut at Lowe’s as well. I wanted them to frame the board and hang over the edge about 3/4″ on both sides so I had them cut down to 49.5″. When I got home, I sanded down my wood and then stained the top and edges of the 1 x 2″ boards and left them outside to dry while I got the rest ready.
I did this part with my husband and it took both of us working quickly so unfortunately, I don’t have a picture of this but I’ll explain. Make sure you have sanded the surface of the plywood board. Mine had some little debris on it that got stuck under the print and it was hard to work with so after sanding it, wipe it down really well and make sure that all of the dust is off. I put cardboard under the board to protect our floors from the spray glue. I would recommend using spray glue outside, if possible. The bugs here in Alabama are insane. I’ve been here almost 3 years and I’m not anymore used to them. They land on things quickly so I was worried about spraying the glue outside and having gnats and mosquitos land on it and get stuck and show up on the print slightly so I did it in our kitchen. I sprayed a light layer on and then my husband and I pulled either end tight of the print tight and slowly placed it down on the wood board. Then with a plastic bag on my hand (just a Walmart bag to avoid finger prints) I rubbed the print down on the board and glue. I started in the middle and pressed out, smoothing it as I went. It’s very similar to laying down vinyl. The glue does allow for a little, quick repositioning but work quickly. Press it down firmly and allow to dry.
Then I brought the 1″ x 2″ boards inside and set them up with the stained side facing our table. I placed the board and picture face down on top of both stained 1″ x 2″ boards; one at the top and one at the bottom of the print . I made sure the overhang was in the middle and the edges of the top and bottom boards were flush. Then I nail gunned it all together, using 10 nails. I repeated that process on the other 1″ x 2″ board.
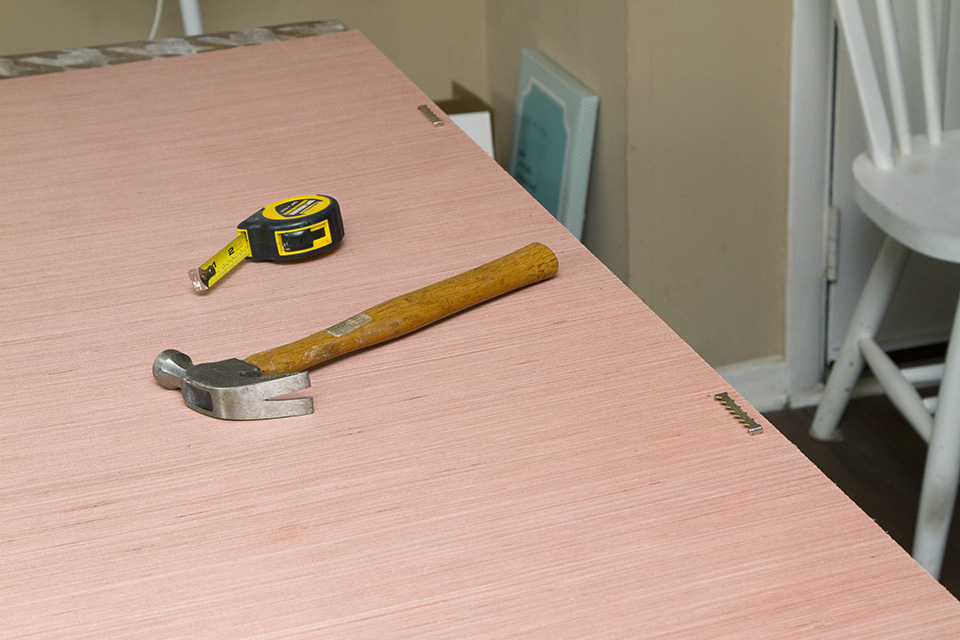
Then I made sure I knew which part was the top of the picture and nailed in my sawtooth hangers about 12″ in from either end. I then took some twine and nail gunned it into the back of the board between the sawtooth and the edge of the baord on either ends. This is purely for decoration and won’t hold any weight.
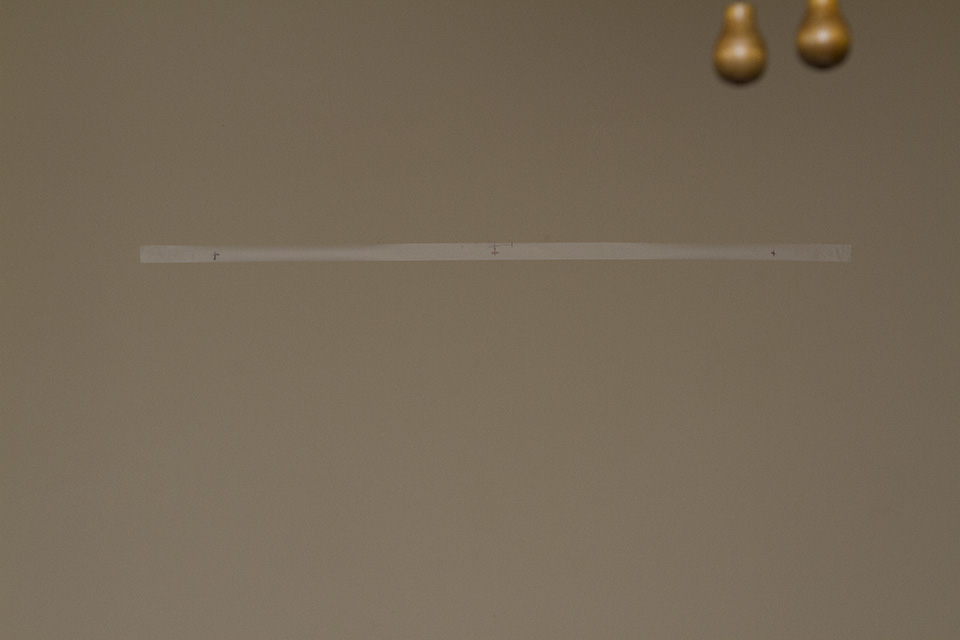
Then to help with hanging everything straight, I took a piece of scotch tape and stuck it to the back of the board, past both ends of the sawthooths. With a pen, I marked the center of the board and then the hangers. Then I carefully took off the tape and put it on the wall where I wanted to hang the display. I made sure it was level and centered in the wall. Then I hammered in my nails right through the tape on the hanger marks. Then peel up the tape and throw it away.
Drape the twine over the front of the board and then hang the board on the nails on the wall and make sure it is secure. Once it is hung how you like, take a nail and pull the twine tight above the display and tap a nail in the wall where that falls so it looks like it is hanging by the twine. Then step back and enjoy your new, large statement piece.
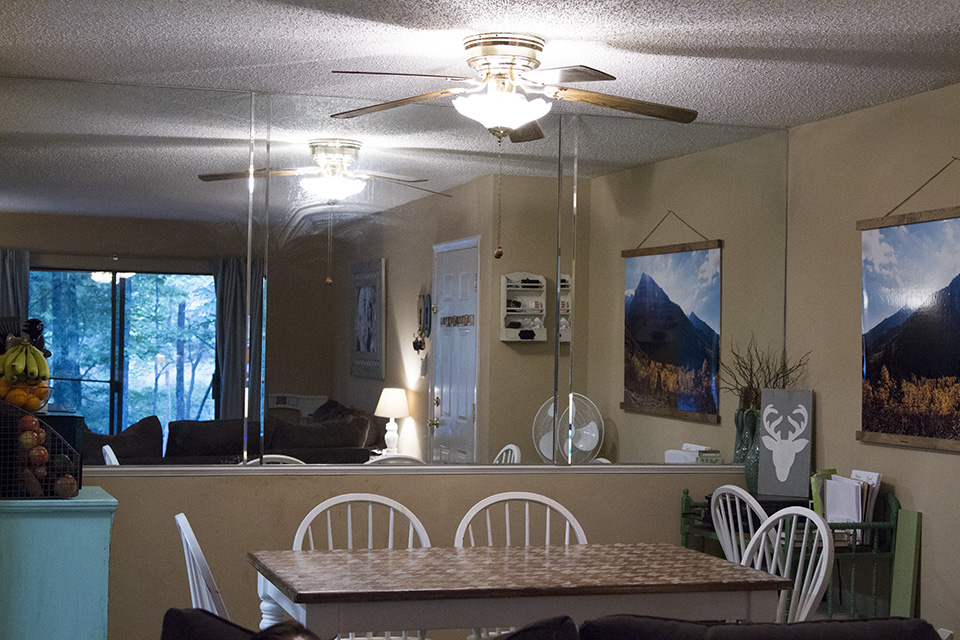
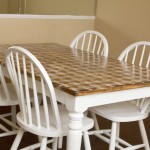
Our lovely wall mirrors aren’t clean, clearly I did it last and I am short and couldn’t reach all the way up. But you can see here this hangs with my houndstooth kitchen table, DIY microwave cart and changing table turned crib


Leave a Reply